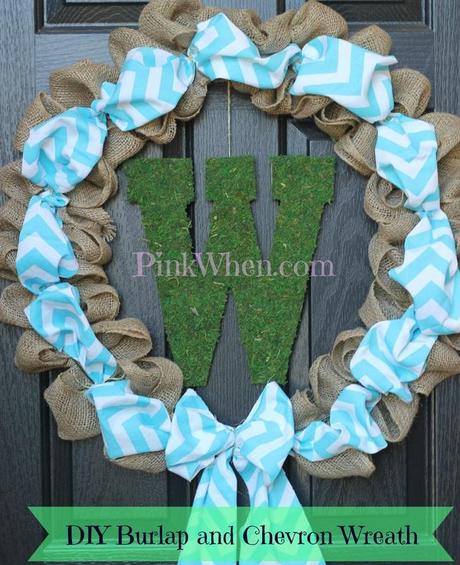
 DIY Burlap and Chevron Wreath Today we are going to do one of my FAVORITE things.....CRAFT! (Never would have guessed that, would you?) So in honor of Craft Month (Yes, even Crafts have their own Month) I have created a nice big Spring Wreath with all of my favorite supplies! (#1Burlap and #2Chevron)
Ready to create? Let's get started...
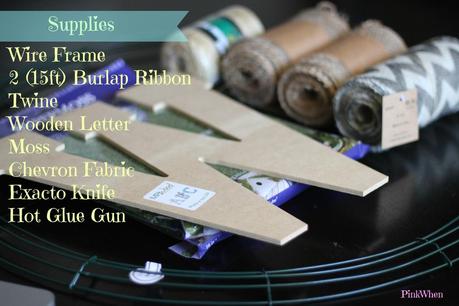 Burlap and Chevron Wreath Supplies Don't forget your scissors! You will need those, too.
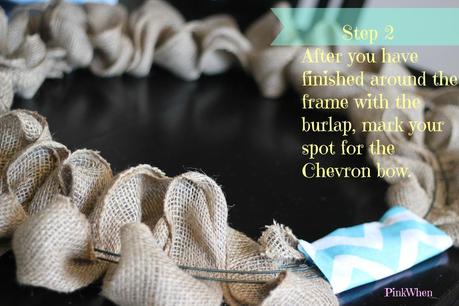 Burlap Chevron Wreath Step 2 This is the spot where I want my bow to go. You don't have to choose to have a bow, and if you do not want one, just keep continuing all the way around until you have reached where you started.
 (Notice, I switched from my Chevron Burlap to my Fabric Burlap here. I changed my mind and wanted a birghter color.)
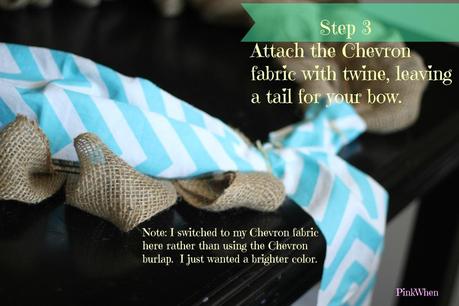 Burlap and Chevron Wreath Step 3
 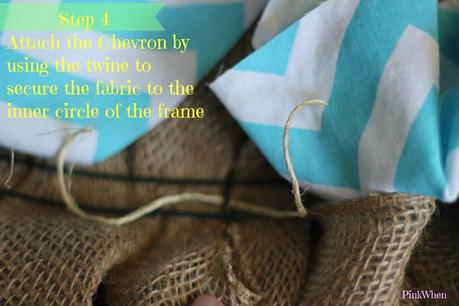 Burlap and Chevron Wreath Step 4
 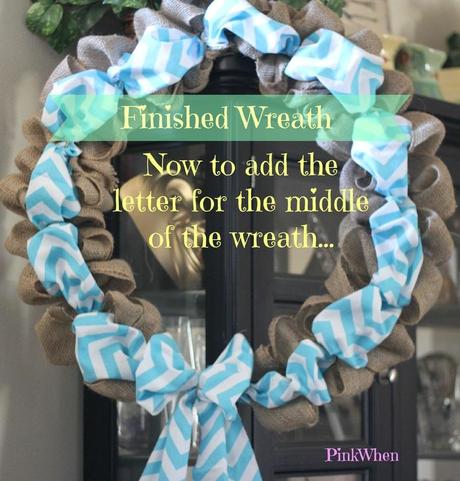 Finished Wreath, but done DONE! Now it's time to add the letter in the middle. You can always skip this step, but I really wanted to add this, so here is a quick how to:
 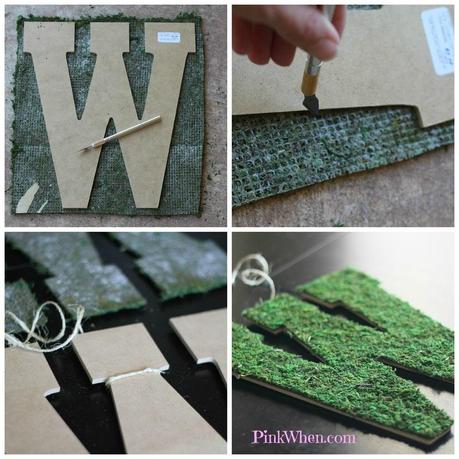 Creating your moss covered letter
 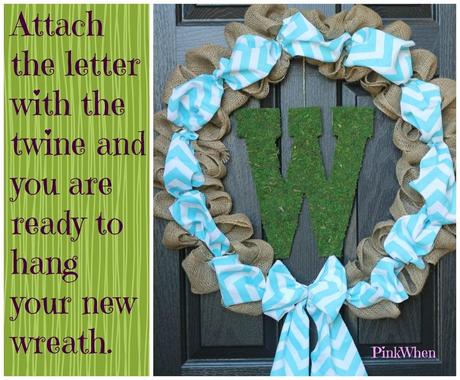 Burlap Chevron Wreath There it is! All complete. I cannot wait to make several different versions of this wreath. This one was quite large, but we always do LARGE in the South!
 Thanks for stopping in, and as always, if you like this tutorial, then please feel free to PIN it and SHARE it with all of your friends.
I love comments, so please let me know what you think, and definitely let me know if you try this tutorial. You can always comment here on the blog, or you can comment here and here!


