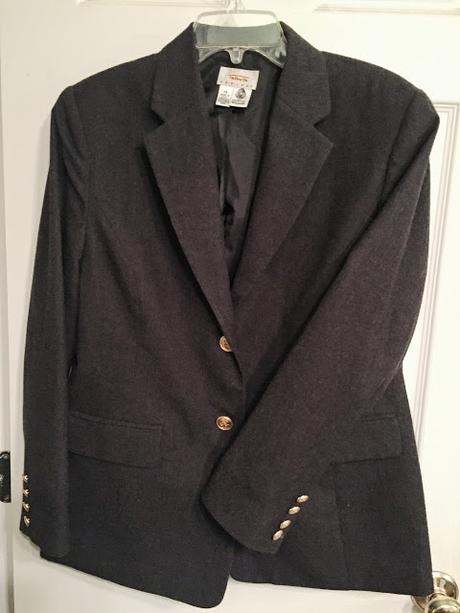
The gold buttons just wouldn't work with the gray, silver black color scheme. I pictured a blazer looked sedate school girl from the front and girl who skips school from the back. I looked online and briefly considered skull buttons but I didn't want it to look like a costume. Only a crest button in silver would work for what I had in mind. I found several at my local sewing store but ending up splurging on the most expensive option. They were perfect. Since I'd only spent $5 on my blazer and $12 on my patches, I could afford a little button splurge. Plus I found two coupons and ended up cutting my button cost down by about 40%! Yay for coupons!
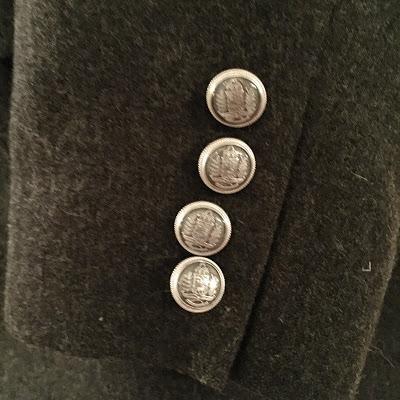
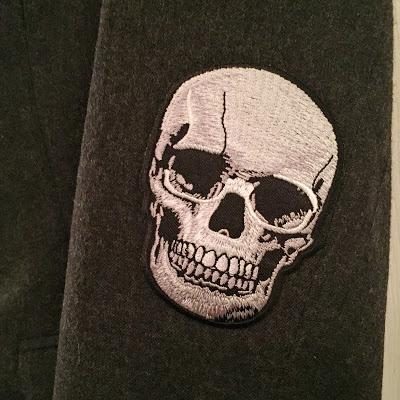
I started by removing all of the buttons and finding thread that would work. I chose dark gray thread that I already own. You just need thread that is close to the color of the blazer. The patches were iron on. I also made sure I had thread for stitching on the patches. Elbow patches get wear and tear and must bend a bit. I thought the adhesive might not stay tight. After attaching all of the buttons, I ironed on the elbow patches. I decided after my first wear to stitch around the edges. The patches had already started to lift a bit after only one day. A few stitches helped me feel confident that they would wear well, long term.
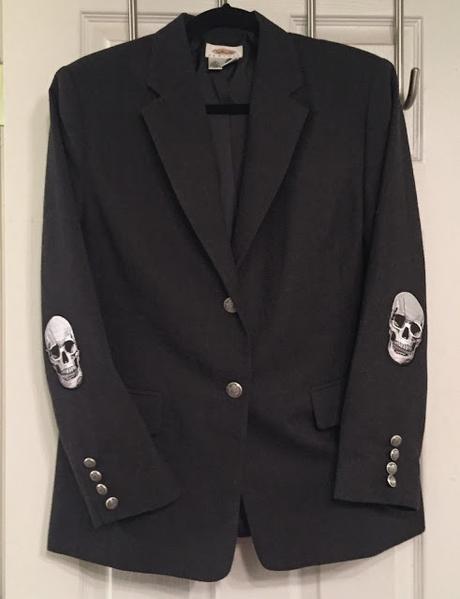
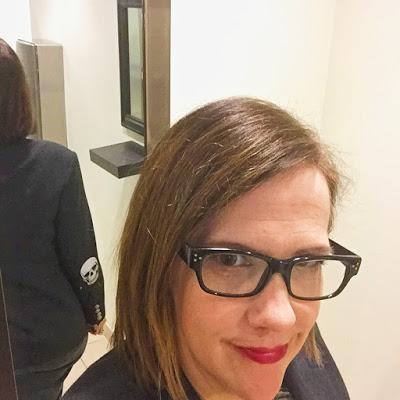
It turned out even better than I had hoped it would. It's exactly what I pictured. Business in the front and Bad Ass in the back!

