


DIY Birch Bark Angel Wings
*Sponsored Post
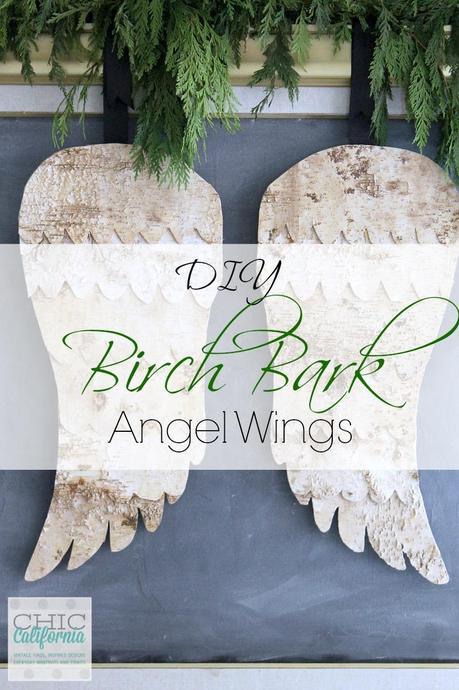 Every once in awhile I get an idea in my mind and it all just comes together. I have been seeing angel wings everywhere (like in stores and online, not just in my head!) and I really wanted to incorporate them into my Christmas decor. But I never seemed to like the price of anything I really, really wanted. I started thinking about ways to DIY my idea but realized that I didn’t have the right tool for the job. Enter Rockwell Tools with their Tools for People that Rock! Rockwell Tools sent me this awesome BladeRunner X2 and it’s the perfect tool to make my angel wing dreams come true.
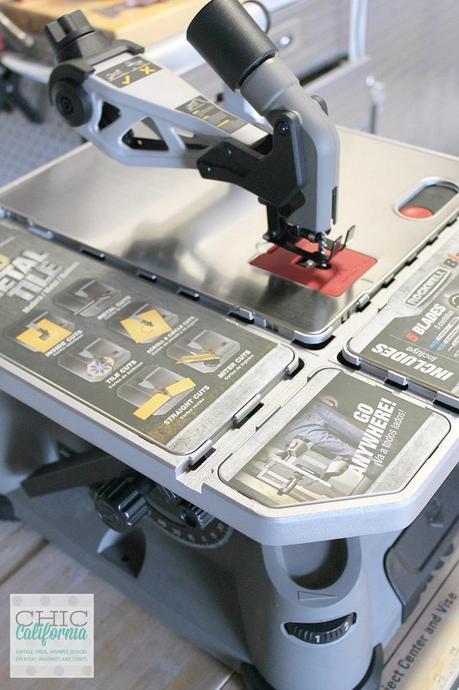 Let me tell you if you need a gift for your husband or let’s get real here girls, for yourself! This tool really does rock! I’m pretty sure I heard my husband grunt like “Tim the Tool Man Taylor” when he finished setting this up for me. He carefully showed me the details and the benefits of said saw.
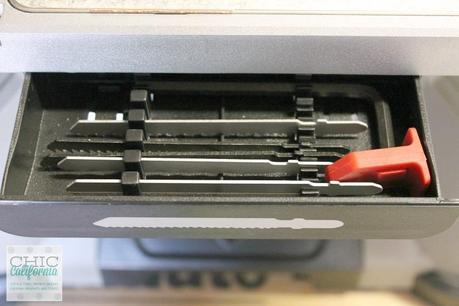 His manly grunts turned to giggling like a school girl when he showed me all the handy features, like the pull out drawer to store the blades and the handy optional wall attachment for storage. The Bladerunner X2 is seriously husband approved.
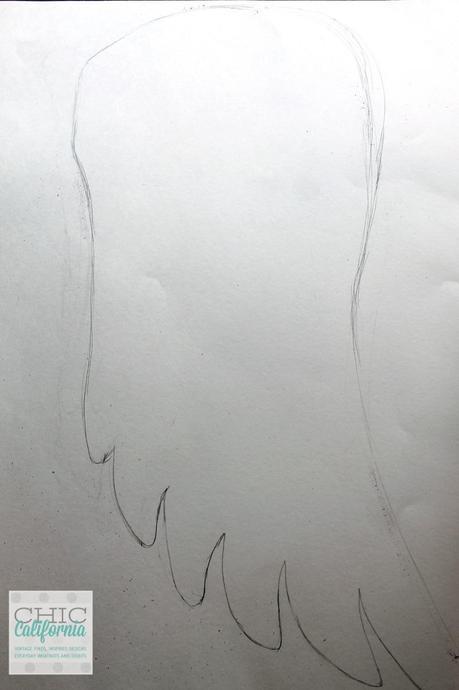 I started my angel wing project by drawing an angel wing on poster board and cutting it out to use as a template. If you are not super good at free handing your shape, you can always search a shape on google and then enlarge the image.
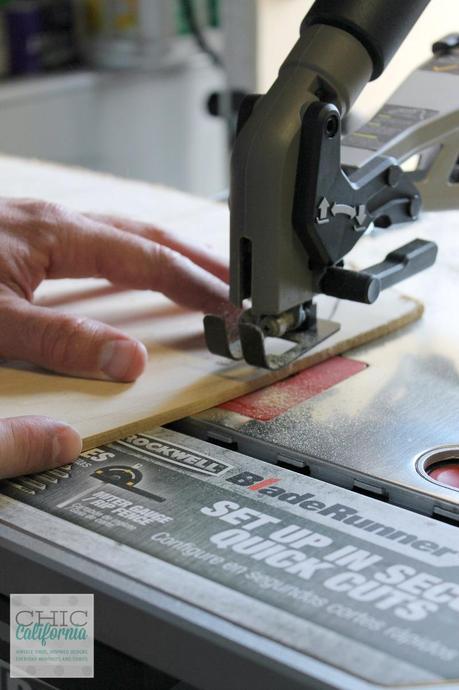 Using a 1/8″ thick piece of birch plywood, I traced the wing image onto the board and started cutting. This beauty cut like butter, but not scary out of control cutting. It was smooth and easy to use and even I took a turn at cutting the wings. (I’m seriously a power tool chicken, so if I can do it then anyone can!)
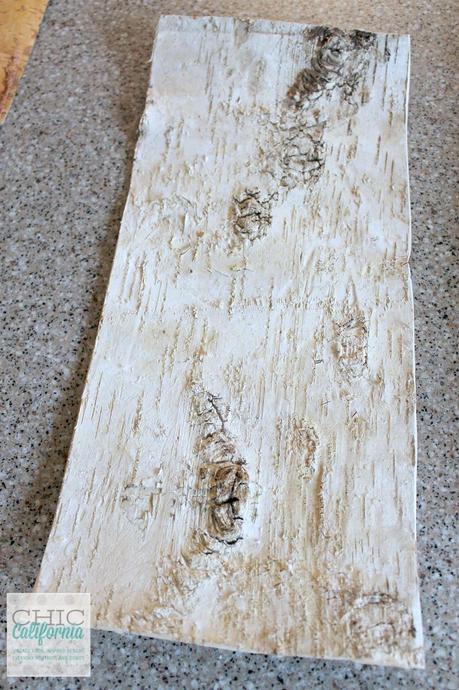 Here comes the birch bark! You can buy these sheets of birch bark for crafting at Save-on-Crafts. They have various sizes but I used the 15″ x 6.75″.
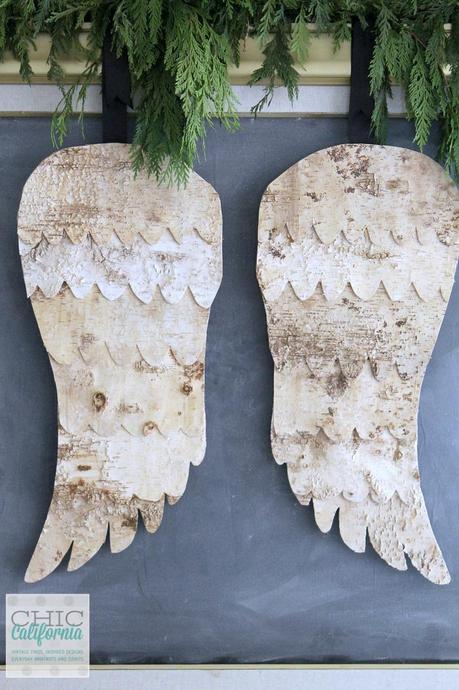
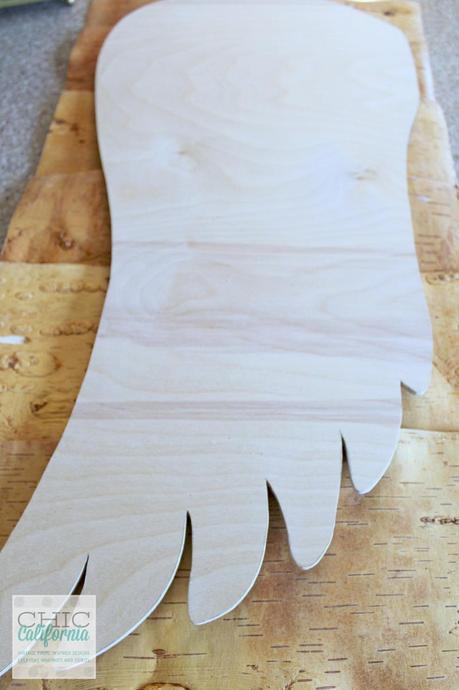 I used 6 sheets of bark per wing. To get the birch lined up I stacked them shingle style and then traced the wing onto the bark. Then using heavy duty scissors I cut the shape of the feathers from the birch.
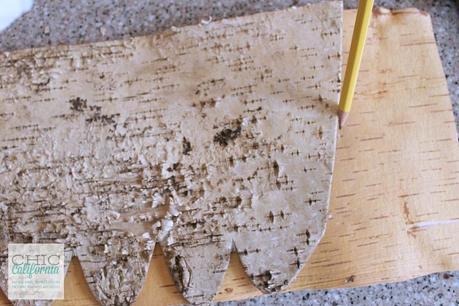 Since the wings are mirror images of each other once one set of birch was cut the other side was even easier.
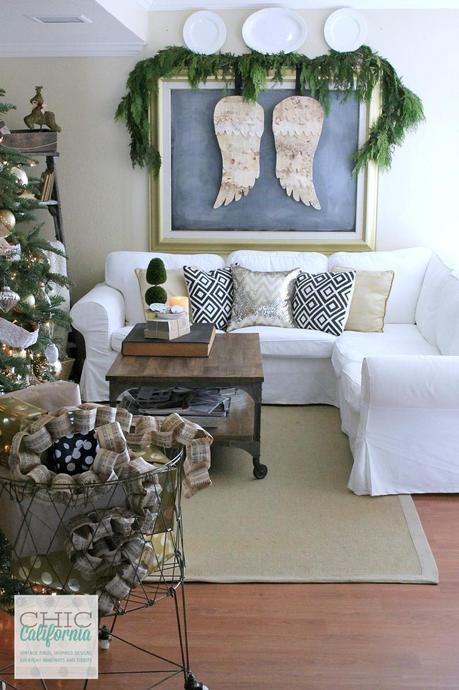
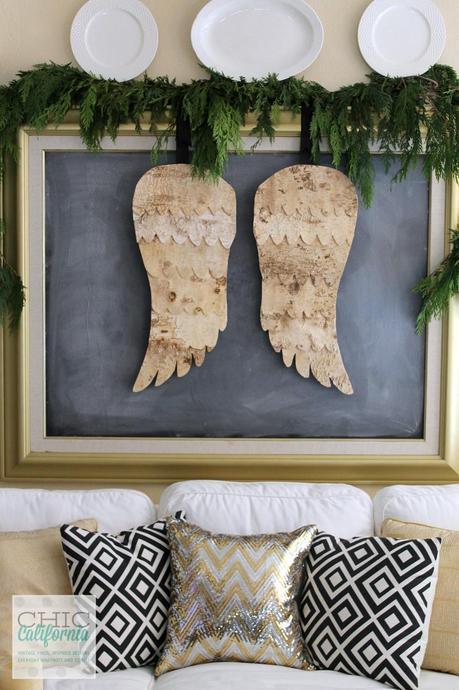
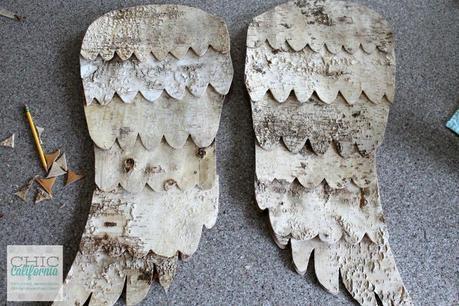 Once you have everything cut out, you can piece it together and glue the birch on the wood. I used my high temp glue gun to secure the birch bark to the wings. To hang the wings I added a picture hanger to the back of each wing and looped ribbon through them. But they could be hung directly on the wall as well.

Full Disclosure: This is a Sponsored Post. I received compensation in the form of monetary compensation or product in exchange for my review. I take pride in reviewing only products that fit my brand and will be beneficial to my readers. And while this post is sponsored, all the opinions are my own. Why do I do this? It will help me keep this blog rollin’ so I can bring you more Vintage Finds and Inspired Designs, Everyday Whatnots and Tidbits. For my full disclosure policy click here.

