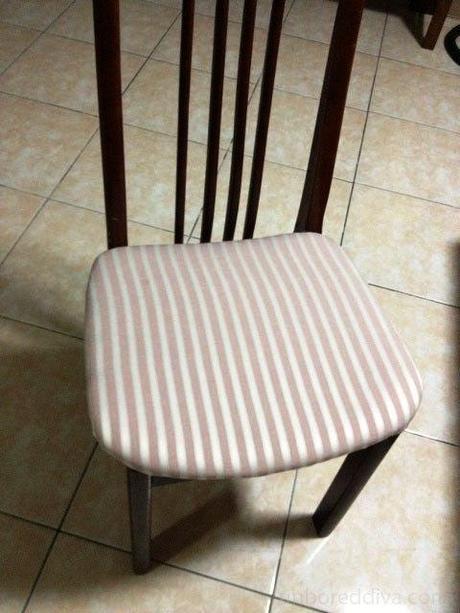
I have long been obsessing over our dining seats. My sister, who previously owned the dining set, had custom-made skirts for the seats and while we still use those occasionally, I still prefer the simple look of the chairs, no frills and all.
However, the seats were plain unsightly – dirty and stained. I had originally contacted a few people who offer upholster services but then when I took a closer look at the seats, I realized I may be able to do it myself.
Yes, light bulb moment! My friend Google helped me out, as usual. I found great tips here. I was ready for my dining seat cover makeover.
I went over to SM Megamall last week to hunt for affordable but elegant fabric. It turns out the department store did not sell any fabric (I had wanted to use the gift cards by brother gave me) but they were kind enough to refer me to the fabric stores within the building. The first store that I went to did not have a lot to choose from, but the next one, Fabric Warehouse, was cloth heaven. I even got myself a contact person to do our sofa covers and make some curtains for me! Anyway, I looked at a couple of swatches and was about to settle on a fuschia-salmon combo when the very helpful salesman pointed me to this white and salmon number. It was perfect! I couldn’t wait to head home and get started.
I had these handy:
- at least 3 yards of fabric
- a pair of scissors
- a staple gun
- a screwdriver
I first turned the chair over and unscrewed the seat from the frame. To make sure I had enough fabric to cover the seat, I laid the seat upside down on the cloth and made sure that I had at least 3 inches extra cloth on all sides. I was very liberal with the measurements. I then cut the squares and set aside the extra fabric.
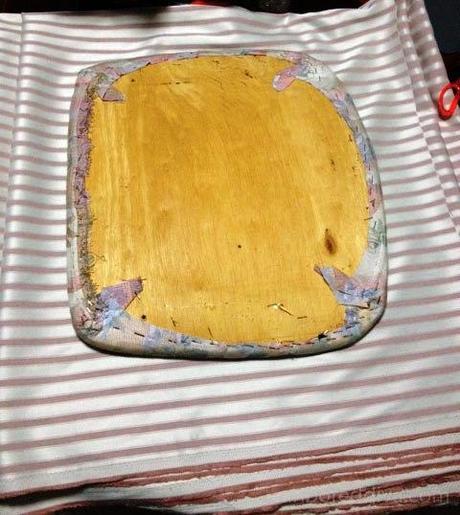
Since the new fabric was thick, I didn’t bother to remove the original fabric on the seat. I first stapled the sides, making sure to work my way from the outside to the center. I took care not too pull too much so that the stripes are aligned correctly.
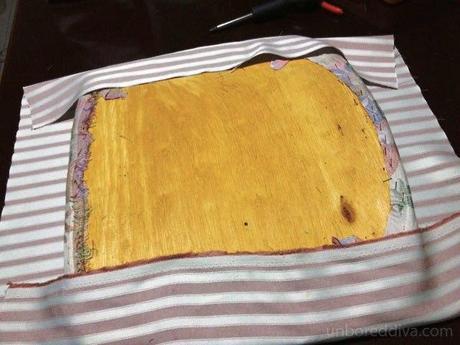
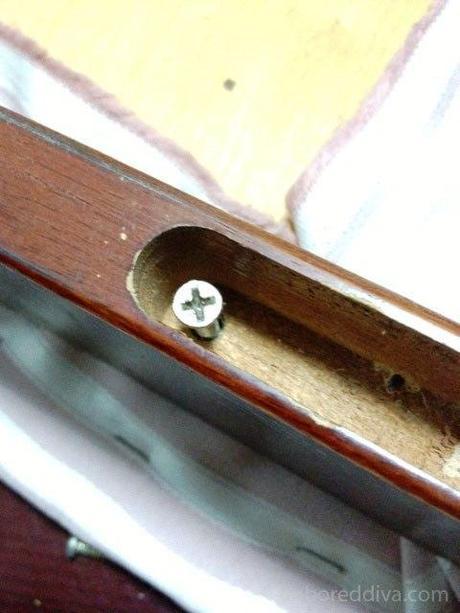
I then spread out the cloth at the corner and carefully pleated them, making sure the pleats do not show on the surface. Then I cut away the extra fabric so that the screw holes are not covered. I then screwed the seat back to the frame.
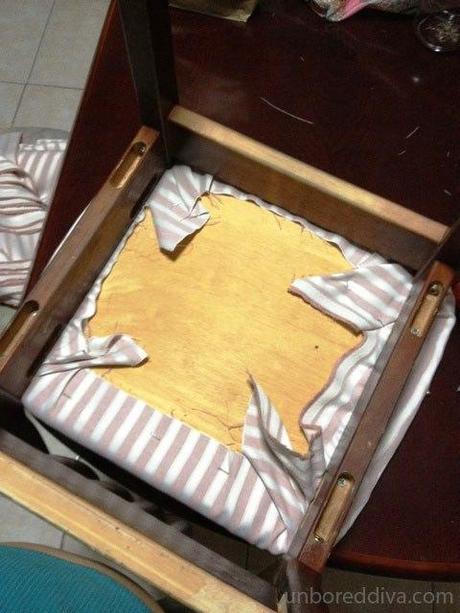
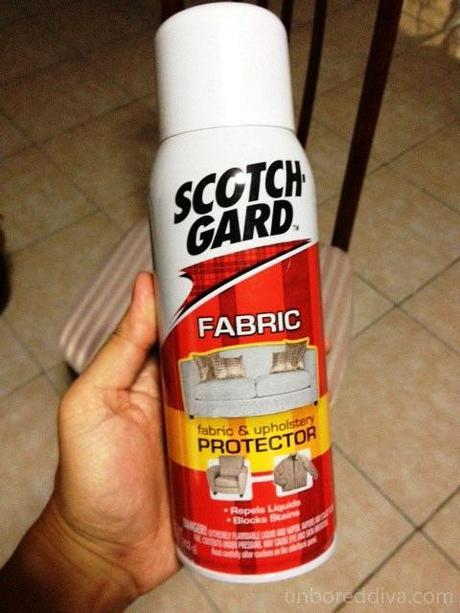
I still plan on covering the bottom of the seat with lining when I get the time to buy it. For now, I sprayed two coats of ScotchGuard (allowed the first coat to dry before applying the second one) on the seat so that it’s protected from stains and liquids.
This is the finished product! We have 6 dining chairs and they all look like new again.

