Managing your Inbox on a daily basis can be quite challenging and tiring, because of all the newsletters, advertisements, and emails from friends that flow in continuously. In this mess, it’s really easy to miss an important email.
Fortunately, iOS devices have a VIP feature that allows you to choose some people in your contacts and turn them into VIPs. This means that their emails will appear in their own section in Mail, which will make finding them a lot easier. You’ll also know whenever one of your VIP contacts gets in touch with you thanks to notifications in the form of on-screen alerts and unique sounds.
How to Turn a Contact into a VIP

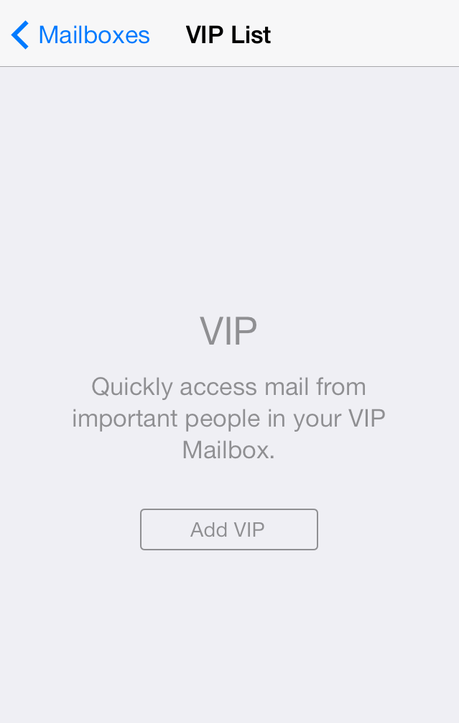
Tap on the Add VIP button.
1. Go to Mail>Mailboxes.
2. There, you’ll see the VIP option. Tap on it to open up your list of VIPs.
3. Select the Add VIP button to get a list of your contacts.
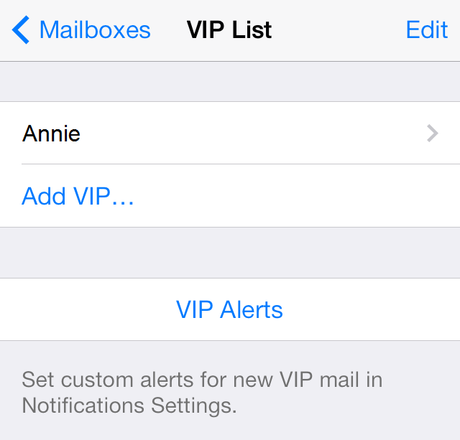
4. Tap the name of the contact you want to add to your VIP list. That person will automatically be added to the list.

Create a list and then set up notifications for your VIPs.
5. If the contact isn’t visible or their name is colored in grey, you’ll need to add an email address for them first in Contacts.
Set Up Sounds and Alerts
Once you have finished adding contacts to your VIP list, go back to Mail and from there set up a notification sound for them.

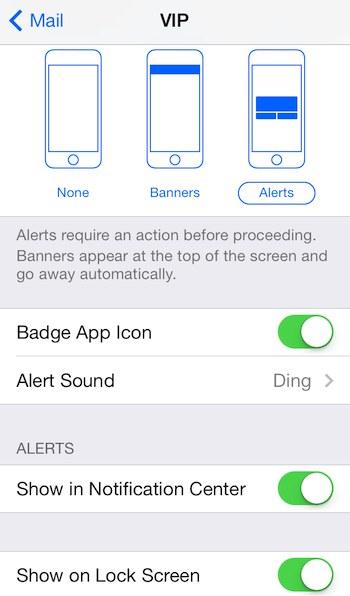
Choose a desired alert or a sound.
1. Tap on the VIP Alerts button. You will be taken to the VIP settings.
2. Move the Notification Center slider to ON.
3. Select an alert (banner notifications, alerts or none) or a special sound for your VIP contacts. You can also receive a preview of the email on your screen when it arrives.

