A Cream Charger, also known as a Cream Whipper or Cream Siphon, is a metal canister that you put liquid in, and pressurise it with gas (Nitrous Oxide) to create a foam. To put it more simply, it's a create your own squirty cream can! Of course you can make a lot more than just whipped cream with the charger. You can use it to make a variety of things such as batters, fruit foams, mousses, espumas and sauces.
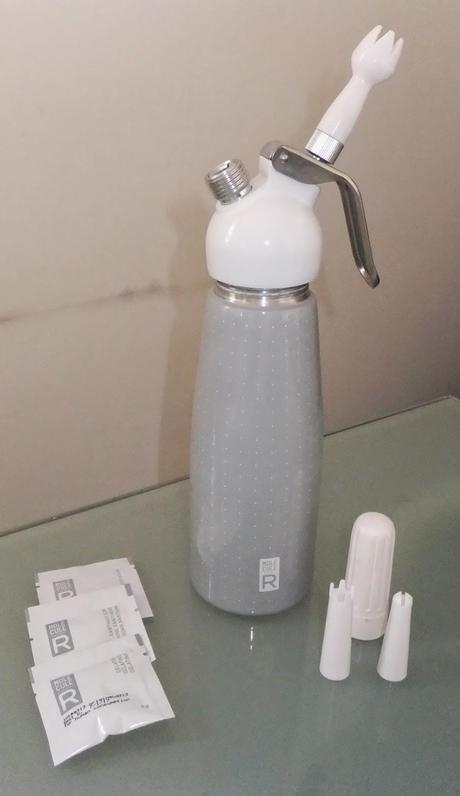
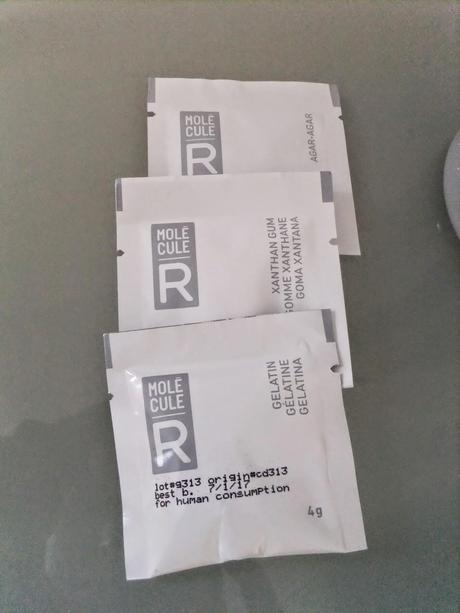
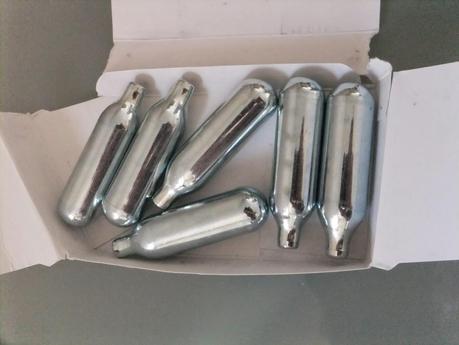
The pack I got from Cheeky Monkey Cream Chargers came with a 500ml capacity Cream Charger, 3 nozzles, several gas cartridges, natural food additive sachets - Agar Agar, Gelatin and Xanthan Gum. Most people know what gelatin is, agar agar is a natural gelling agent which maintains the structure of warm mousses and espumas, and xanthan gum is a natural thickening agent that makes low fat mousses smoother.
One of the great things about Cream Chargers is that you can make low fat mousses and creams. When you whip cream normally, it is the fat in it that binds it together and makes it thick. If you add xanthan gum to a mixture of single cream and skimmed milk you can make a low fat whipped cream (recipe here). You can also make chocolate mousses with no cream or milk at all (recipe here). This allows for more intense flavours. You can also store the charger whipped mixtures inside the charger for longer without the structure of the mixture changing. A mousse or espuma may lose some of it's airation if left in a covered bowl for example, but left in the charger it stays foamy and light. Plus it extends the shelf life, whipped cream will last for 10 days inside the charger if kept in the fridge.
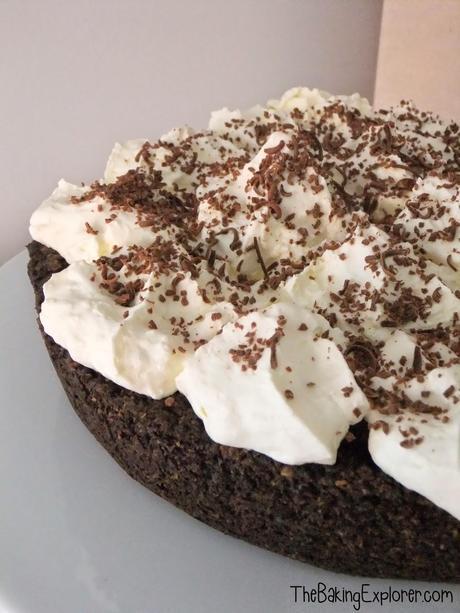
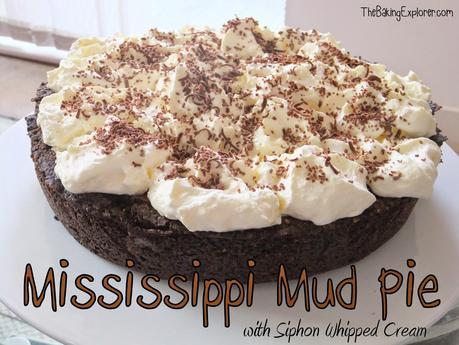
Despite the ability of the charger to make delicious low fat concoctions, as it was my first go with it, I used it to top a very rich decadant desert in the form of Mississippi Mud Pie with charger whipped cream!
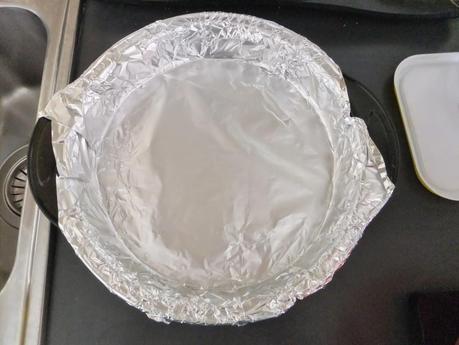
First off I lined a 23cm wide by 4cm deep pie tin with foil. This makes it super easy to remove the pie after cooking.
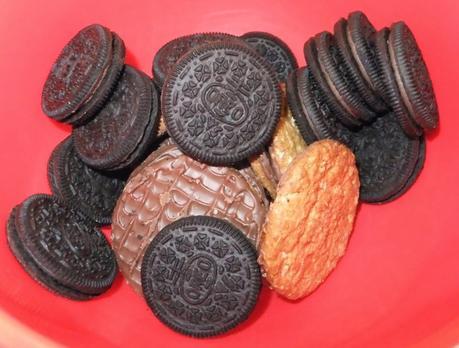
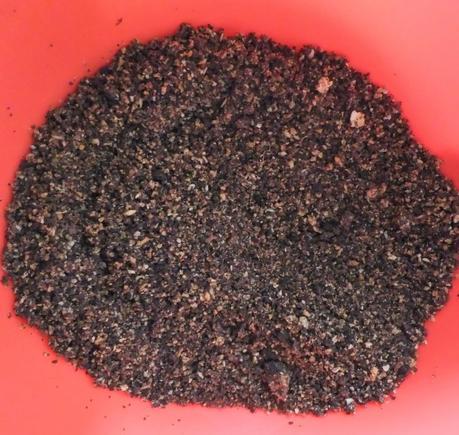
I started by making the biscuit base. I melted 75g butter in a pan and whizzed up 150g Chocolate filled Oreos and 150g Chocolate covered Oatie biscuits in a food processor until fine crumbs formed.
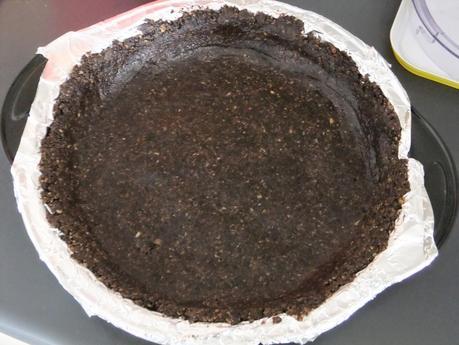
I added the melted butter into the biscuit crumbs and stirred well. Then I poured them into my lined tin and used the back of a spoon to smooth them around the base and sides to create my pie crust. I chilled the crust for 30 minutes in the fridge.
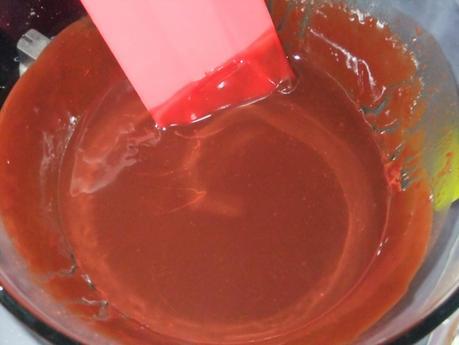
To make the filling I melted 135g dark chocolate and 135g butter in a glass bowl over boiling water. I let it cool for 10 minutes.
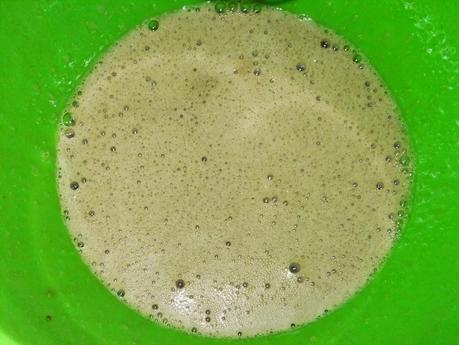
Meanwhile I whisked 3 eggs with 150g light brown sugar until frothy.
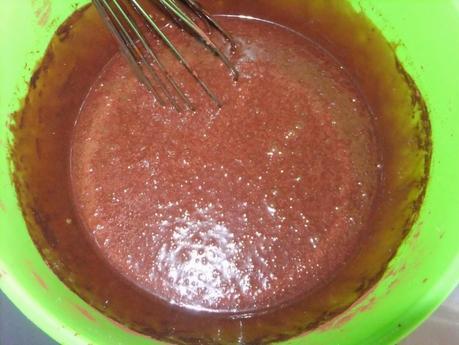
I added the chocolate mixture slowly, whisking as I went. I then added 25g cocoa powder and 150ml double cream and mixed in.
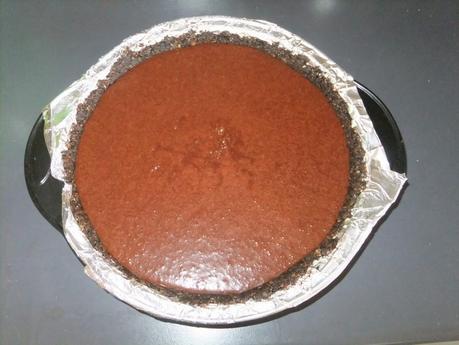
I slowly poured the filling into the chilled pie crust. I baked the pie on 180C/160C Fan/350F/Gas Mark 4 for 35 minutes.
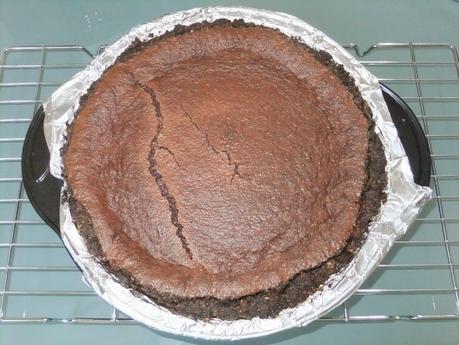
My topping did crack and puff up quite a lot, but it does sink back down as the pie cool, and you are covering it with cream anyway so the cracks don't matter! I left the pie to cool completely.
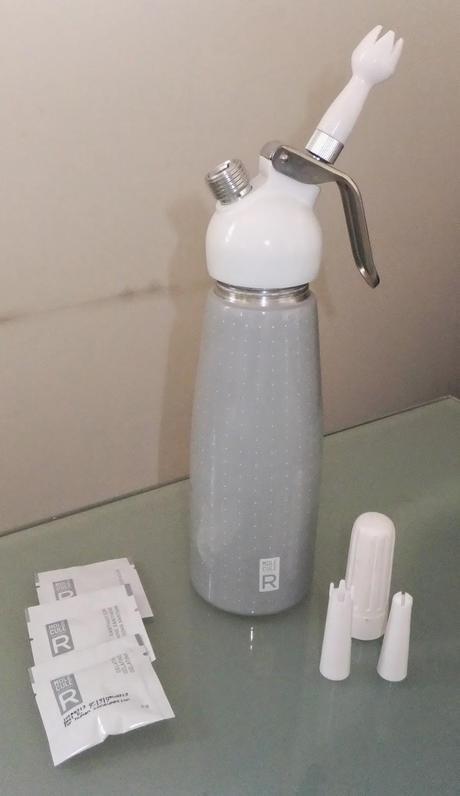
I poured 300ml cream into the Cream Charger. You can only fill the charger 3/4 full, so a maximum of 375ml liquid. This is because you need to leave room for the gas. I screwed on my chosen nozzle and screwed in a gas canister, you will hear a hissing noise when the gas canister gets pierced as you screw it on. I then shook the charger vigerously a few times and placed it in the fridge. I was still waiting for the pie to cool at this point so keeping it in the fridge kept the cream cold.
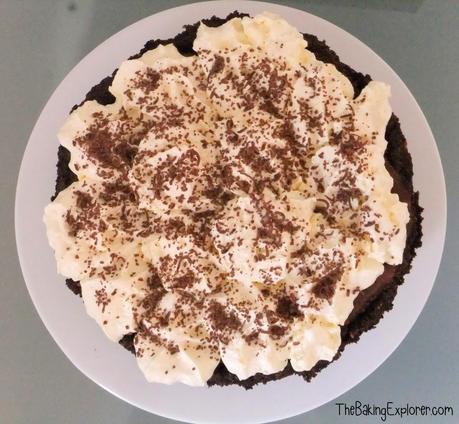
Before dispensing the cream I shook the charger again, then held it upside down to dispense the cream. I covered the pie with cream easily by squeezing the handle. My finesse definitely needs work! I then sprinkled on some grated dark chocolate. The pie was ready!
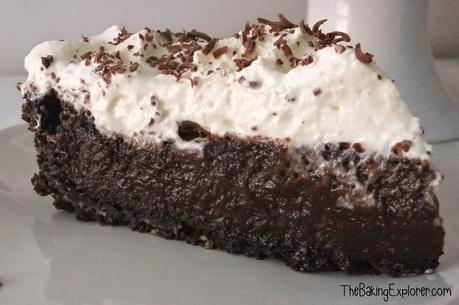
Wow this pie is yummy! The filling in the middle is melt in the mouth and lighter than you expect what with all the chocolatey goodness it's made with. The cream on top is the perfect touch and making it with the Cream Charger was super easy and quick. It's definitely a minimum effort tool. I was a little intimidated by it at first, but once I wrapped my head round how it worked and what it actually did, and of course tried it out, I felt completely at ease. I think this will add a really exciting element to my future bakes and I am looking forward to more daring experiements with it! Watch this space.
If you would like to find out more about Cream Chargers, or to purchase one, click here.

I am also linking this up to the new Cook, Blog, Share link party over at Supergolden Bakes!
NB. I was sent the Cream Charger free to review but was not required to write a positive review.
