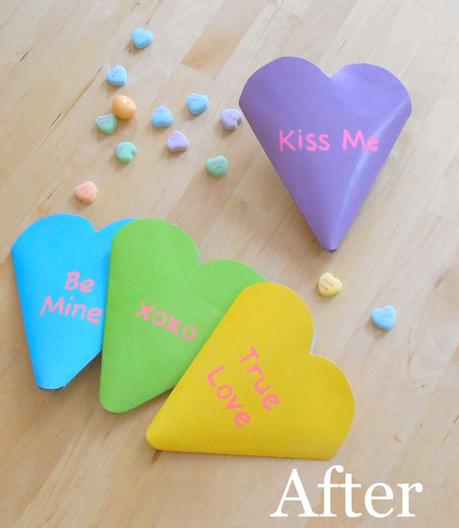
These sweet conversation-heart valentines are fun and personal, and they let me reclaim some much needed space in my kitchen cabinets. What's not to love?Happy Valentine's Day, everyone:)
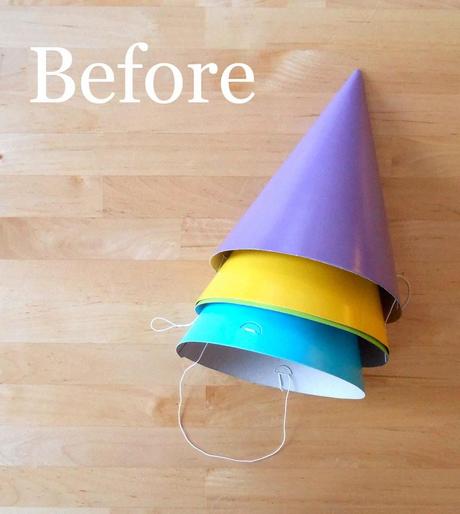
 Materials:-paper party hats-scissors-ballpoint pen-gel pen
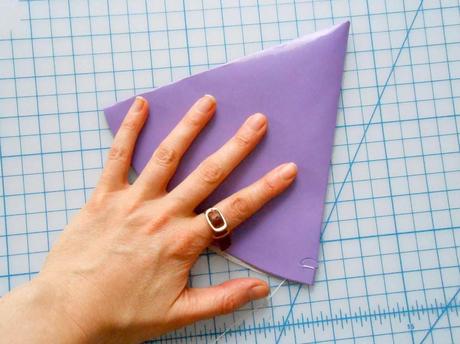
Step 1: Flatten the hat, with the seam in the back.
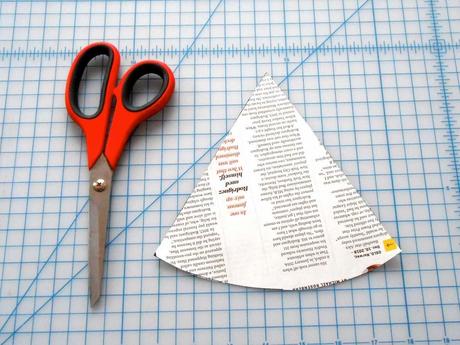
Step 2: Trace the shape of the hat on to a piece of scrap paper and cut out. (Pages from old magazine are great for this!)
Step 3:Fold this paper in half and then cut a curve about 2" down from the top edge.
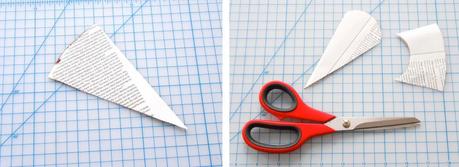
When you're finished cutting open it up and it will look like this. This will serve as your template.
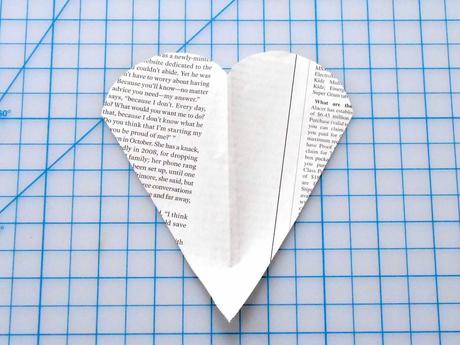
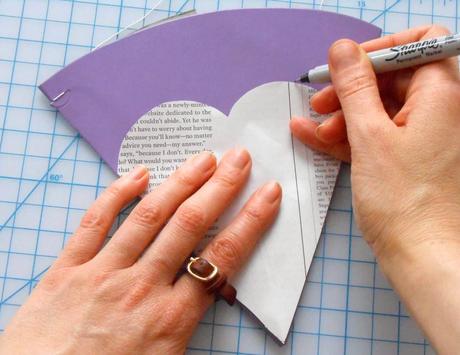
Step 4: Lay the heart template on top of your hat and trace around the top curves.
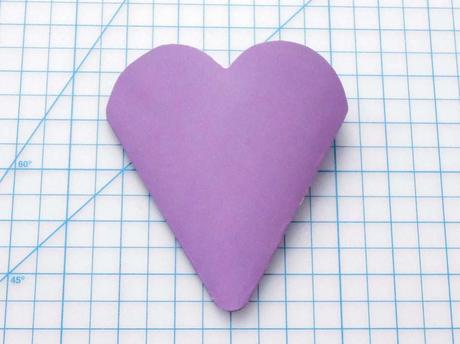
Step 5: Cut directly on the line and then snip off a tiny bit from the bottom point. This will make it more closely resemble the shape of a conversation heart.
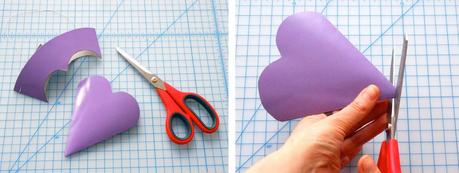
Now you've got your heart!
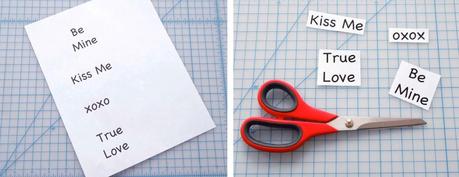
Step 6: Now on to the messages! Type up a few typical conversation heart phrases and print them out. Then, cut around each messages.
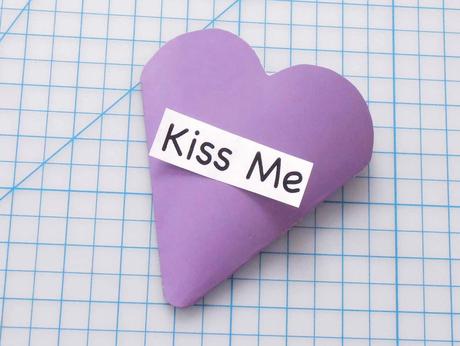
Step 7: Place a message over your flattened hat, centered as best you can.
Step 4: Trace around each letter with a ball point pen.
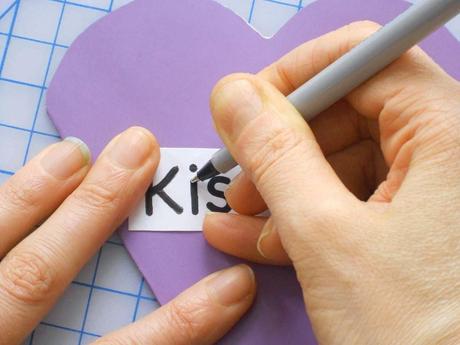
When you lift up the message, you'll see the impression of the words on the hat.
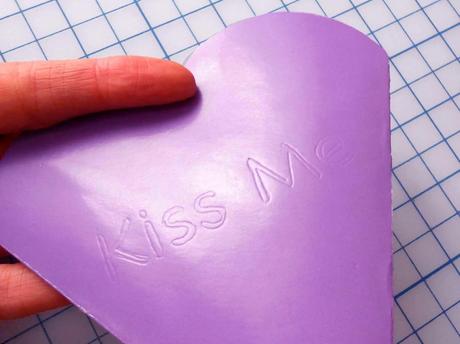
Step 5: Trace the word impression with your gel pen, then fill in.

Step 8: Fill it up with goodies.
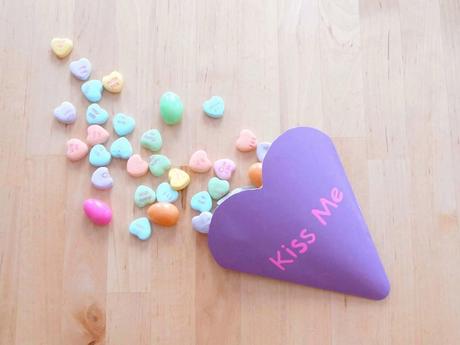
Step 2: To seal, place some double stick tape around the top and press firmly.
*You may want to note that if your double stick tape is on the wimpy side, you can just as easily close this with a couple of staples.
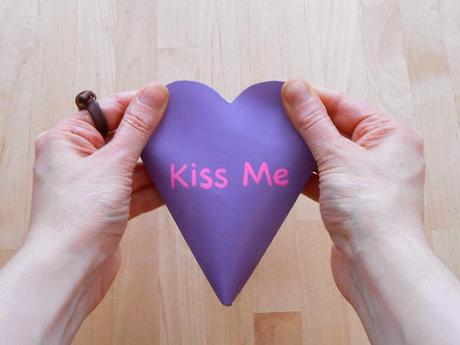
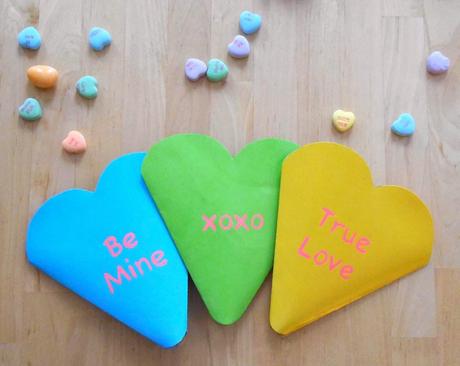
**Repeat for as many valentines as you need to make.**
If this sudden depletion of party supplies has you feeling a little unprepared, the tops that you cut off in step 5 can be saved and used as crowns. They're cute, but even better, they take up very little space:)

