The last 2 months, I have been baking, baking, baking a lot of breads. I used recipes from other blogs, bread baking books etc! Now, I am finally creating many recipes of my own so this is my latest bread. This one I made early this morning. I was up early to make a fresh bread,…ooh yes & what a special one too!
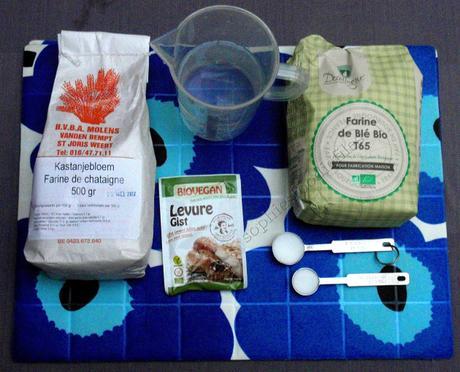
I invented this lovely CHESTNUT BREAD! Yes! This is one lovely tasty bread! I only has 5 ingredients! Can you guess which one’s?
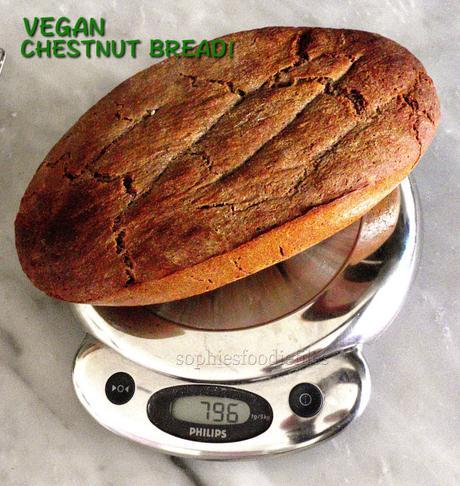
DELICIOUS!!!!
Do you know that chestnut flour is completely gluten-free? But in this recipe, I mix it with organic T65 white flour, for extra gluten! It has a mild sweet flavor & is light brown in color. Chestnut flour is also very healthy. It is low in calories, is low-fat because it is mostly starch. Chestnut flour has a lot of good fiber in them, about 8 gr/100 gr chestnut flour. It also contains a lot of vitamin C. It is also rich in folic, like in green veggies. It also contains a lot of good minerals, zinc, calcium, magnesium, manganese & phosphorus. It also contains a good amount of potassium: 518 mg / 100 gr. So, it is unbelievably good for you!

- Peeled Roasted Chestnuts, finely milled.
- Naturally gluten-free.
- Has a mild sweetness perfect for desserts and bakes.
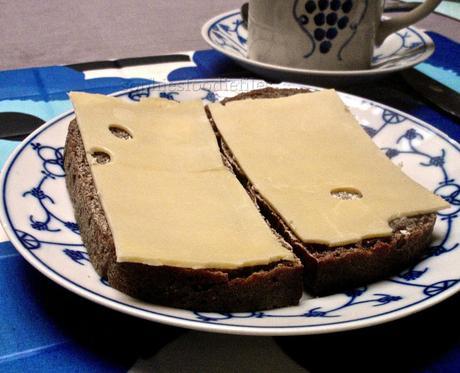
- This bread has a distinctive special flavor because of the milled chestnuts in here! Not everything is yummy on these slices of bread. I love to smear it with non-vegan butter & a good slice of young cheese. That is the most delicious way, I believe. It is also yummy smeared with butter alone!

I bought this lovely chestnut flour at a mill not so far away from where we live at Molens Vanden Bempt @Sint-Joris-Weert! Their website is only in Dutch.
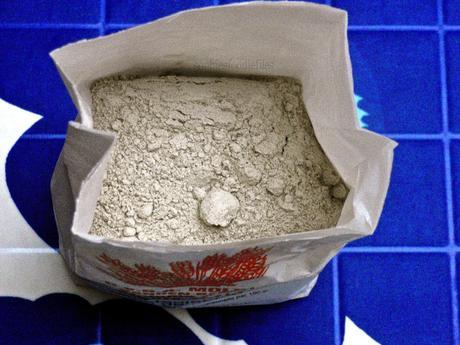
Chestnut flour
Recipe: For 1 bread of nearly 800 gr!
Ingredients:
150 gr chestnut flour
350 gr organic white flour ( I use French T 65 organic flour)
9 gr vegan dried yeast
1 + 1/2 teaspoon ground table salt
320 gr lukewarm water
Method:
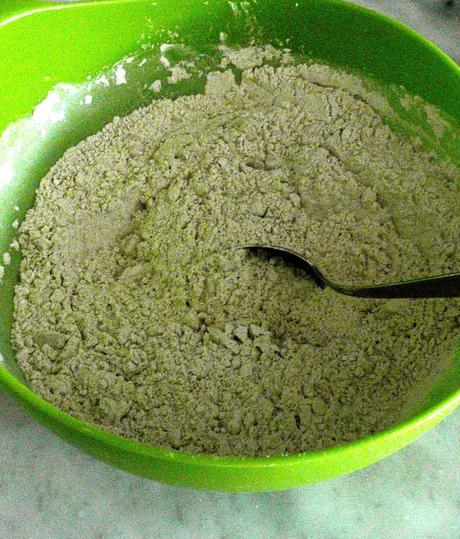
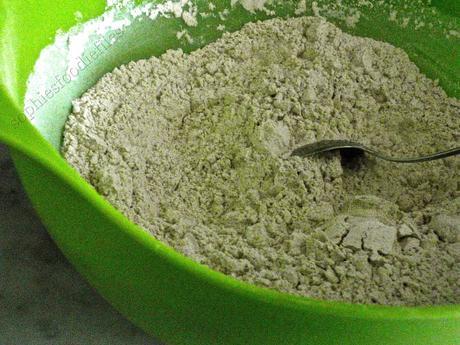
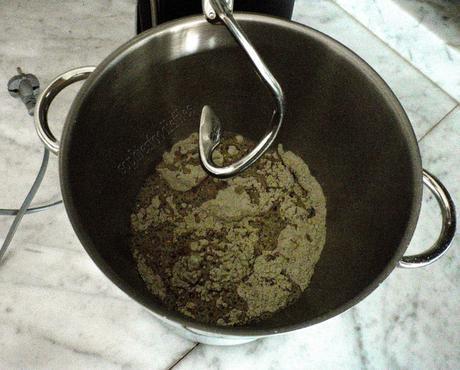
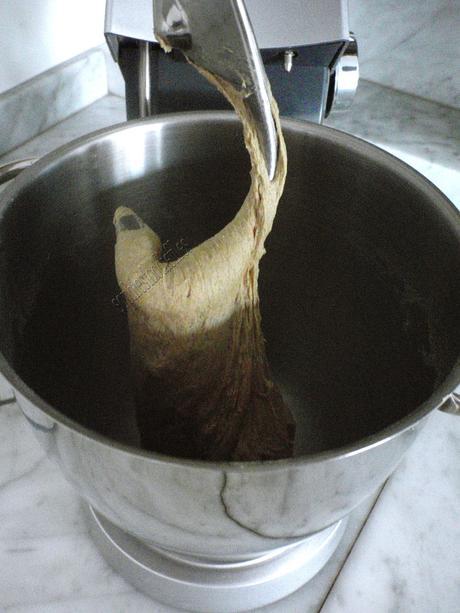
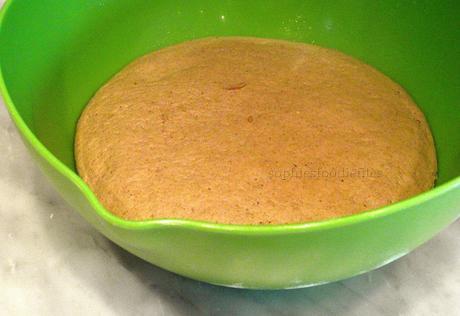
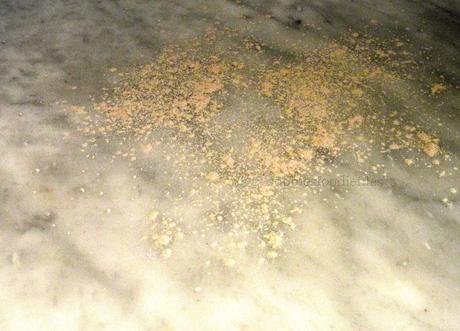
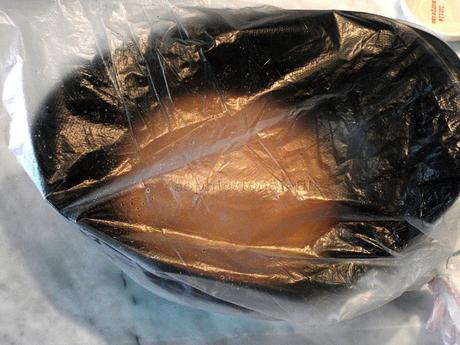
- Take a medium bowl & add 2 flours. Mix with a spoon. Add dry yeast & mix in. Now, add salt & mix. Put this mix into the bowl of your Kenwood machine & place the dough hook in. Add lukewarm water & mix onto high-speed until a dough forms. Sometimes you need to scrape the sides of the bowl. Mix further. Let the machine mix the dough fully to get the gluten stretched well for about 8 minutes on higher speed. I have 6 speeds in total & nearly all the time, I mix my dough on speed 5! After these 8 minutes, the dough will get stretchy & less sticky & that is what you want! Flour your kitchen counter with a bit of the T 65 flour. Take your brown dough out of the bowl & knead it extra for about 2-3 minutes. Slap the dough or roll the dough out with your hands & fold it back again at the top & at the bottom to the inside. Then, turn your dough for a quarter. Repeat the process 3 times. Form a roundish shape. When you push gently into the surface of the dough & it springs back gently, then your dough is ready for the 1st rise. Oil a bigger bowl with some sunflower oil. Put the dough in here & cover with plastic wrap. Leave the dough to rise for the 1st time until it doubles in size. This is also called the proving time. I put my wrapped bowl onto a clean oven rack on top of my gas heater in the basement. It is very warm there. It took my dough 2 hours 20 minutes.
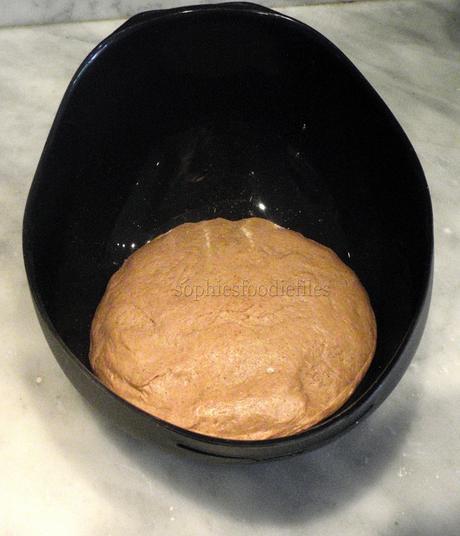
- Take plastic wrap off & take risen dough out of the oiled bowl. Knock the air out & place into a fitted bread tin or where you want your bread to be baked in. I chose my silicon bread tin. I didn’t need to oil my silicon tin. Leave to prove for a 2nd time until it has doubled in size. This took my dough 1 hour.
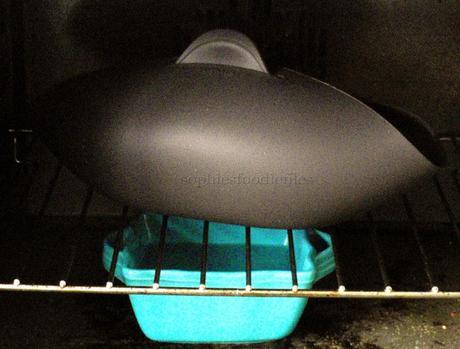
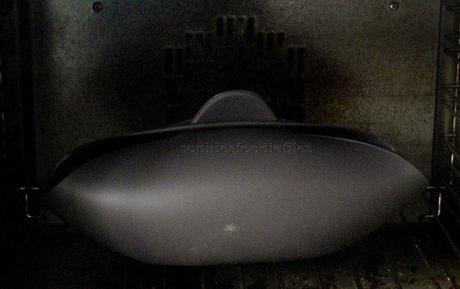
- Now, 10 minutes before you are going to bake your bread into the oven, preheat it to 220°C (425 F) for 10 minutes. Now, take a ceramic dish & fill it for 3/4 with just boiled water. Place it on the bottom go your hot oven. Just above it, place an oven rack. I slashed the bread surface 4 times with a sharp bread scraper. Then, I closed my silicon bread maker. I placed it onto the oven rack & closed my oven door. I baked my bread with the steam for 20 minutes on 220°C (425 F). After this time, I removed the hot ceramic filled dish with oven gloves! Hot, hot, hot! I baked my bread for another 12-15 minutes on 200°C! (400 F). Then, check if your bread is well-baked. Carefully removed your bread tin from the oven. Open the seal above! Watch out with the heat! Turn your bread over & check the bottom. If you tap on it, it should sound hollow. It did, so I left it on a wire rack to cool down completely! Then, enjoy!!!! Store in a bread bag!
 See photos part 1, explains it very well too!
 Enjoy!
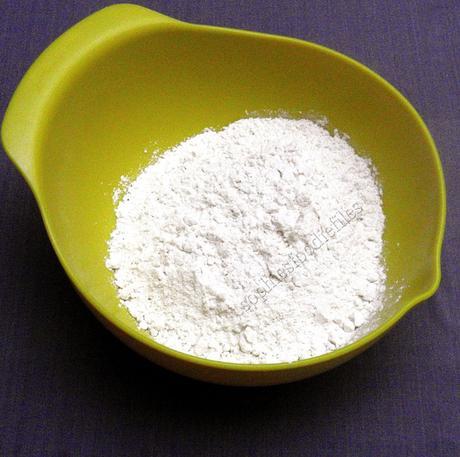
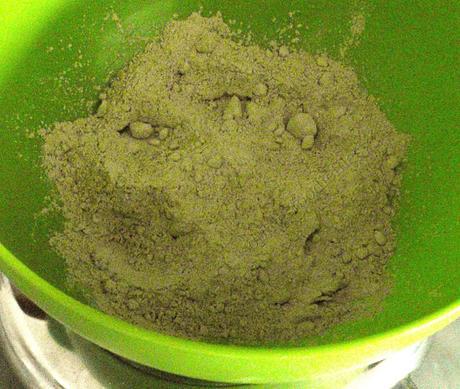
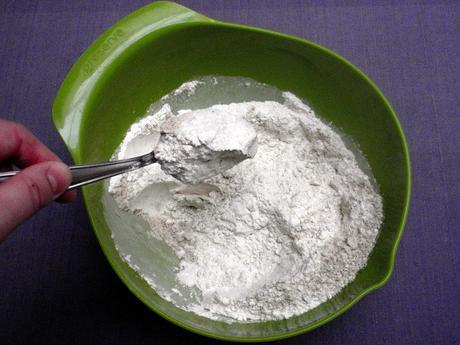
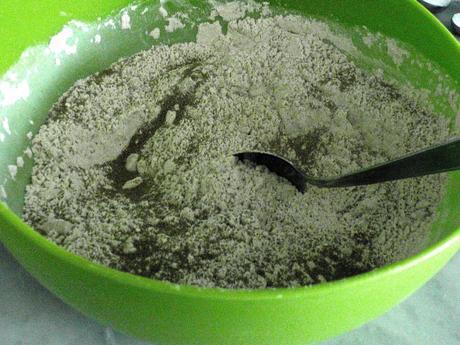
Now photos, part 2:
So, if you like to stay updated & receive my new latest posts through cool email newsletters, Subscribe now by email. It is free! Join 1,850 email subscribers! Get my free E-Book: Healthy Vegan Christmas too!
Subscribe through the link below:
http://eepurl.com/bSJtUr
Tagged: Bread, Breakfast, Christmas, Dairy - Free, Egg - Free, Food Gifts, Vegan, Vegetarian


