A few weeks ago I opened our refrigerator and found FOUR FULL GALLONS of fresh raw milk. And there was NO way it would all stay fresh long enough for four of us to drink it. I mean, the littles like milk, but to expect a two year old to drink a gallon in just a few days? Not reality in our house. Maybe if he was 15. But I’m not ready to imagine his sweet little face a teenager …

… You can’t make me.
So what to do with FOUR FULL GALLONS of fresh raw milk?
Besides ice cream?
And milk shakes?
And yogurt?
And kefir?
It seems so obvious.
Butter!
Cultured Raw Butter!
Why not?
I have a KitchenAid (affiliate link).
And a Food Processor.
I have access to the internet.
And by the way … Cultured Raw Butter is nutritious (a great source of vitamin E and Vitamin K, contains nutrients essential for childhood brain and nervous system development, saturated fats in butter have strong anti-tumor and anti-cancer properties … for a great list of the benefits of raw butter, check out this link from body ecology.)
Anyway … I had enough milk that I tried TWO ways to make butter.
In the KitchenAid … which (despite the assertion by THIS blogger that it takes less than 10 minutes), this took about 45 minutes of serious whippage in a high powered stand mixer.
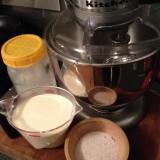
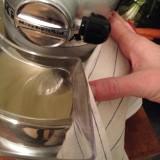
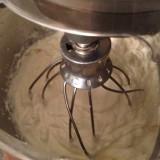
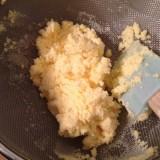
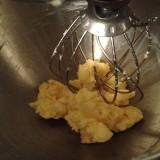
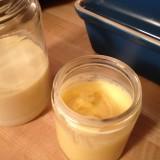
And in a Food Processor (which just about burned out the motor after an hour in our Cuisinart). The motor and body of the machine was hot to the touch for nearly an hour after processing.
This is what I did:
INGREDIENTS:
- 2 cups room temperature fresh raw cream (NOTE: you can use pasteurized cream, but raw cultured cream has more nutrient availability and tastes pretty darn amazing)
- 1 teaspoon sea salt
DIRECTIONS:
Put the cream in the stand mixer and turn it on (start at a low setting, make sure you either have a spray-shield or towel in place) and turn it up slowly so as not to spray your kitchen). Leave it on the highest setting until the liquid separates from the butter (can be from 6 to 40 minutes)
Pour off the liquid, then take what’s left of the solid and strain it in a fine mesh strainer. Press on the butter until no more liquid comes out.
Put the butter back in the mixer, add the sea salt and mix on high again. If any more liquid comes out, discard it. Do NOT add it to your buttermilk because it will be too salty and ruin the flavor of your buttermilk. NOTE: the more liquid you get out, the longer it will last in your fridge.
The yield, with 2 cups of cream, was about 4-6 oz. of butter and about a cup of buttermilk.
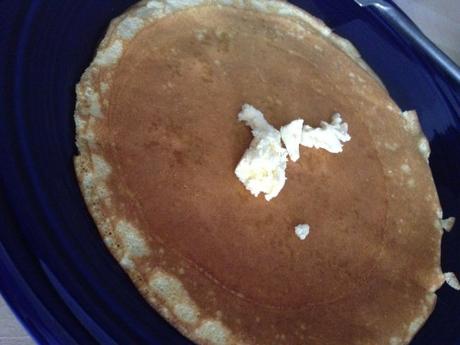
We made buttermilk sourdough pancakes with our first batch … and it was FANTASTIC. So fun … so nutritious … and totally delicious.
When I do it again (which is likely to be today or tomorrow, because I’ve got about 2 cups of heavy cream being wasted in the fridge and that just hurts), I’ll go the KitchenAid route. And not just because of the 15 minutes, or because I don’t want to destroy the motor on the food processor … the results in the stand mixer were a clear winner: better texture, better taste, and more usable buttermilk.
NOTE: The main reason it was better buttermilk in the stand mixer is that I didn’t add the salt until after straining the buttermilk. (Pathetic Confession: it wasn’t until I was bout to actually make butter that I realized buttermilk is the milk that skims from the cream when one makes butter … doh!) As for texture and taste … the stand mixer made for an easier-to-spread tastier butter. I can’t account for the difference in taste since I used cream from the same batches of milk. It could just be that I had a pinch more salt in in the stand mixer … or adding the salt after skimming the buttermilk means more of it stays in the butter and less strains off into the buttermilk. I’ll have to experiment more to figure this one out.
