 Why do we want a fireplace when we live in Florida? Do people in Maine want swimming pools? There are those rare occasions when swimming in Maine (I'm assuming) and sweating around the fireplace in Florida can be so perfect and memorable and beautiful, that you would never question the absurdity of it all.
Our Florida fireplace was beginning to look as neglected as it feels. Eager for a DIY project, we decided to give it a little makeover so it could really light up the room.
Here's the before picture of our fireplace:
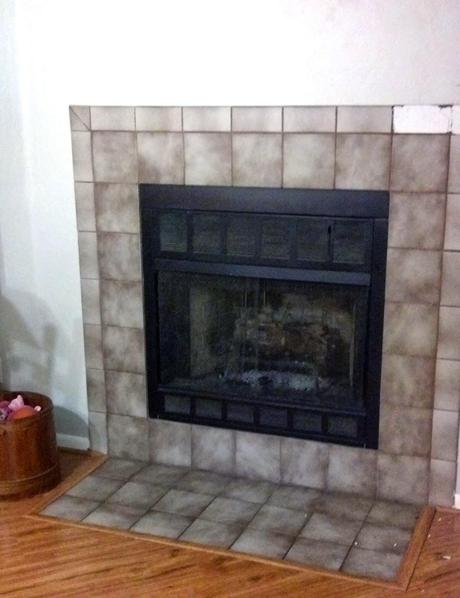
BEFORE
Nothing terrible, but no place to hang your stockings!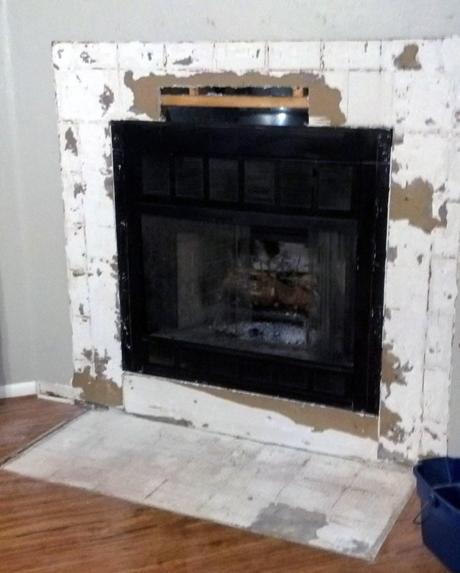
STEP 1: DESTROY
Before we could start on anything else, Pete removed all of the existing tile using a masonry chisel and hammer. He even managed to remove some drywall with it. ;) Oops.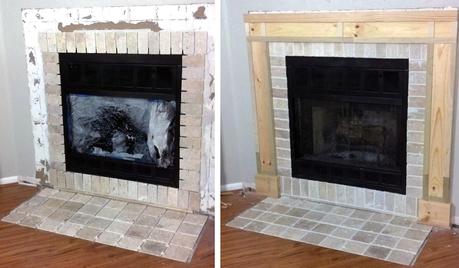
STEP 2, 3, 4: REBUILD
Step 2: TileWe chose travertine stone for our fireplace and spaced at 3/8" to replicate a brick look. Also, if I can be honest here, we chose a stone and design that involved us NOT having to cut at all. Lazy. Easy. Smart. All of the above. I've seen what amateurs do with a wet saw on Renovation Realities and I'm not about to go there...
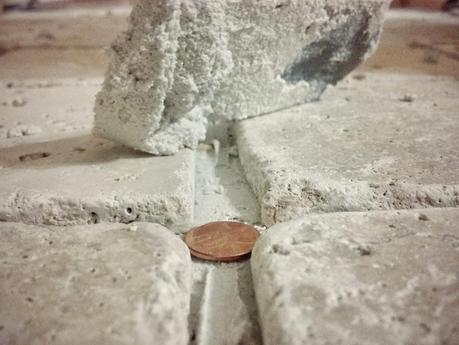
Step 3: GroutWe used unsanded, premixed bright white grout. We also stuck a 2014 heads-up penny in the hearth for good luck.
Step 4: MantelWe decided to go with a simple, rustic design for the mantel. The top of the mantel is a natural cedar 2"x6".
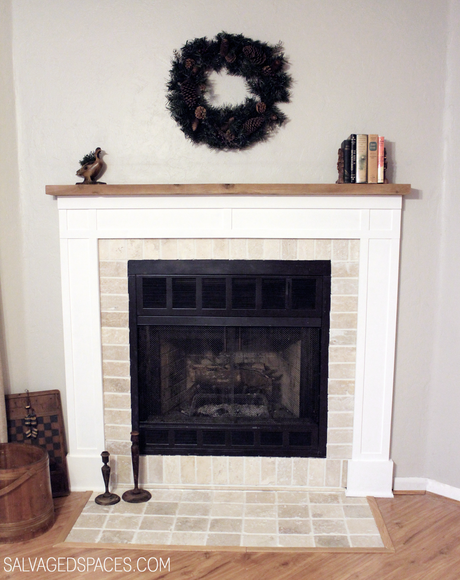
AFTER
I love the new look of our fireplace, and I'm so happy we could finish it before the holidays. I think it's going to be the perfect place to hang our Christmas stockings, while we gather around the hearth, sweat, and make s'mores.

