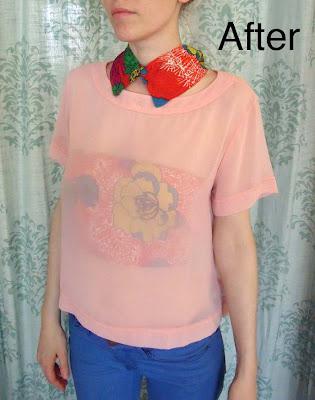
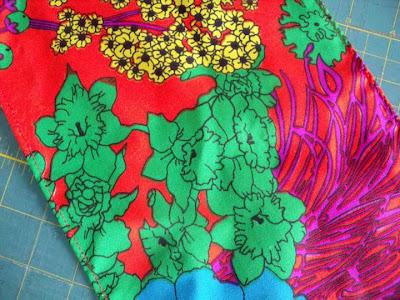
The vintage scarf below was perfect for this. I used to wear it all the time, but the past couple of years has seen it just sitting in my closet, mostly because some areas had become frayed and worn, and like everything else in my life, has way too many coffee stains. This project let me finally bring my bandeau top idea to life while using the parts of the scarf that were still in terrific shape. So excited to be able to wear it!
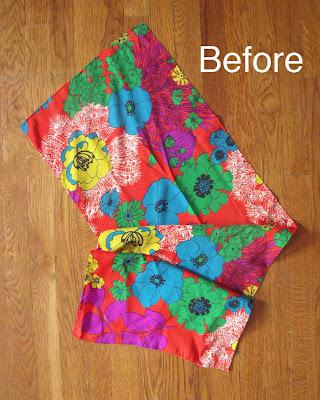
Materials-rectangular scarf-5" wide piece of elastic
Bandeau Top:
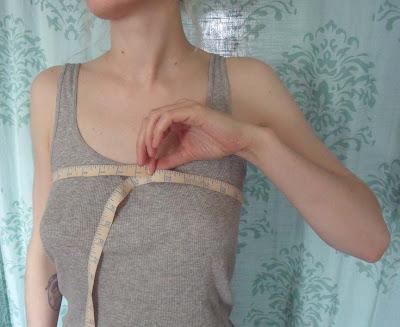
Step 1: Measure around your chest with a tape measure. To make sure that my top was fitted, I measured just above the bust to prevent the bandeau from ultimately being too loose at the top and bottom. The piece of elastic will accommodate the top's expanding where needed.
Step 2: Cut your materials. Of the measurement I took, I devoted 3/4 of that number to fabric and 1/4 in elastic. You may want to give yourself more elastic if you have a large bust or bought elastic without much stretch to it. (Do not add sewing allowance.)
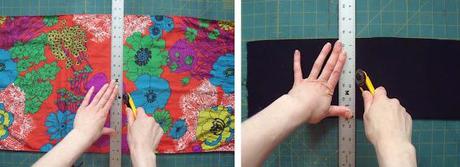
Step 3: Fold the fabric in half longways...
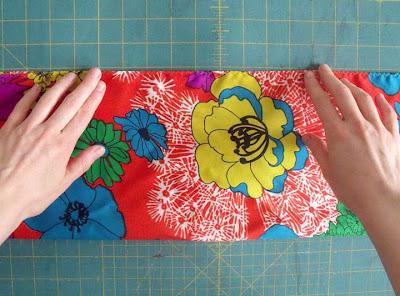
Step 4: ... and pin.
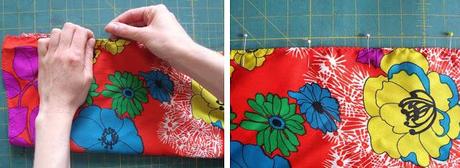
Step 5: Sew the two long sides. First, the pinned edge, then the folded edge.
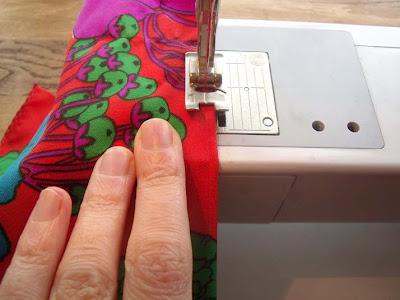
When you're done with this step the fabric will look like this:
Step 6: Place the elastic good-side up and lay a pice of double stick along one of the cut edges. Lay your fabric (good-side down) over top of the tape.
*If your fabric is larger than your elastic, like mine, use this chance to distribute the excess evenly.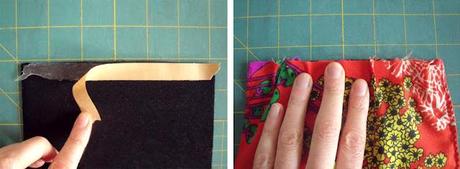 Step 7: Sew straight across.
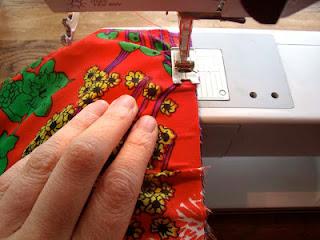
Step 8: Repeat steps 6 and 7 on the other side.
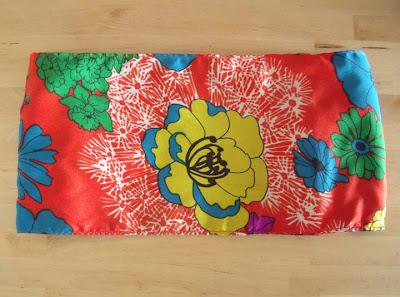
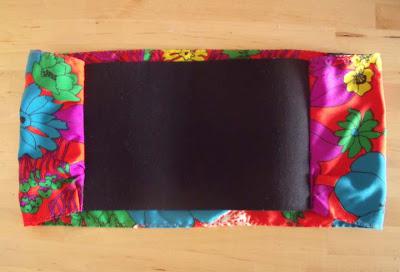
When you've finished with these steps, turn right-side out and the bandeau top is done!
The front will look like this...
 and the back like this....
Collar Necklace:
I chose to go about my collar pretty organically. Essentially, I wanted the end product to be worn like a bandana. Looking pristine from the from, but a bit more rough from the back.
If you like the idea of adding a collar, but want it to be a collar in a more traditional sense there are numerous great tutorials out there to coach you through it. I particularly likethisone, from Wayward Daughter
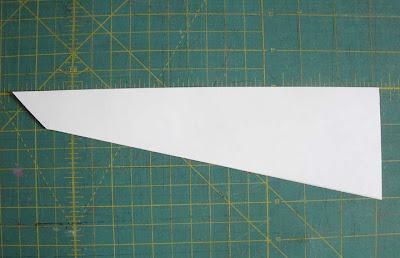
Step 1: Draw and cut out a general shape that you like for the collar. This will ultimately represent half of the collar.
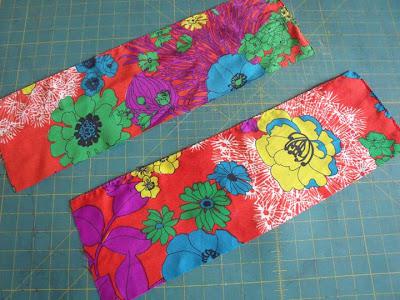
Step 2: Next, divide the remaining fabric left from the scarf into to long strips each 6" wide.
Step 3: Trace the pattern onto your fabric.
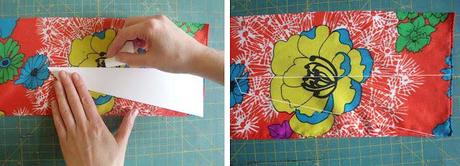
Step 4: Place double stick tape on the angled lower line of your shape and fold the fabric over it.
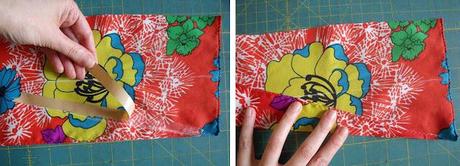
Step 5: Follow by placing double stick along the top edge of your fabric and fold down.
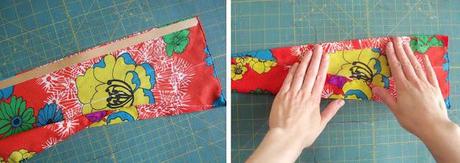
Step 6: Sew both folded edges.
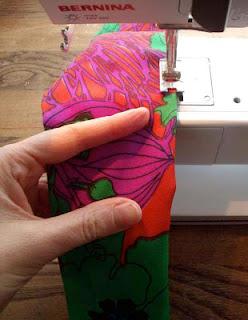
Step 7: Fold the collar in the other line you drew and sew straight across the fold. (No tape this time!)
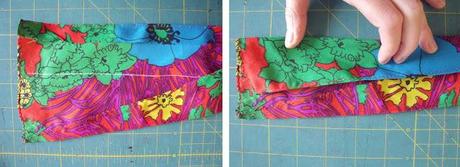
Step 8: Repeat steps 4 through 7 on the other strip of fabric you cut.
Step 9. The last step is to line up the two top points of the collar and tack stitch them together.
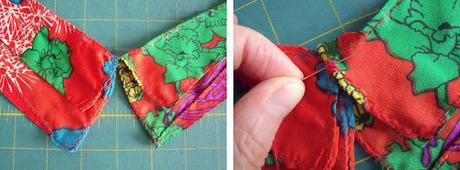
To wear:
Tie around your neck in the back.
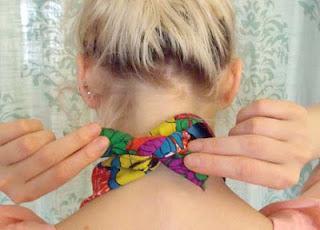
Insert the two pointed tabs on the back side of the collar behind the neckline of the shirt to help it stay in the position you want.
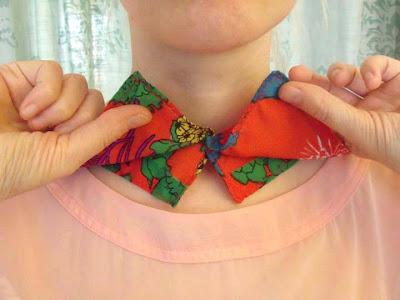 Fold the front half of the collar down.
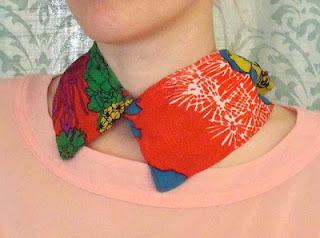 Good luck and have fun!
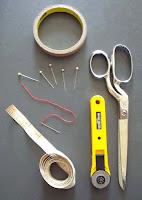
TOOLS
*scissors
*knife
*tape measure
*pins
*doublestick tape
*sewing machine / needle and thread
