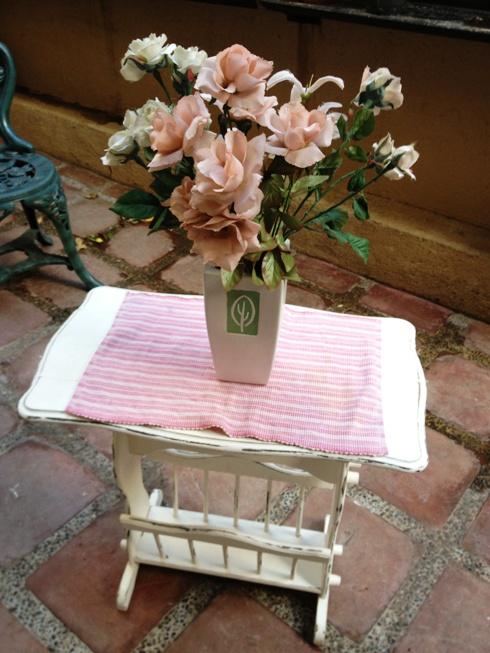
We were sorting out stuff we kept in the storage room one afternoon and I saw this sad-looking magazine rack tucked away in the corner, barely visible under the pile of rags draped over it. I instantly knew what to do with it and vowed to find the time.
I did find the time, and I had all of two days to make-over the rack. This is what it looked like.
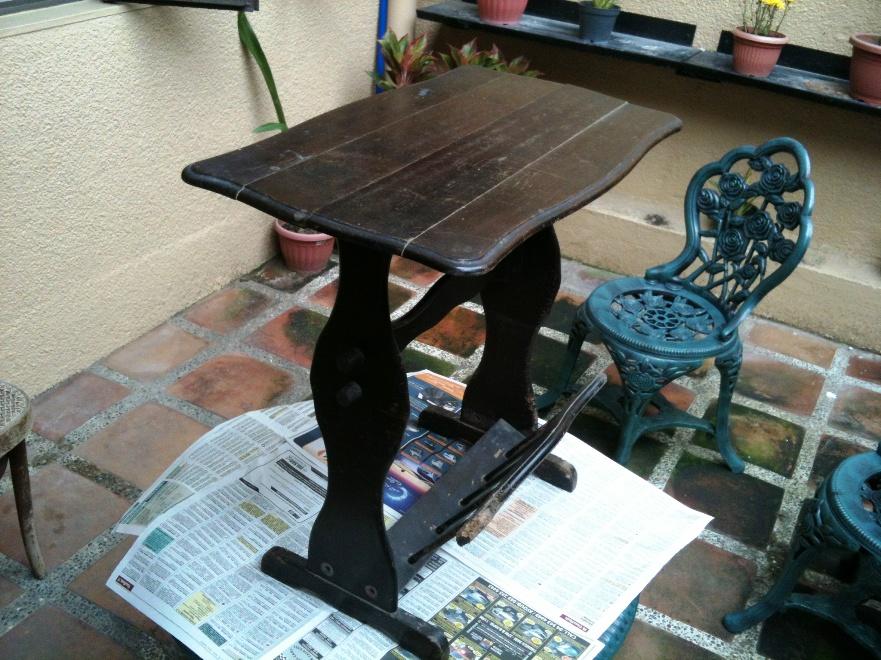
It looked much worse than it does on the picture above because some of the parts were already broken off. I enlisted the help of the hubby and his carpentry skills put the thing back together. This was taken while I was assembling the parts back.
We actually like the wood effect and are quite consistent with other pieces of furniture in the house, but this one was really asking for some TLC. I needed to give it a new life. It was also a hand-me-down from hubby’s eldest sister so it’s like an heirloom of sorts.
Now I grew up watching “Shabby Chic” on the Lifestyle Network and had been truly amazed at how Rachel Ashwell transformed tired, old furniture into the shabby chic look that is defined as:
“… a form of interior design where furniture and furnishings are either chosen for their appearance of age and signs of wear and tear or where new items are distressed to achieve the appearance of an antique. At the same time, a soft, opulent, yet cottage-style decor, often with an affected feel is emphasised to differentiate it from genuine period decor.”
- click here for the Source
I found that furniture people call it giving a furniture the “distressed look”. The aged, antique-y look is just so appealing to me that I decided to give it a go even when I had absolutely no idea where to start.
I found some very helpful videos on Youtube and picked up some tips on what to use and how to apply the paint, how much time to spend on the entire process, etc. This was the most helpful: (NOTE: he doesn’t say anything on the video but he has text instructions that made it so easy to follow)
Hubby took me shopping for materials at the Ace Hardware in Greenbelt 1 and we bought the following:
- 1 small can of white acrylic primer by Boysen (it was the cheapest we could find)
- 2 pcs of sandpaper (220)
- 2 pcs of sandpaper (100)
- 1 paint roller
- 1 roller tray
- 1 medium-sized paintbrush (for creases and corners)
- paint thinner (to clean the paintbrush after)
I also prepared:
- newspaper (to protect our yard from paint splashes)
- face mask (to protect me from the fumes)
It was a beautiful, sunny day which was perfect for my project. I sanded down all the parts using the 220 sandpaper before putting them back together.
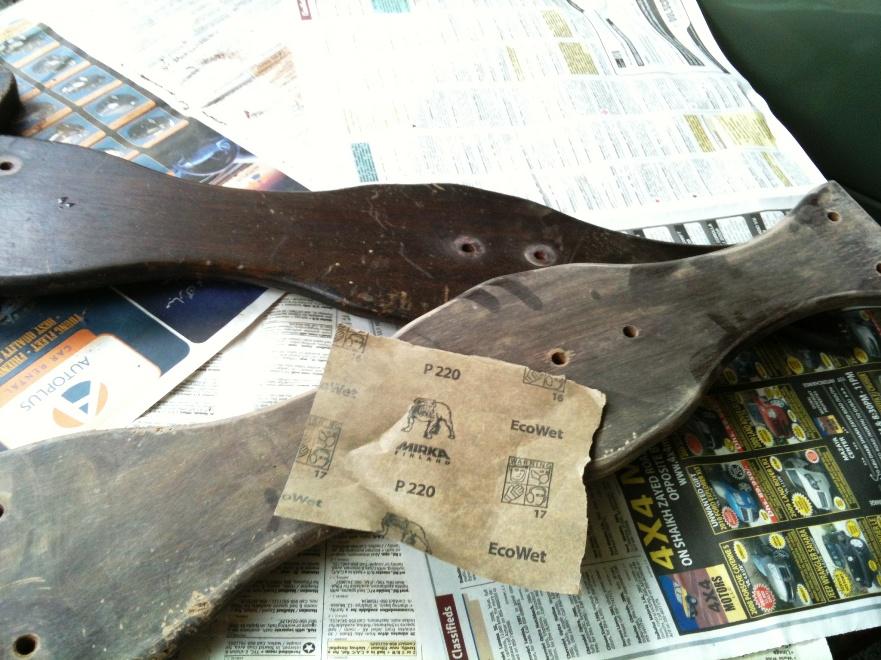
I used 220 sandpaper to prepare the rack. I dipped the sandpaper in water before sanding it on the surface, and wiped with a wet rag to make sure that no residue is left on the surface.
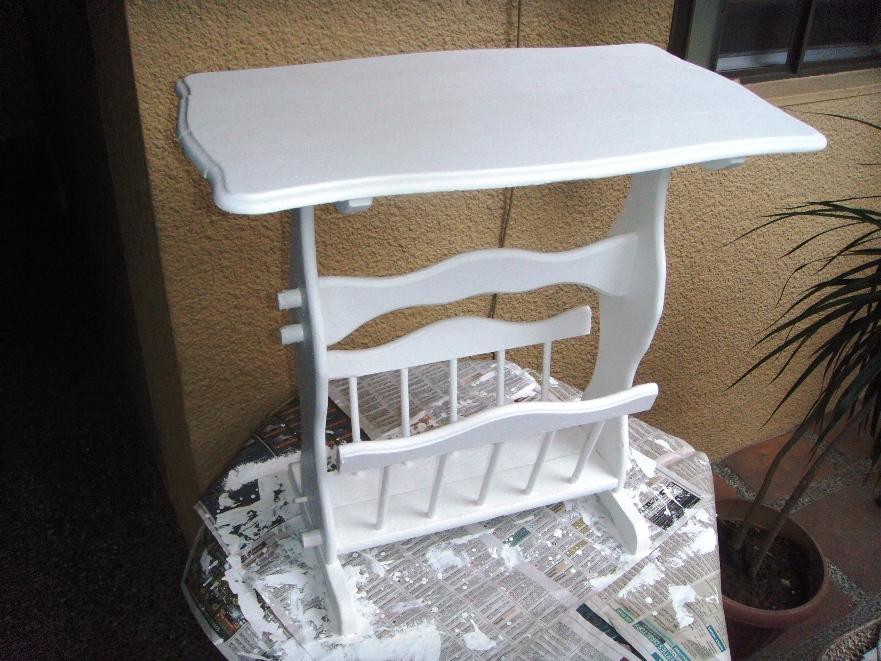
When the sanding was done, I then applied a thin coat of primer to the entire rack. I didn’t really mind that the painting wasn’t even just as long as every part is coated. I let the paint dry for 4 hours. I then applied two more coats of the white acrylic paint, this time making sure that the application is even. The roller did a good job with that, and the brush helped me reach the corners. I did not apply a different color like in the video because I wanted the natural wood color to come through later when I start distressing. I just stuck with the white paint all throughout. I let the paint dry overnight.
I was so excited to do the distressing the next day. Thankfully, the weather cooperated and it was sunny again. I used the coarser 100 sandpaper and sanded along the edges where one would normally see wear and tear.
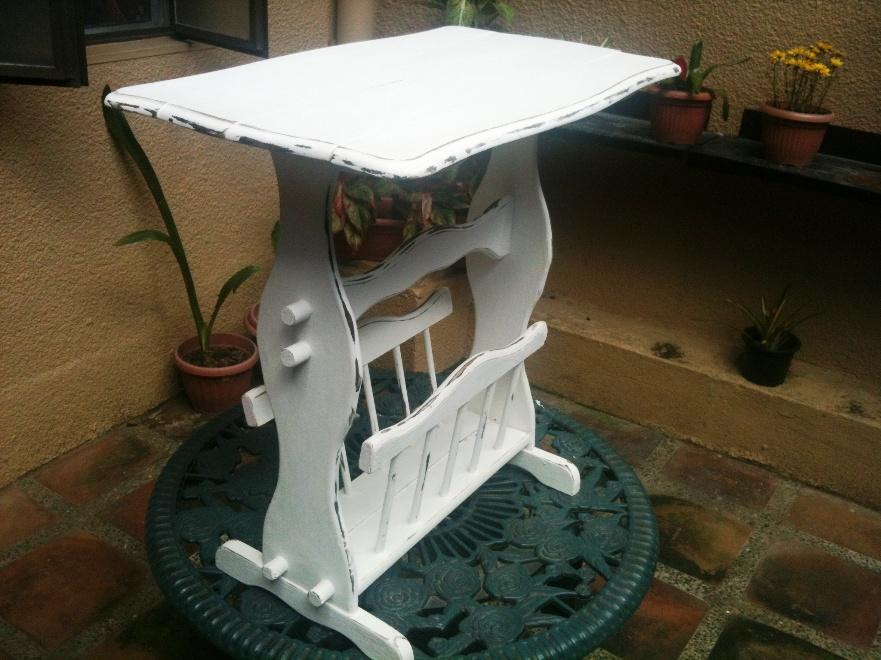
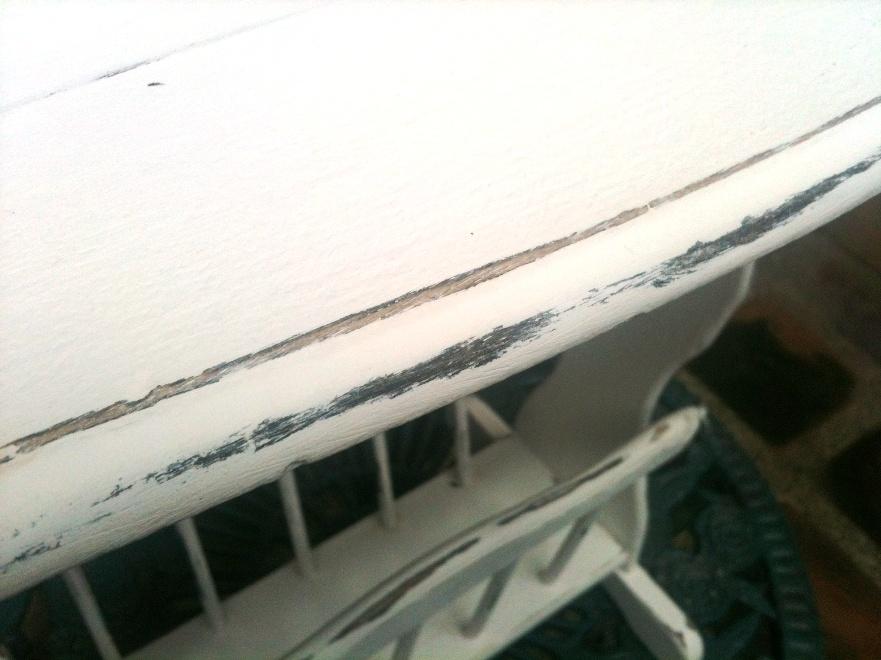
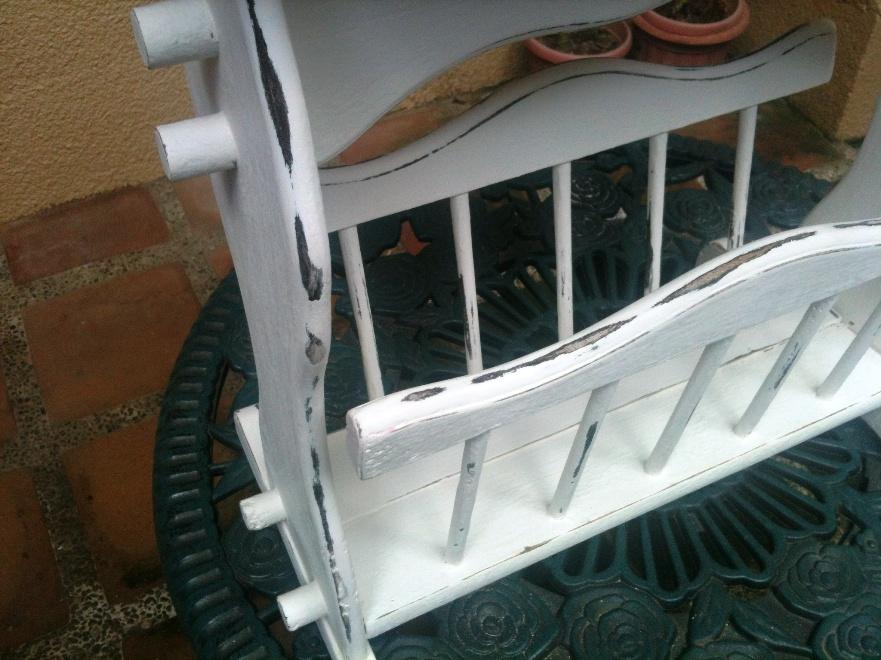
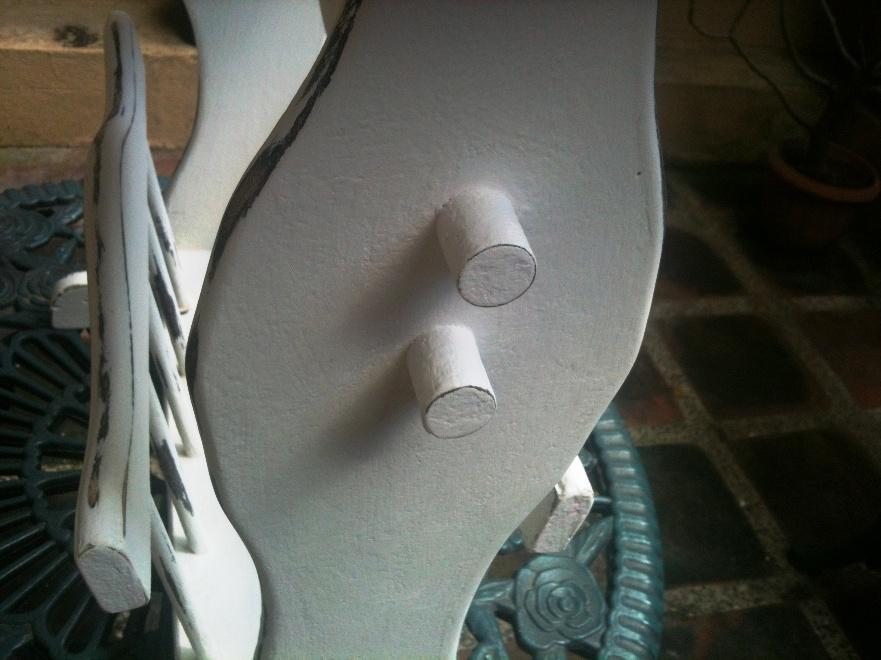
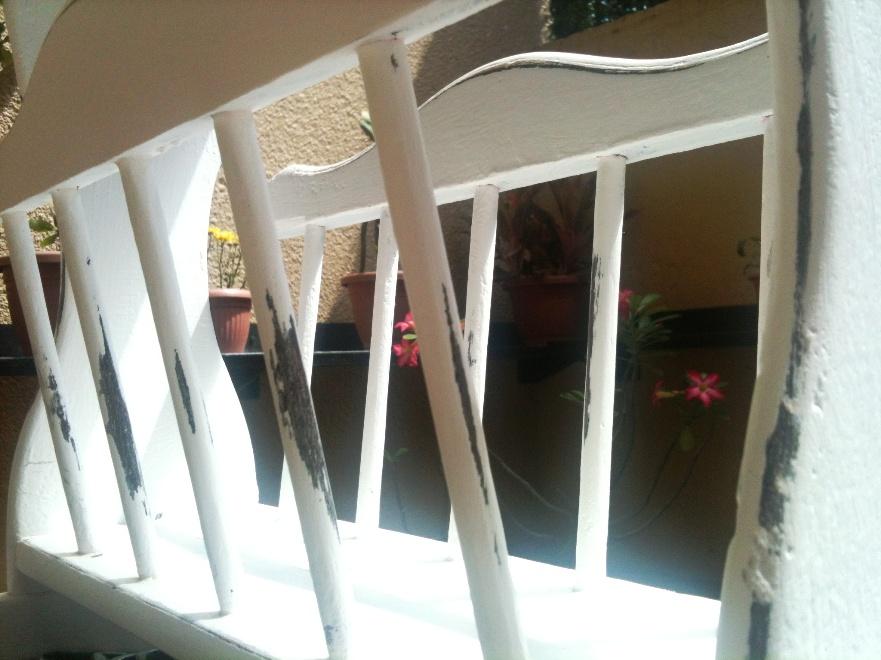
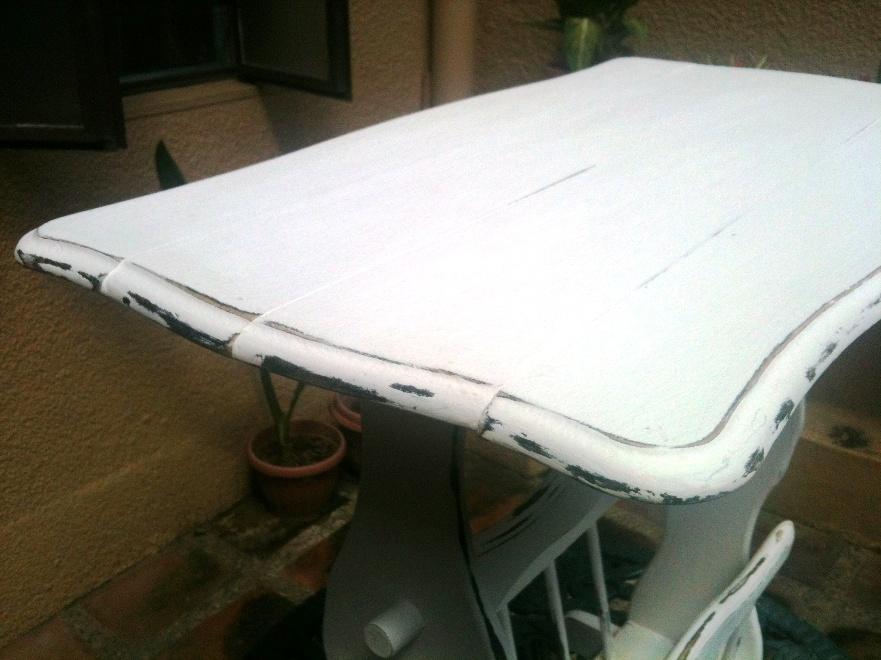
The table has found a spot next to our 2-seater, and we’re still on a hunt for something to put in the area where the magazines are supposed to be. I realized the rack is too feeble to hold magazines so we thought we’d dressed it up with miniature plants or other ornaments. Right now, it’s still empty. Any ideas?
