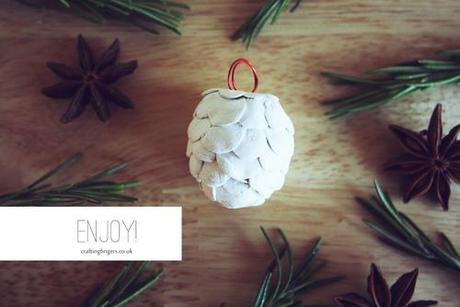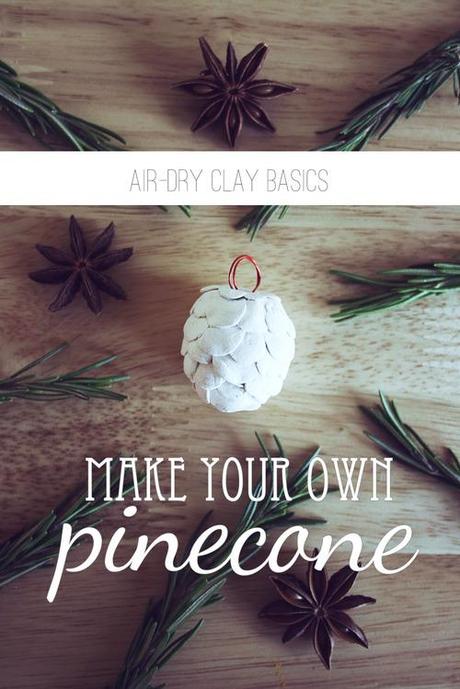
How are you all getting on with your Christmas decorating? Now that we’re well into December, I hope you have at least started thinking about how your home is going to look this Christmas.
We put ours up at the weekend and as you can imagine, it’s a bright mix of crochet garlands, vintage baubles and foraged wreaths. I’ll share some pictures with you soon. If you’ve planned some time for craft projects this month, then I have just the thing for you. The excellent Anna of Crafting Fingers has created a tutorial for me to share with you all, showing how to make pine cones from air dry clay. They’re beautiful and so simple to make following Anna’s instructions. Give them a try and let us know how you get on. And for dozens more craft ideas and to find out how Anna has been getting on with her project to learn a new craft every month this year, head over to Crafting Fingers and lose a few hours browsing Anna’s wonderful blog. Over to Anna to show you how to make them: It’s getting chilly and this time of year is my favorite for bringing the charm of the outdoors in. Pine cones are my decor staple in autumn and winter, and this year I’m taking a new approach! Make your own toasty decor with these simple steps to sculpt a pine cone from air-dry clay. You’ll need:- Air-dry clay (I’m using DAS)
- Water
- Straw or skewer
- Thin wire and cutters
- Sandpaper (optional)
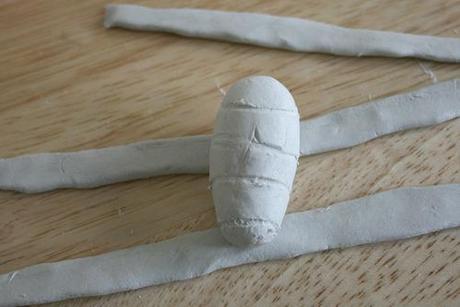
Start your pine cone by rolling a ball of clay in your palm. Flatten it into an egg shape and mark several tiers to help align your scales. (I used a butter knife.)
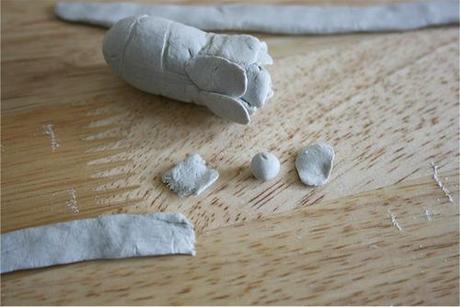
Make scales by rolling small balls of the clay and flattening them between your fingers. Wet your pine cone base and carefully press the scales in place.
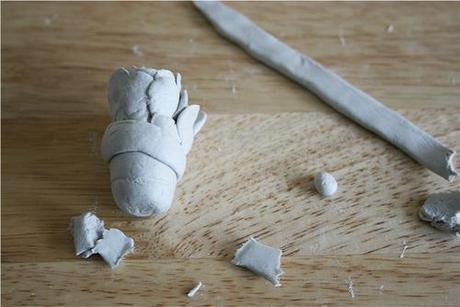
When you reach the middle of your pine cone, you can add a strip of clay to make your pine cone rounder. I’m making a short, stubby pine cone but you can make any shape you like!
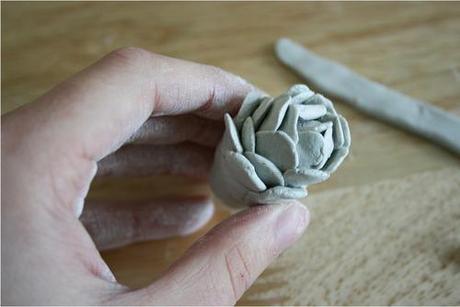
This technique of using scales is the same way you can make roses or other flowers. Making scales takes time, so wet the clay with damp finger tips whenever it starts drying out. (It doesn’t take much water at all!)
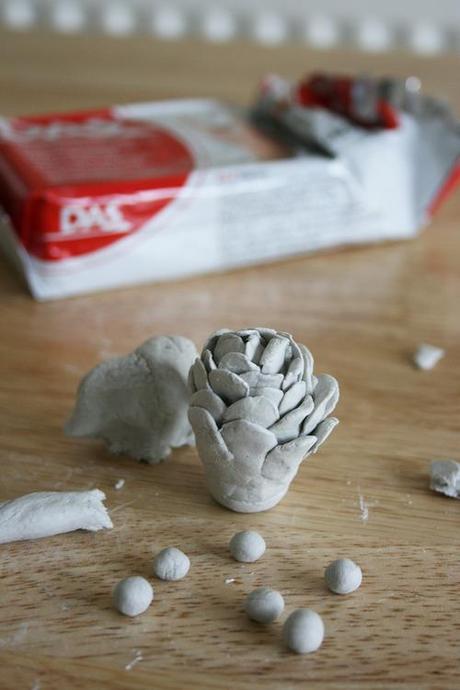
At this point, I’ve decided to cut off the rest of the base to make a shorter pine cone.
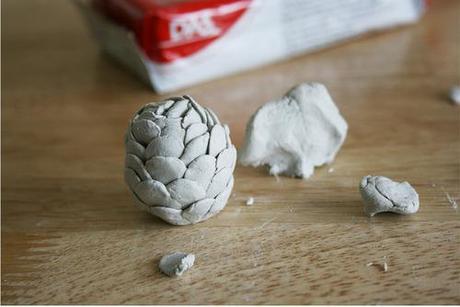
The excess has been cut off, and it’s time to prepare the stem end!
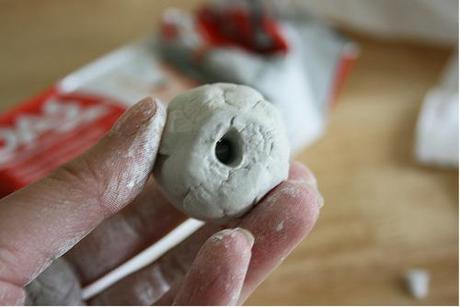
When you’re finished with the body of the pine cone, make a small hole in the stem end with your straw or skewer, mine went down about a third of the pine cone’s length. This will help the clay dry more quickly.
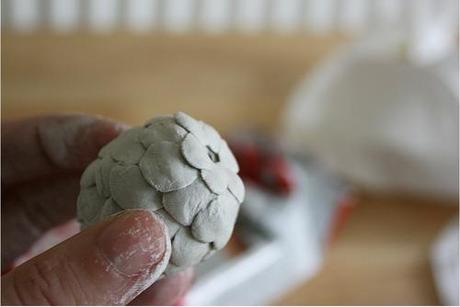
Use small scales to surround the hole and your pine cone is ready to dry overnight. Don’t use oven or radiator heat to make the process quicker. This can cause cracks if the clay dries too quickly. Leave your pine cone until the scales are all white. I left mine overnight. It’ll still be drying on the inside so handle it carefully.
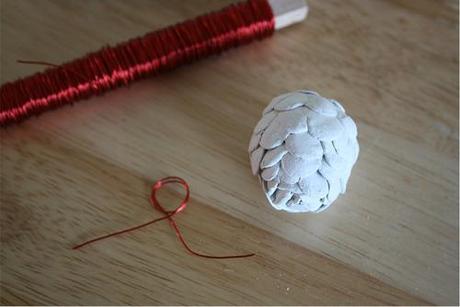
After it’s dried overnight, you can make the pine cone ready to hang. Cut a 3 inch piece of thin wire. Wrap the center twice around something round (I used a pen), making sure the tails cross.
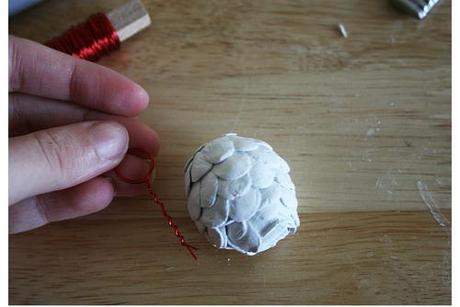
Twist the wire tails around each other. Compare the length to your pine cone and cut off any excess if necessary. ‘Screw’ the wire spiral into the hole on your pine cone. Screwing (instead of pushing) the wire means it’ll sit more securely.
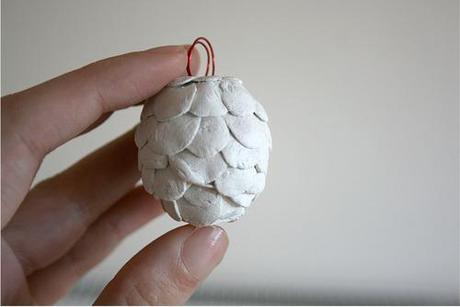
If your pine cone has a few fingerprints or scrapes, you can use sandpaper to buff them off for that extra bit of polish.
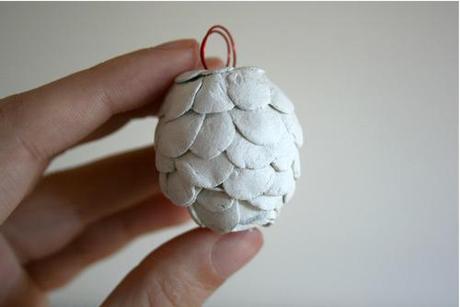
Your pine cone is complete! Leave plain, or paint for a more natural look. Enjoy!
