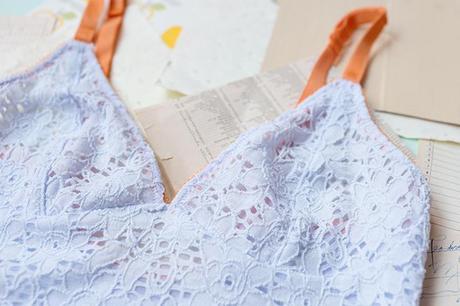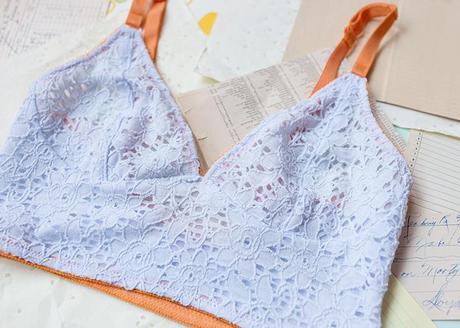
Well, I’ve gone and done it. I made a Watson Bra. It seems like everyone and their mother’s have made a Watson, so I hopped on that sewing train and rode it to bra heaven. Like everyone else who has reviewed the pattern, I am a convert. Amy, you are a sewing God for creating this beautiful pattern. Bra magic!
Inspired by the 1970s, this pattern closely resembles one of my favorite lingerie company’s signature piece. Wherever and whomever the pattern was inspired by, it is just like Anne expressed – the real deal. It offers a modern bra pattern that any sewer can whip up. Most amazing is how flattering it is for a wide range of body shapes. Tiny, skinny, medium, or large – everyone looks so damn good!
The instructions don’t hold your hand. Amy tells you what to do and then supplements with what she did. So, she says to attach the elastic using a zigzag stitch, but doesn’t instruct you to use a particular width or length. I like that because stitch width and length is machine dependent as well as dependent on the width of elastic, which I’m sure many sewers will change to their own liking.
The pattern is cleverly drafted so that for most sizes, you only have to print out the pages of your size set. For my size, 32A, I printed out less than 10 pages, including instruction.
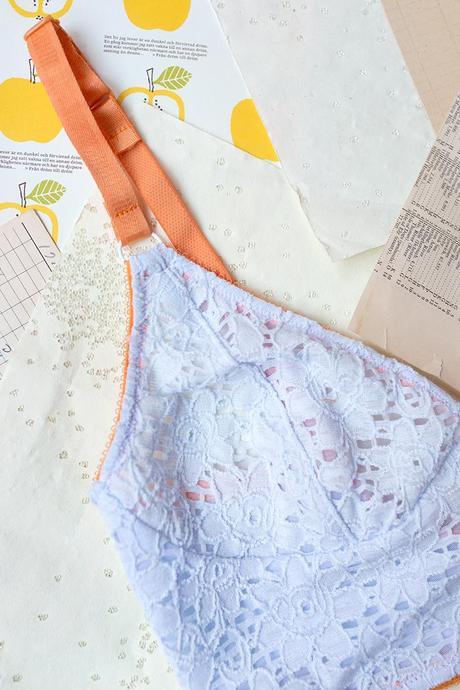
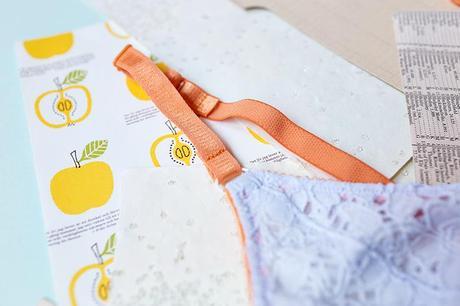
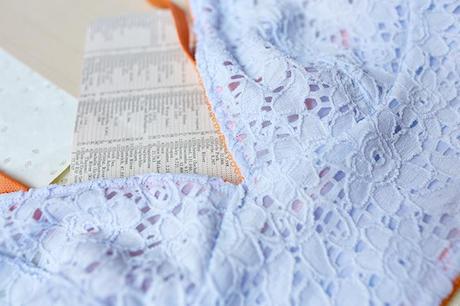
Construction was straight forward. With no changes to the pattern, the fit was spot on too. The fabric was the same stretch lace I used on Amber Rosalind. As opposed to that bra, I used a micro mesh for the lining instead of a powernet (I lined all pieces). The power net provides a lot more support in comparison to the micro mesh. Although the bra fits and is super comfy, it’s not very supportive. On my next version, I’ll probably use a firmer lining. The elastic was gifted to me from my one of my best sewing buds, Natasha, who is beefing up her Etsy shop with bra fabrics, notions and kits. I originally dyed elastics using Dharma Tradings Acid Dye, but the color did not come out to liking. It was too blue. So, orange it was! I like the combination of light blue and orange. It has a midcentury modern vibe to it, right? My Florida Gator fans would be so proud.
I thought it was interesting that the first steps are to assemble the straps. Assembling straps at the beginning is like ironing the teeth of an invisible zipper at the onset of a project. But since straps are usually the last step, when you’re most likely at your wits end, making them at the beginning when you’re mind is sharp and your eager to start, is smart.
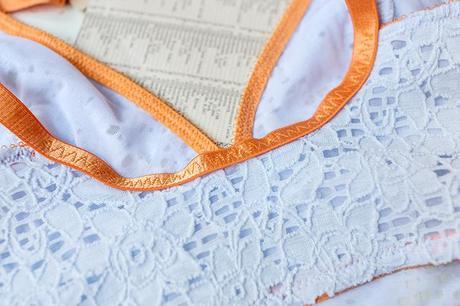
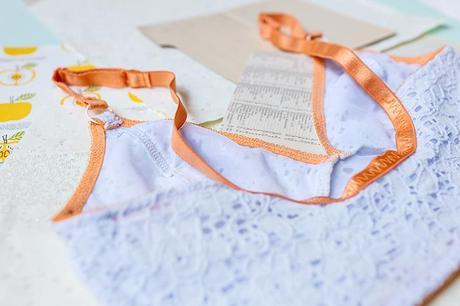
I eliminated the hook and eye closure and cut the back piece on the fold. The reason being I wanted a super comfy, every day bra. I didn’t add width to accommodate because even with the micro mesh, the fabrics stretched around 40%. The curve made it difficult to attach the strap elastic without it rippling. On body, it lays flat and smooth, but off body, it is flat and I’m not happy with the way it looks. Anyone have any suggestions?
Let’s talk about serging bra seams. Even though it doesn’t serve a purpose (since micro mesh and lace don’t fray), I like to serge the seam allowances. It totally goes again bra convention. Most instructions say to trim and leave raw (or cover with channeling/tricot binding), but something about leaving an edge raw is an eye sore to me. If I use a wooly nylon thread to serge, the overlock stretches with the fabric. Thoughts on this?
And since Heather was a total babe and showed what the Watson looks like on body, I’ll let her do the modeling this time.
