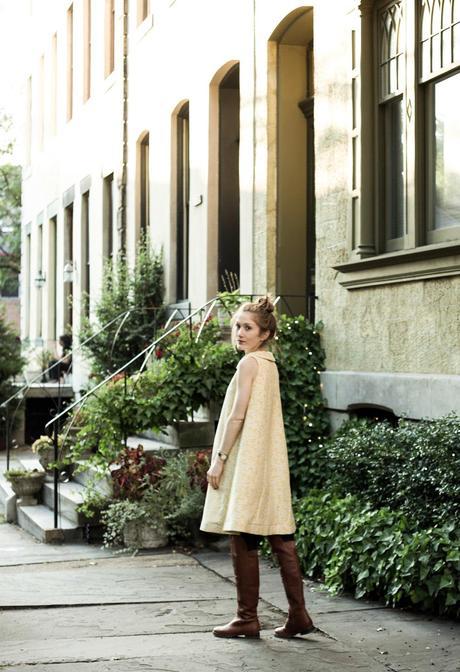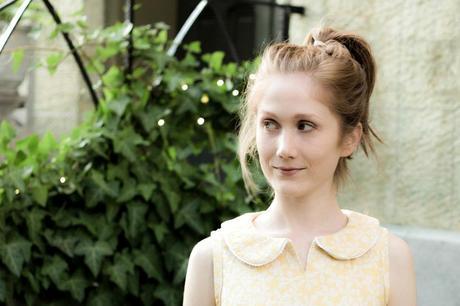
This is my favorite dress that I’ve made to date, I repeat, this is my favorite dress I’ve made to date. I like it more than the dress I made for my friend’s wedding, more than the dress I made for my dad’s wedding, and more than the dress I made for… I like this dress, okay? So much that I’ve been wearing it over and over again. I gave a final press two Thursday’s ago and the following day, Friday, I showed it off at work. I wore it out to dinner that night, sushi, where I received a couple of comments on it (such a great feeling). I wore the dress Saturday as well and even though I didn’t go out that night, if I did, I would have worn it. That counts, right? On Sunday, I didn’t wear it to church, but I wore it to the grocery store, which is almost as ceremonious and ritual. Gotta look fab when picking out your meat, right? In between wearings, I fluffed up the dress by popping it in the dryer for about 5 minutes. Always does the job.
My me-mades are becoming simpler and simpler, and at the same time, they’re becoming more wearable. I was talking with a friend about fall and winter dressing and for the first time, I didn’t think about what I was going to buy but what I was going to make. Before, because my project were so grand, having a wardrobe where the bulk of it was me-made seemed impossible, but now it doesn’t. I’ve completed 6 garments since the beginning of August and come May, I hope that I can join everyone in the month long celebration of self stitched garments – Me-Made-May.
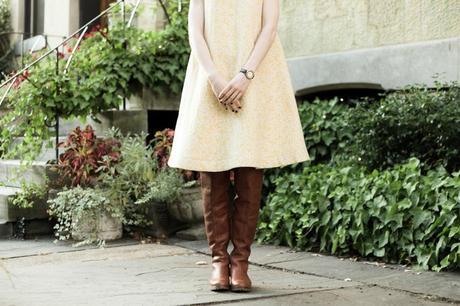
I bought the fabric at Jomar, a local discount fabric warehouse where I never know what I’m getting. I had another printed fabric in hand when I spotted this on the designer clearance table, where precut fabric is sold as is. If 5 yards is there, then 5 yards is what you have to buy. I have reservations about buying from Jomar, it seems like a copout sort of thing for me to do and I feel like I should be buying fabric from local vendors on Philly’s Fabric Row, but you know what, I have found the best fabrics at Jomar. This fabric, a cotton (I did a burn test to confirm) with a quilting texture to it, cost $5 for 5 yards. Can you beat that? Oh, and it’s a vintage! Or at least that’s what they said.
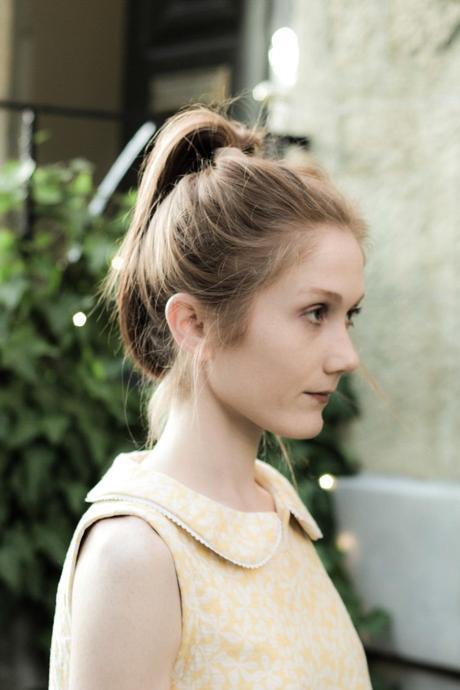
The pattern was from Stylish Dress Book, the same book I used for my first and second Japanese dress. The dress is paneled and the original pattern called for a ruffle that was inserted at about chest level on the front princess seam and extended to the center back. Because I’m trying to sew garments that are more wearable, I nixed the ruffle and drafted a Peter Pan collar, which is the simplest thing to do (because Peter Pan collars don’t have a roll, you can trace the front and back neckline to draft the collar pattern). I shortened the length by 5 inches (so that it wouldn’t be dowdy) and reduced the across shoulders for a better fit (on sleeveless garments, I like the armhole to come in at the shoulder).
Don’t tell anyone, not a soul, but the trim on the collar is picot elastic! I intended to use for one of my undies, but it somehow got tossed onto this fabric and the two looked heavenly next to each other. Because of the stretch in the elastic, it shaped nicely around the collar’s curves.
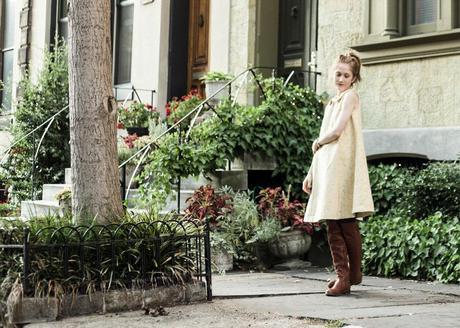
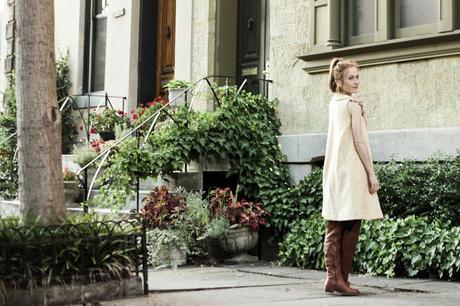
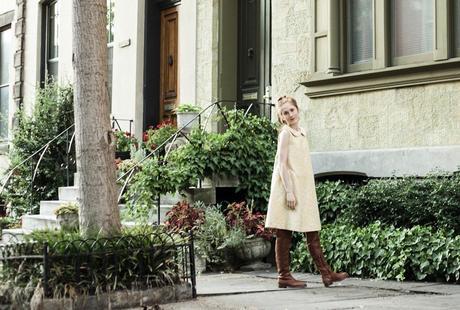
The neckline is finished by sandwiching the collar between the body and the self front facing, which was interfaced with lightweight fusible. I added a slit opened at the center front neck so that I could get in and out of the dress (there is no zipper). To finish the armhole, I used a new technique that I totally love and will definitely use in the future. I made 1 3/8” self bias binding, applied it to the wrong side first, then flipped it to the right side, and topstitched, leaving 3/8” raw. Technically, this is a Hong Kong finished but the application is reversed. Because the bias doesn’t fray, I’m not worried about it raveling. It’s a super cute detail that doesn’t look unfinished.
The best part about this dress? Towards the end of the project, I noticed that the dress wasn’t hanging right and it was tenting out more than I liked. It was a Friday night and I was feeling innovative (and frisky), so with Shakespeare in Love playing in the background, I made a strip of bias cut muslin that was the width of the bottom hem facing. Then, I sewed little pockets and inserted a penny in each to weigh down the hem (the pockets were placed so that they aligned with each panel seam). Six pennies later and this dress was worth a pretty penny!
You know those types of projects where everything comes together perfectly? This was one of those projects. Even though I’m unsure if I could top this one, I’m going to try. I will be making more of this dress!
