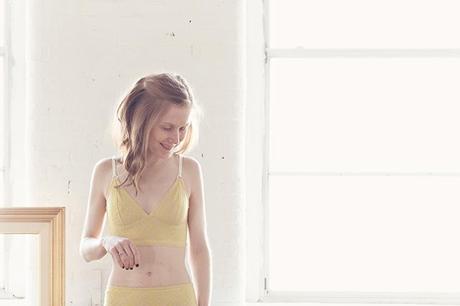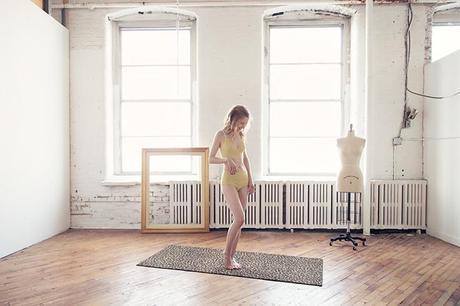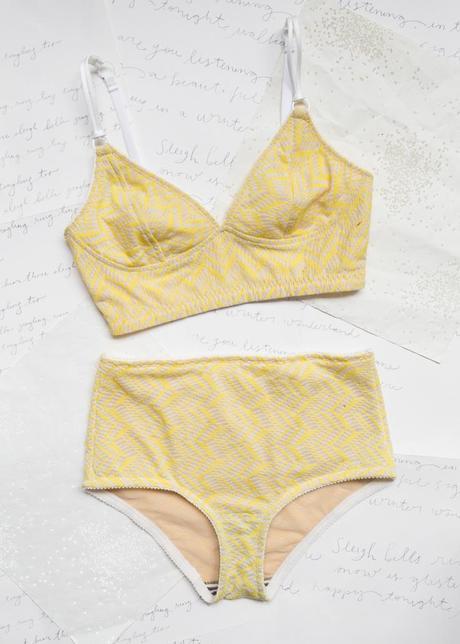
Another day, another bra made. The marigold number you see above is my third Watson bra. Even before I get to the deets, I’ll preface with a fourth is definitely on the way!
I’ve been studying power net, regular stretch mesh, and micromesh, investigating how it’s made (on a Raschel machine, which is a specialized warp knit machine), how to dye it (the right temperatures, how the PH of your local water affects dye potency), and how and when to use the three. One reason is that I’m a geek and I like learning about new things and the other is that not lining beautiful lace with the proper materials would be like making a jacket without the proper interfacing. The first Watson, which was not blogged because it was a muslin, was lined with power net. I couldn’t get it over my head – remember that I eliminated the back closure. The second was lined with a micro mesh. While I wear the heck out of it, it doesn’t provide a lot of support, even for my size A bust. For this Watson, I lined it with a stretch mesh, which is in between powernet and micro mesh when it comes to stretch percentage. The lace, an excellent quality that I bought from a local fabric shop, has 30% stretch in all directions. Underlined with the mesh, it had about 25%. So the addition of the mesh reduced the stretch by approximately 5%, which is useful to know in the future. If I ever have a stretch fabric that is too stretchy, I can underline it with another stretch fabric to reduce the stretch.
I tested the stretch before I fused the two fabrics together using a permanent spray adhesive and I suspect bonding the two fabrics together reduced the stretch even more. Unfortunately, this light bulb did not go on until the bra was fully assembled and I was putting it on for the first time.
For a non underwired bra, 25% stretch seems to be the magic number (10-15% is considered low stretch). Just a note to other small chested girls.
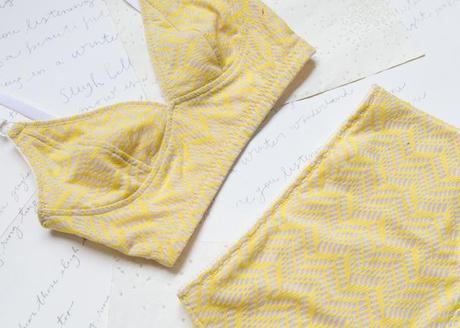
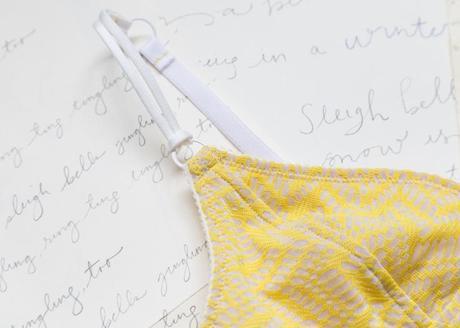
Also to note is that I didn’t underline/line the bridge and cups with a non stretch fabric and I usually don’t. While the “rules” of bra making state that the bridge and the cups must be stable from side to side and up and down (in order to support the weight of the breasts), I have found that stretch mesh provides enough support. Going back to 25% stretch – if I have that amount, it’s enough. Not using a firm fabric makes fitting easier too.
On the second Watson, the strap elastic was wavy when the bra was flat (off body). The solution was to not stretch the elastic at all while sewing. So, with the strap elastic on top and the bra on the bottom, I adjusted the curve of the back opening to meet the straight edge of the strap elastic while sewing. This is the same way the channeling is attached to the wire/cup seam.
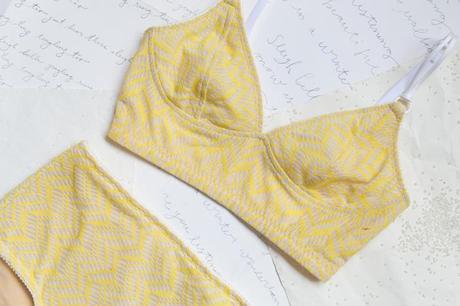
The bottom band elastic is actually a ¾” strap elastic. I don’t have a fabric stash like most sewers, but boy, do I have a bra notions stash! It’s bad! So, I’ve been trying to use up the bits and bobs I’ve accumulated. While this isn’t the proper way to finish the edge, it is pretty. The shiny side doesn’t shift around when while I’m wearing it, so it’s a win win.
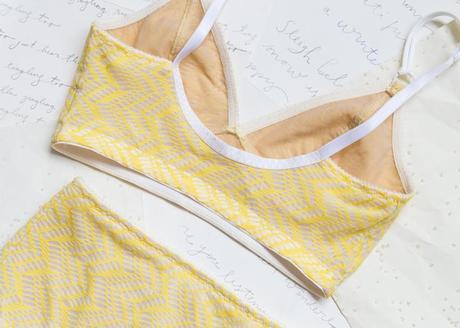
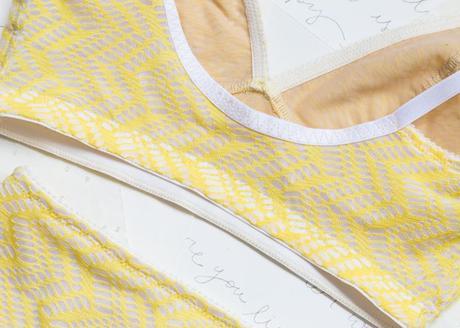
All notions were dyed to match (DTM) using RIT dye. I normally use Dharma Trading’s acid dyes, but ordered the wrong shade of yellow. Most all purpose dyes such as RIT contain two kinds of dye that are mixed together – a direct dye which does a fair job of dyeing cotton, and ‘leveling acid’ dye which will dye both wool and nylon. It is best to use pure acid dyes on nylon – which this elastic is made of – because you avoid wasting the direct dye portion that cannot stick to nylon. However, I didn’t want to wait for another mail order, so RIT it was! The dye is slightly uneven, but that is my fault as I didn’t agitate it consistently.
As for improvements – looking at the photos, I wish I purchased white stretch mesh and dyed it yellow. The nude on the inside looks a little handmade. Also, the length of the zigzag stitch on the bottom band elastic is too short, resulting in elastic fatigue (just slightly). Two things to fix on my next Watson!
If you want to toe into the world of bra making, this is definitely a good pattern to start with and Amy is currently hosting a sew along. Don’t let me pressure you, but you should join!
