
Several months away from my sewing machine (due to other projects) and my sewing mojo was through the roof. When life allowed me to get back to sewing, it was a guarantee that the first thing I stitched was made with lace, ruffles, or both. Okay, I lied, the first thing I sewed was velvet but the project I made using that fabric will debut very shortly (it’s something that is worn underneath clothing!)
Ever since I was exposed to the world of patternmaking in school and in technical design, I’ve drafted most of my patterns. There’s definitely a sense of accomplishment when you draft a pattern but recently, the allure of buying one has been too hard to resist. A simile I used to explain my case to Marci – if someone brings you a loaf of bread or a batch of cookies, are you going to make your own? No! You’re going to eat carbs and sugar. Together! Laurence King Publishing contacted me just at the right moment. I had a craving for something sweet and they had something sweet for me – copies of three Japanese sewing books which were complete with patterns.

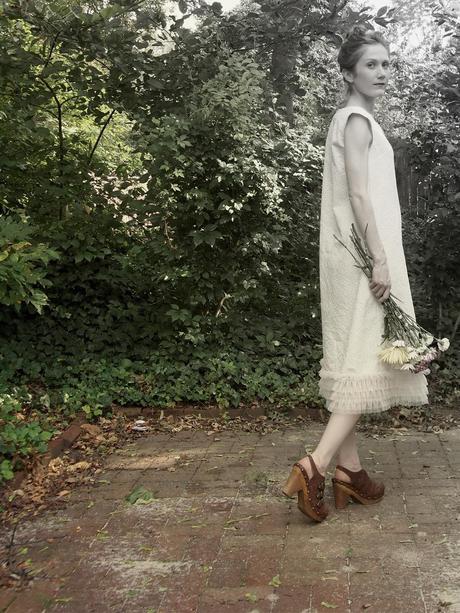
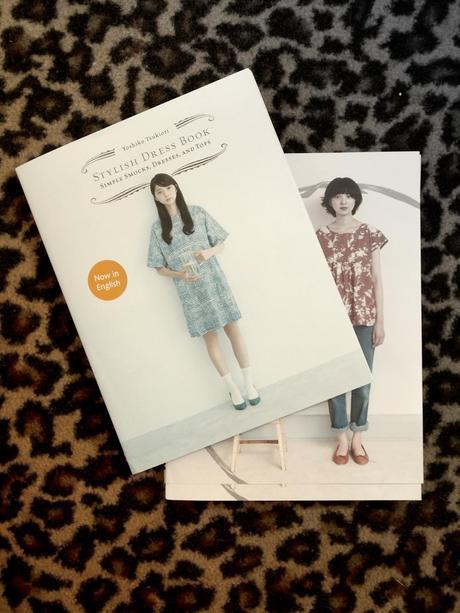
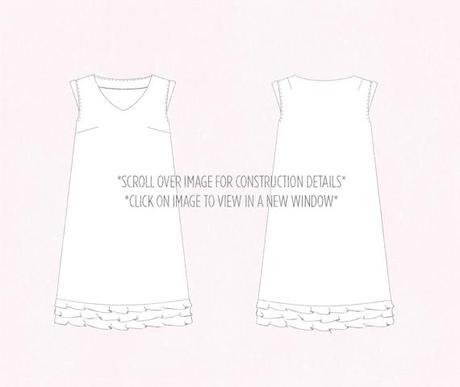
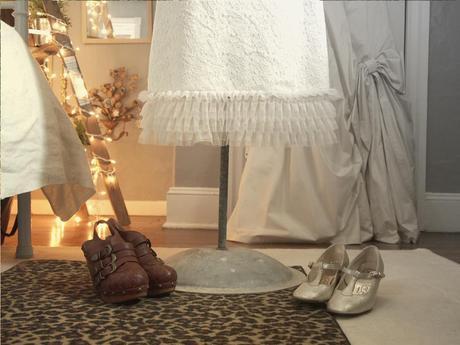
The first dress I chose to make was from Stylish Dress Books – style B, which is a simple shift dress. Patterns for all the styles are printed on one page (front and back), which made it a challenge to copy and cut the pattern. The instructions and pattern called for short sleeves and a petticoat, but I eliminated the petticoat and replace the short sleeves with a cap sleeve (I don’t even know if they can be called sleeves they’re so small). The front and back are 2 ply (2 layers of fabric) and the top ply (exterior) is lace that I bought in NYC and the bottom ply (interior) is a printed cotton. The body fabrics are wrong sides together so that the print on the cotton would be visible on the interior of the garment. All seams as well as the armhole are bound with ¼” polka dotted bias binding (so cute!). The bottom edge of the neck facing, which is 2 ply just like the body fabric (I chose not to interface because it had enough structure), is finished also finished with ¼” binding but unlike the one at the armhole and seams, it was a different print and had a picot edge (also so cute!). The bottom ruffle was a trim that I bought in NYC (I did not make the ruffle). Other details of the dress include a bust dart and a shoulder dart.
Even though I love this dress, I’m a little hesitant to show it off. Here’s something funny about me – as much as I post tutorials and lessons about how to achieve the perfect fit, most of my closet is filled with anti-fit clothing. Boxy, oversized, maxi, relaxed, and boyfriend are terms that could definitely be used to describe the way I dress on a day to day basis. But as Natasha, one of my commenters pointed out, it’s sometimes more difficult to make a well-fitted boxy garment than it is a form-fitted one. For this dress, that definitely applies. It’s a sheath that hangs from the shoulders but the challenge was that the balance of the armhole – it had to be spot on because if not, the side seams would swing forwards/backwards and the dress would hike up in the front/back. I paid attention to this when I was fitting/sewing the dress and although I had to make a few minor alterations (I didn’t make a muslin), none threw off the balance.
*from the photos, it looks like the armhole is too high and the front neck needs to be darted out but I blame it on my posture/stance. When I’m not twisted or holding flowers, the armhole is in the right position and the neck lays flat.*
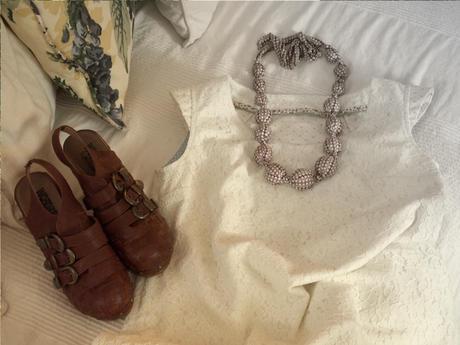
Another one of my readers made a comment that made me realize why I really like these Japanese sewing books so much and will be the reason I make more garments from them (I’ve already cut the fabric for another dress – it’s a jumper!). As Florence wrote, “ Finding Japanese pattern books was a happy moment for me – their patterns tend to be cut for petite proportions and tend to sew up perfectly for me (I’m 5ft1). I’d love to get some Japanese slopers but have never seen any.” Florence, you’re so right!
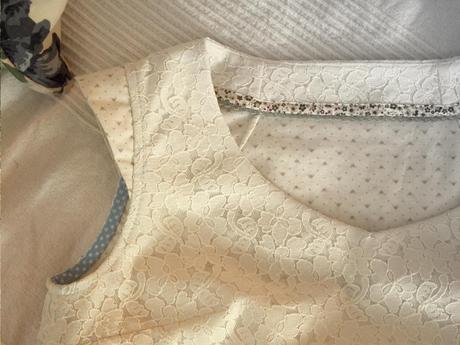
This dress came together quickly and easily. On the next one, because I will be making another, I will reduce the neck width. It’s a little wide for this dress. If it is a sack from the shoulder down, I at least want the fit to be perfect-o at the neck and armhole. The only thing I am unhappy with is the bias binding at the armhole and the cap sleeves. I attached the binding and then turned it back and topstitched ¼” from the edge. Even though I clipped the seam allowances of the armhole before I turned back the binding a second time, the armhole looks just a little strained. There are no signs of stress but the fabric looks “tight” in that area, like it needs to relax ever so slightly. Also, the cap sleeves are 2 ply (2 layers of fabric) with the top ply interfaced with a lightweight fusible. When I attached the sleeves to the armhole, everything laid flat, but when I pressed it, using steam, it puckered up. Any tips?

