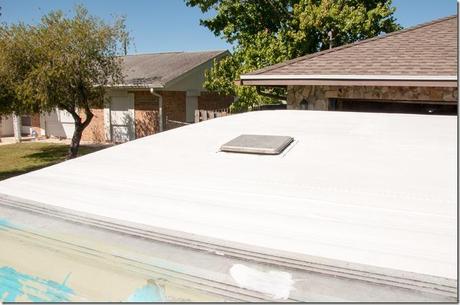
Well, I thought I had shared this post, but apparently I have not. This was one of the first projects we completed on poor Glinda. We knew she had a little water damage in places and had made the decision to stop any more water coming in on all the new work we were planning inside. We researched many things on the internet and talked to many people in vintage trailer groups. We then went to a local RV shop and talked to the staff there. We decided to coat the whole roof with elastomeric roof coating.
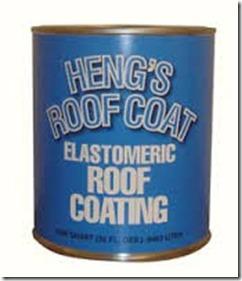
We used Heng’s Elastomeric Roof Coating (roof coat). Ours was in a green bucket, but I forgot to take a picture until we started pouring it out and by that time we had a mess down the front of the bucket and you can’t even read what it is. So I grabbed a stock photo to show you.
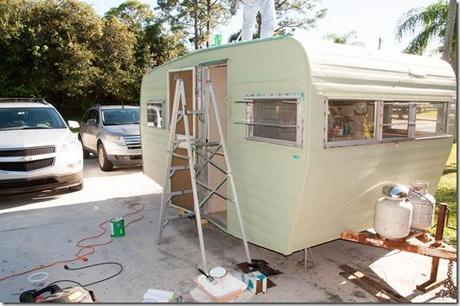
This stuff needs to be applied on a sunny day with no chance of rain. Fortunately, we had a few days of bright sunny days that were not too very hot. So, we got all set up in our driveway.
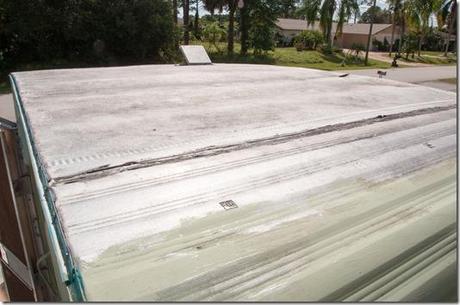
Glinda still had her original aluminum roof. While I hated to cover that, I sure didn’t want to take any chances of ruining the work we had planned to accomplish nor fight water leaks. We cleaned the roof first.
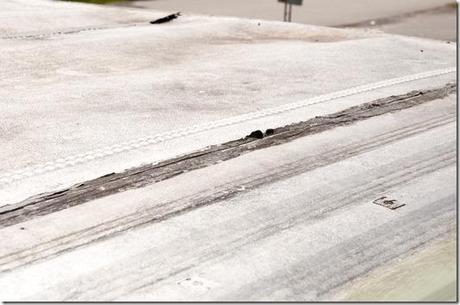
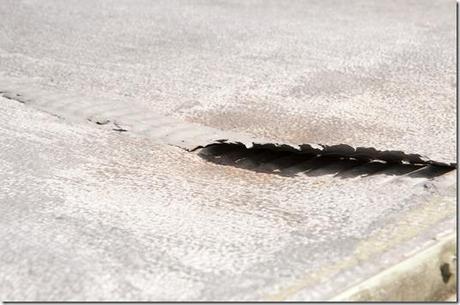
You can see where there was sealant on the seams is all dry rotted and peeling up…essentially nonfunctioning.
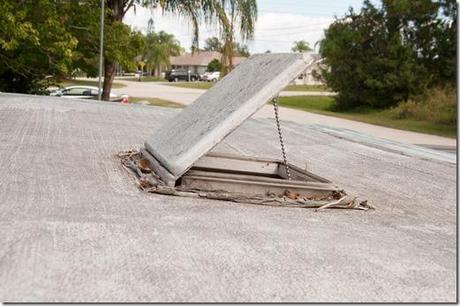
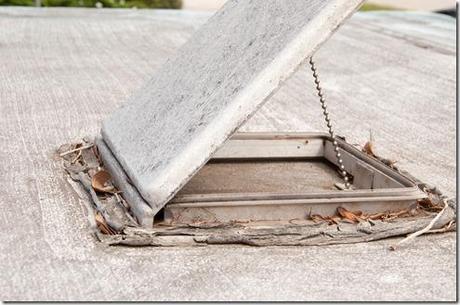
And the seals around the one tiny roof vent I have isn’t helping much either.
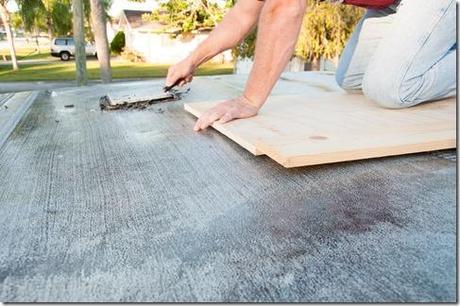
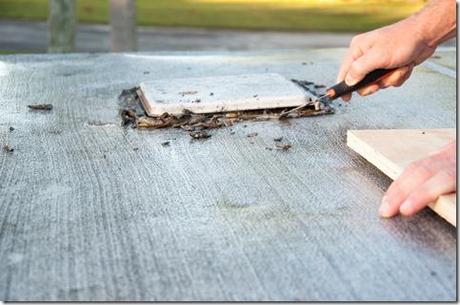
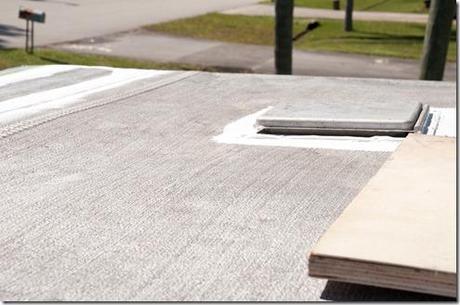
After all old seals were scraped, cleaned, washed and roof dried, dh went in and applied one solid coat of ‘roof coat’ to seams and around vent. This provided a good seal in the most important places.
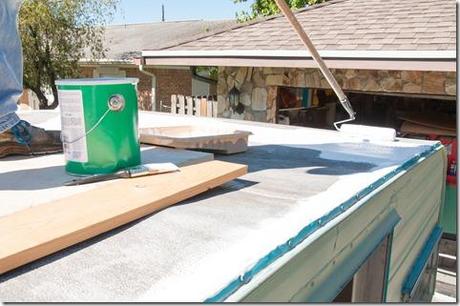
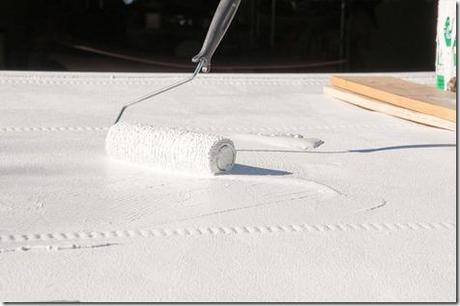
You don’t even need a paint tray, but you do need a good roller that you will throw away afterwards. We taped off the edges at the front and back of the rolled top of roof. He then poured roof coat in a pile and used a long-handled roller to spread it out in an even coat.
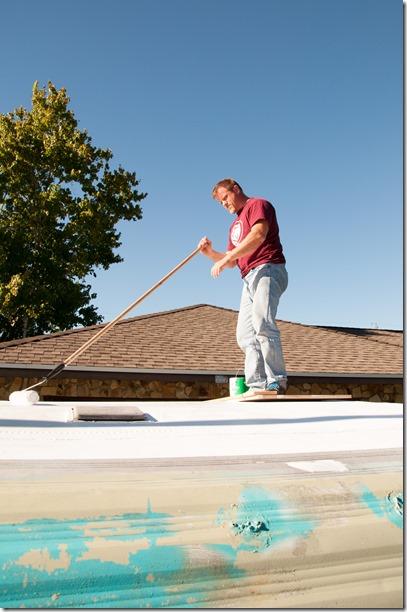
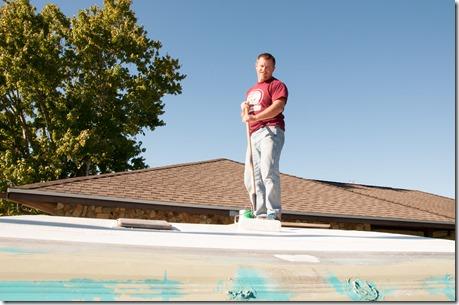
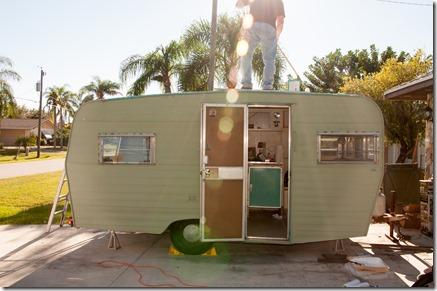
I’m so glad we had a few days of beautiful weather and blue skies. Over two days, we applied three complete coats. Instructions say 1-2 coats should suffice, but we figured one extra couldn’t hurt.
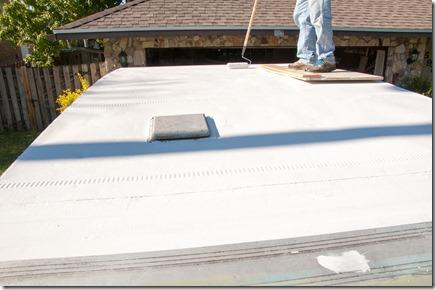
It spreads out very easy. We have a good roof that will not leak, is easy to clean, and even helps to insulate the trailer from the sun. In Florida, that is very important. We could tell a difference right away in the heat inside.
Yay, one major repair completed. This one repair will save us a lot on future expenses, headaches and worries. We still have to get windows replaced and repair a few other body issues for her to be tight, but this was a great start.

