Well, you might ask... Why bake your own bread when you can buy a loaf of sandwich bread for less than a dollar at Woolies? Hmmm...
To me, our loaf of bread is home-baked with love. Love because I love my son and want to bake soft and delicious bread for his daily school lunch.
To me, home-baked breads are different from the breads that we bought from commercial bakeries and supermarkets. They can be custom made to the texture and taste that we want. Since the day that I started baking our own breads, I've learnt so much. And I'm proud to say that I have baked many good quality breads with good quality ingredients, no preservative, no bread improver and less instant yeast. Best of all, all of our freshly home-baked bread are delicious with varied taste and texture. Interested? I have an extensive list of bread recipes at here.
I love exploring bread recipes and always find joy whenever I discover a good recipe like this...

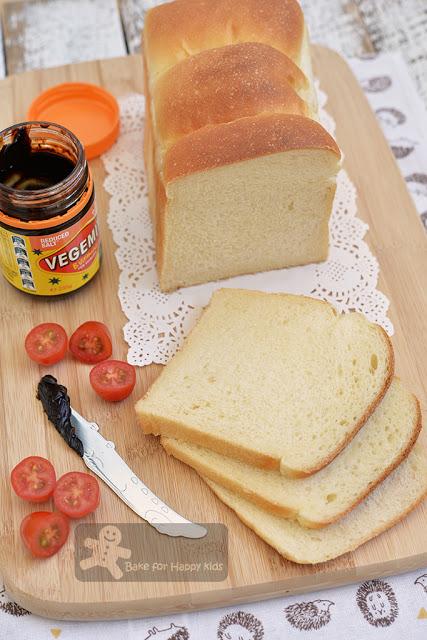
Soft and Fluffy Basic Sandwich Bread - Highly recommended!!!
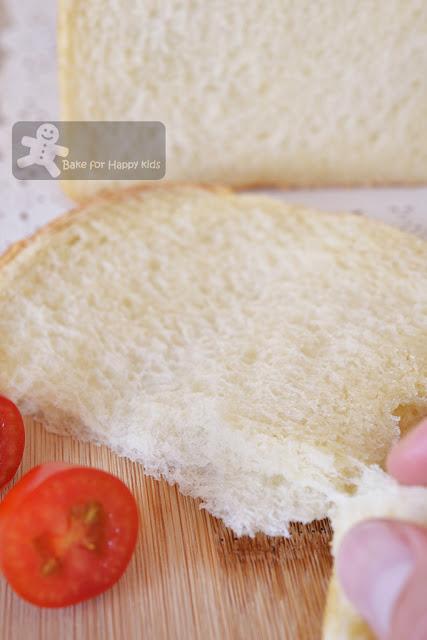
Basic yet simply soft and yummy! Although these breads are made with the most basic bread ingredients like water, bread flour, milk powder, sugar, salt, butter and yeast, their composition can produce a dough that is so relaxed and spongy. And you will see its enchantingly soft and fluffy texture in my following video.
Is milk powder a basic bread making ingredient? I know. I know... To some of you, the use of milk powder will ring a bell in you! You might ask... Why milk powder? Can you substitute water and milk powder with milk? And my answer is NO!!!
I have tested and witnessed before at here that the enzymes in milk can break down gluten and prevent the bread dough from rising. Due to this reason, some bread recipes prefer to use scalded milk because scalding milk deactivates these enzymes or some bread recipes use milk powder.
If you prefer to use milk instead of milk powder to bake your bread, please do not use this recipe!!! The curious me had tried baking this recipe with milk before and although the breads that are made with milk are soft, they are not as soft and fluffy as the ones made with milk powder. For this reason, I would rather you to use my other highly recommended sandwich bread recipes at here, here, here, here, here and here if you die die must use milk instead of milk powder to bake for your breads. Otherwise, you can check out my extensive list of bread recipes at here.
Before proceeding on to the video and recipe, I would like to mention something... Although this spongy bread dough can be slightly sticky, it can be easy to handle without using excessive amount of flour to dust because the dough is very very very stretchy. If the dough is sticking onto your hands, you must relax and stay zen! LOL! Do not wash or flour your hands! Just keep pulling and stretch the dough and the bits and pieces that are stuck onto your hands will pull itself back onto the dough eventually. In the video, you will see that I have used very little amount of flour to dust the dough and rolling pin while rolling it. Try to resist using too much flour to dust as excessive amount of flour used will make the bread less fluffy.

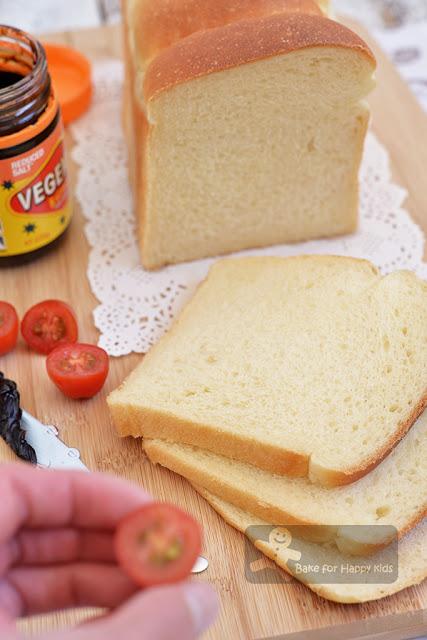
It's sandwich time!

See... The bread is so fluffy!
This is why I said that our loaf of bread is baked with love!
Here's a video showing how I baked this very soft basic sandwich bread. Enjoy!
Imagine. If you can bake this soft delicious bread, do you think that your loaf of bread is just a loaf of bread? Hmmm...
Here's the recipe that is adapted from Cookpad
Make two 10 cm width x 20 cm length loaves
To bake just one loaf, simply use half of this recipe.490g water, lukewarm
700g bread flour with 12% protein60g milk powder - please do not use milk to replace water and milk powder.
50g caster sugar
8g salt
60g unsalted butter, softened at room temperature
2 tsp instant dry yeast
extra butter or cooking oil spray for greasing the pans
Place all the ingredients in a breadmaker according to the order of the above list. Use the dough setting to knead the dough until it is smooth and elastic and allow the dough to prove for 1 hr or until doubled in size.
If breadmaker is not available, kneading by electric mixer with a dough hook is possible. Using an electric mixer with low mixing speed, mix all dough ingredients (except butter) to form a dough first. Then, mix in the unsalted butter and increase mixing speed to medium low and keep kneading for 15-30 mins or until the dough is smooth and elastic. This dough will be very stretchy and elastic and should be ready if it passes the window panel stretch. Transfer dough into a large bowl and cover it with a cling wrap. Allow the dough to rise in a warm and humid place for about 1 hr or until doubled in size.
Grease loaf pans with extra butter or cooking oil spray.
To shape, divide dough into two and further divide each half into 3 portions at about 210-230g per portion and shape each into balls. Allow them to rest at room temperature for about 10 mins.
Using a lightly floured rolling pin, roll each portion into long and flat oval shape (about 20 cm) on a lightly floured non-stick surface. Use your fingers to pick one shorter side of the dough and tuck and roll the dough like a Swiss roll. Use the rolling pin to flatten and roll the dough into a long rod shape. Then, pick one shorter side of the dough and roll it like a Swiss roll again. Repeat this rolling step with the remaining portions of dough.
Place three of the shaped dough with their seams side down into the each prepared pan. Press the top of the dough lightly to form an even surface. Allow the loaves to prove for another 1 hr or until the dough is going to reach the maximum height of the loaf pans.
Preheat oven at 180°C. Bake at 180°C for 25 mins or until the breads are thoroughly baked. When the bread is baked, unmould the bread immediately. Transfer bread on a wire rack to cool it completely.
Slice and serve.
Happy BakingPlease support me and like me at Facebook...

