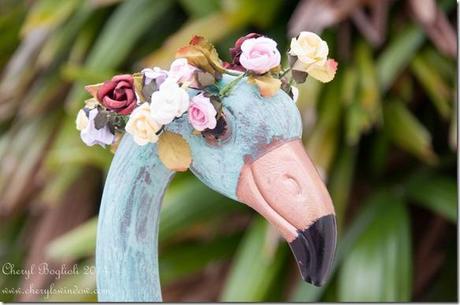
Do you remember Roz, my pink flamingo?
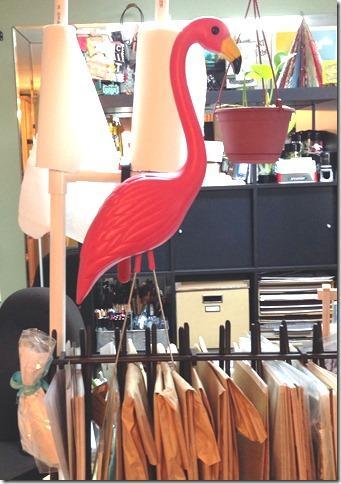
She was part of a “Keep Ft Pierce Funky” artist event at Art Mundo. We each personalized and decorated our Flamingo. I had such a great time with her.
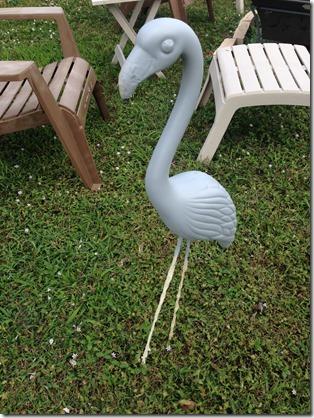
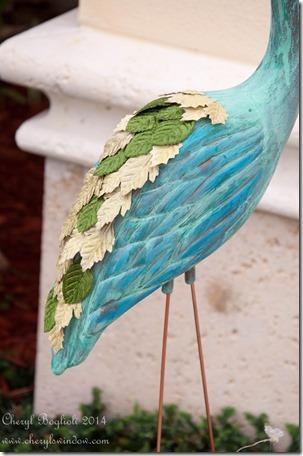
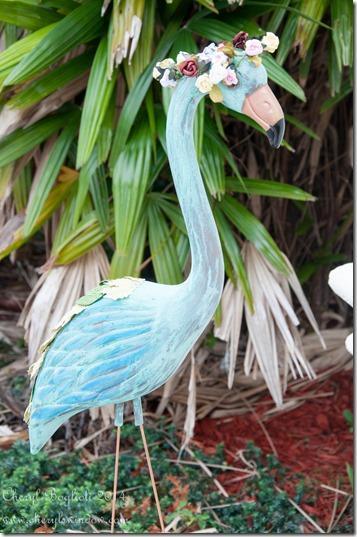
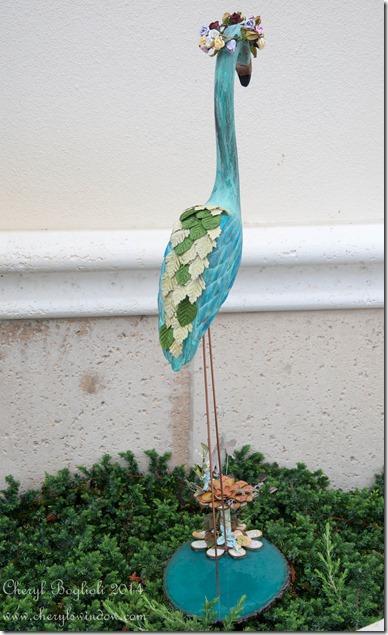
Then I painted her with Ten Seconds Studio VerDay paint in Patina Copper. I just love this VerDay paint. I wanted to add a little more punch to her color, so I buffed in a little Viva Decor Inka Gold in blue and purple on the wing feathers. Then she received a royal robe of Prima leaves from my stash.
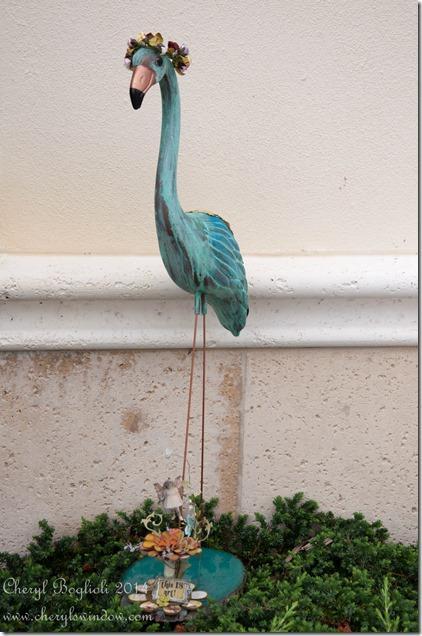
I used a Basswood Round by Walnut Hollow as her base and sprayed it with Tattered Angels mists for color. But I wanted it to look like she was standing in a pool of water, so out came Amazing Crafting Products Clear Cast Resin. Working with ACP Clear Cast is so easy – just mix equal parts A & B! One of the tricks for minimizing bubbles is to pour A & B and let sit a few minutes. Stir parts A & B together mixing slowly and then let sit 5-10 minutes allowing any air bubbles to rise to surface. Slowly pour the Clear Cast Resin in your mold, or as in my case, on your surface.
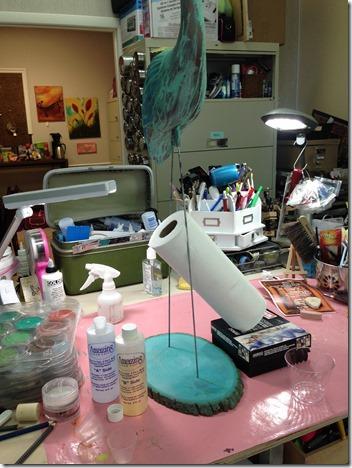
I drilled two small holes in my basswood to hold my flamingo’s copper legs. After inserting them in the holes, I needed a way to stabilize her while I poured the resin. As you can see, it took a box and a roll of paper towels to wedge her in place so she would not move. I waited to pour the resin before leaving my studio for the night so she could ‘set up’ overnight.
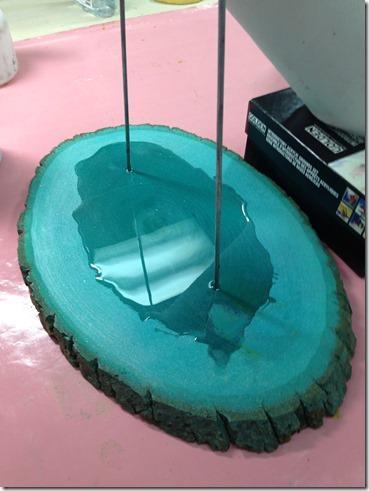
Being that this was a rather large surface, it needed to be poured in layers for the best effect. I love that we can pour layers and when you are done, you can’t see where one layer started and another began! I poured the first layer small to encase the legs and stabilize the whole piece. The next day I poured another layer to cover the entire wood surface.
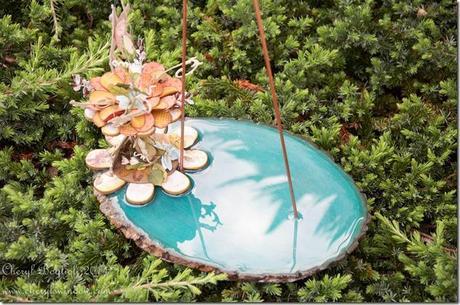
A few more days, a few more entire surface layers, and she was standing in a pond! After pouring the last layer, I decided to embed my Flower Fairy before the resin set. Don’t they just look great together?
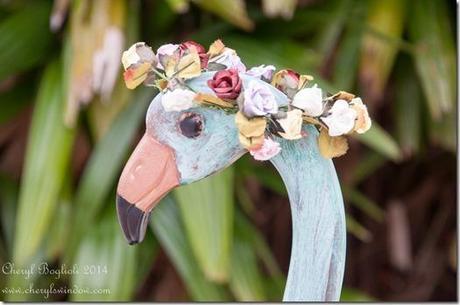
After spraying the entire piece with a matte clear cote, a final crown of roses weaved into a wreath adds the finishing touch. I just love her.
I’m tempted to create a whole fairy garden now!

