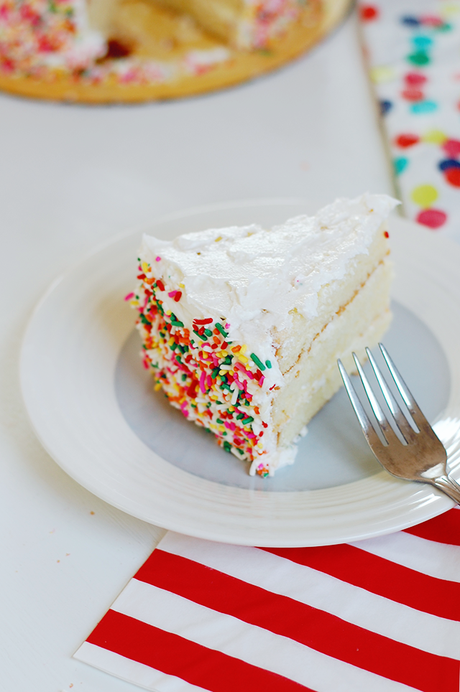
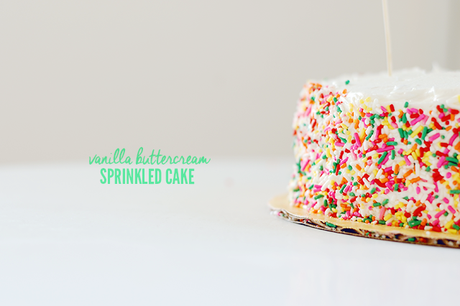
 It seems that every image I am pinning of cakes these days is a simple white buttercream, with some delicate flowers or a punch of sprinkles. I love the aesthetic of the bright white and pop of color in the sprinkles, and thought I'd try my hand at making one. You know, in celebration of spring! The process, to my surprise, was fantastically easy.
One word comes to mind when I think of this cake: scrumdiddlyumptious. The batter and frosting were so light and fluffy, they could've flown away. And they did ... into my stomach! For a sugar addict such as myself, this stuff is the crème de la crème. I found the cake and frosting recipe on this blog, and I've included it below.
White Cake
Ingredients
- 1 cup (2 sticks) butter, softened
- ½ cup vegetable shortening
- 3 cups granulated sugar
- 5 eggs, room temperature
- 3 cups all-purpose flour
- 2 teaspoons baking powder
- ¼ teaspoon salt
- ½ cup whole milk, room temperature
- ½ cup buttermilk, room temperature
- 2 teaspoons vanilla extract
- Preheat oven to 350º F. Prep three 9-inch round cake pans with nonstick baking spray or coat well with shortening or butter.
- Cream together butter and shortening until light and fluffy with an electric mixer. Slowly add sugar one cup at a time, mixing thoroughly before adding another. Add eggs one at a time, mixing well each time.
- Pour milks and vanilla into measuring cup and mix together. Add to butter and shortening mixture. Sift in the flour, baking powder, and salt.
- Mix all ingredients until well combined. Stop mixer and scrape down sides and bottom of bowl, making sure everything is mixed thoroughly.
- Evenly distribute cake batter between cake pans and place pans into oven. Bake for 25-30 minutes, or until a toothpick or cake tester inserted in the center comes out clean. Remove and allow to cool slightly in cake pans for about 5 minutes, then cool completely on a wire rack.
- 1 cup butter (2 sticks), softened
- 3 – 4 cups confectioner’s sugar (powdered sugar)
- 2 teaspoons vanilla
- pinch salt
- 2-3 tablespoons milk, heavy cream, or half-and-half
- Mix softened butter with an electric mixer or stand mixer on a medium setting and cream the butter until it is smooth and has lightened in color — about 3 minutes.
- Add confectioner’s sugar, ½ a cup at a time. After each cup has been thoroughly mixed, turn the mixer onto the highest speed setting for about 10 seconds to lighten the frosting.
- Add vanilla and a pinch of salt and mix thoroughly.
- Add milk, heavy cream or half-and-half until the frosting has reached the preferred consistency. For a firmer frosting, add more confectioner’s sugar, a ¼ cup at a time. For a softer frosting, add more milk or cream, a tablespoon at a time.
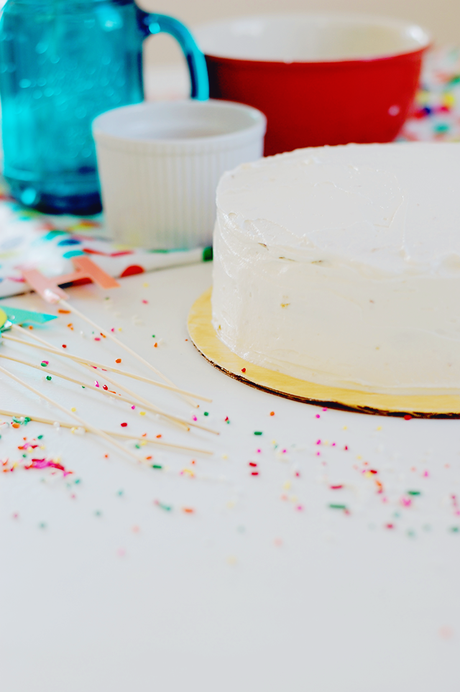
I used this tutorial to properly frost my cake. It is best to have an icing spatula, however any wide-blade type of knife could work if you don't have one handy. Also, I went all MacGyver and used my microwave tray as a spinning stand because I am cheap and refuse to buy a legitimate icing stand. It works just as well, especially if you decorate cakes once in a blue moon like me.
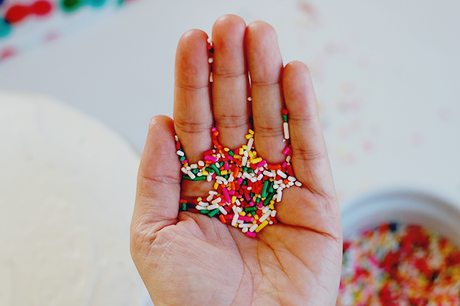
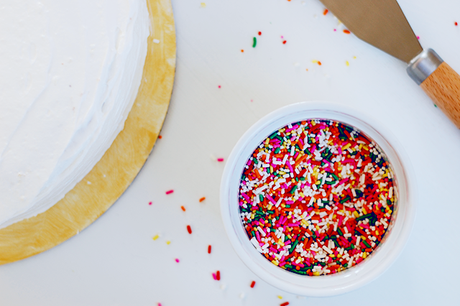
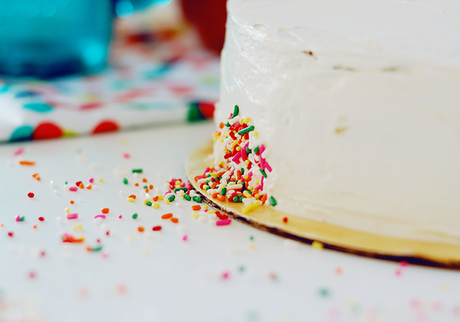 Now for the fun part — the sprinkles! This is an easy way to add a fun and colorful look to your cakes. Make sure all of the excess frosting is wiped away from the edges of your cake board, because the sprinkles will stick to it if not. Now, take a handful of sprinkles in your palm (I used the Wilton Rainbow Jimmies sprinkles) and then gently pat them onto the bottom half with a lightly cupped hand. You don't need to press too hard; keep a light hand so the icing doesn't go all wonky. Keep doing this until the entire cake is covered, and then continue on with the same process for the top half. I prefer the look of sprinkles just on the sides to give it some vibrant contrast with the white, but you can add it to the top, too if you are a major league sprinkle enthusiast. Once it is finished, gently wipe away excess sprinkles at the bottom and pour them back into your bottle.
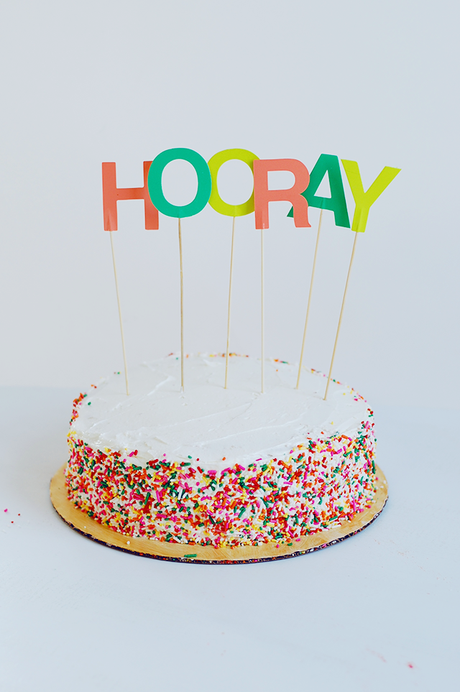
And what better way to top off our appreciation for all things spring, cake and color? An exclamation of "HOORAY" of course! This darling cake topper is from the Oh Joy! for Target collection. It was the last one and for only $4 I simply had to snag it.
Happy Spring and cake eating, my friends!
