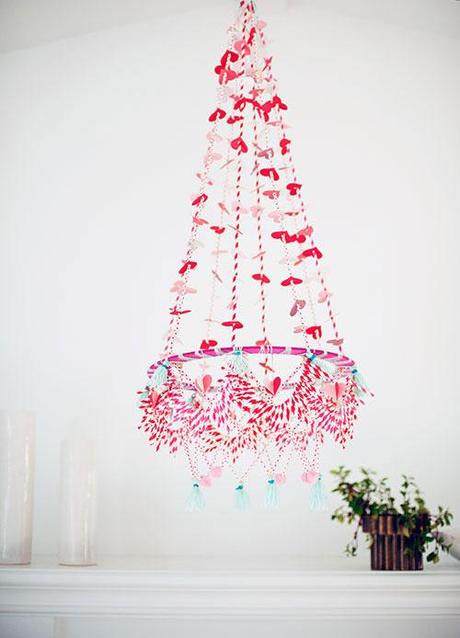
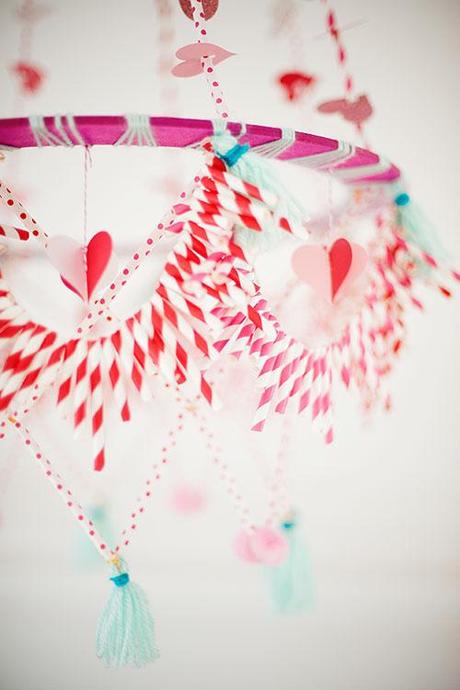
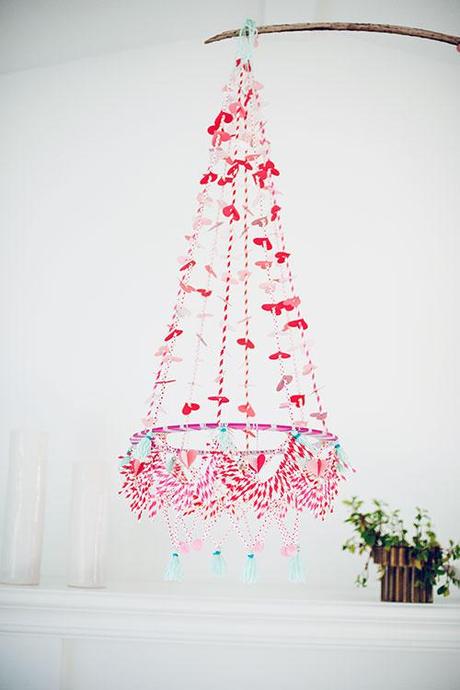
 I've been wanting to create a Polish chandelier, or pajaki in its native tongue, for quite some time. They are bright, colorful, happy, folky--all the things I love in any craft project I make. I decided to do a Valentine's Day themed one as I think it would be fun and bright to have around the house to add a little amour in the air--literally. I teamed up with my friends, interior designers Becki Owens and Nicole Davis of Owens and Davis, to shoot a series of projects in one of their recently designed homes in San Clemente, California. You'll be seeing some fun details over the next few weeks...stay tuned!
 Photography by Elise Lauren Photography
Crafting by Brittany Jepsen
Craft assisting by Caitlin Watson
Interior design by Owens and Davis
See below for how to instructions and where to shop the materials
Materials:
- Paper in shades of pinks, reds, and glitter!
- heart punch (I used this one)
- paper straws in shades of pinks and reds (here are some faves: red striped, pink striped, pink polka dots, baby pink polka dots)
- mint yarn and robin's egg blue yarn
- twine in white
- Biodegradable floral craft wreath form
- scissors
- pink spray paint
- pink pom poms
- needle and thred
- hole punch
- glue gun
- pink/white baker's twine
Prep
- I spray painted my wreath form pink.
- Cut out the hearts with the heart punch. (I used this one and loved the heart shape and ease) I cut out a lot in various shades of pinks, reds.
- With part of the hearts, hole punch the center. These will be used for the top half of the chandelier. The rest you will follow the instructions below.
- Cut the straws in 3" sections for the top half of the chandelier.
- Make 8 tassels to hang from the chandelier in the mint. Secure it with a bit of robin's egg blue. I just tied a little bit around it a few times and then knotted it.
- Make the straw swags by cutting the straw into 3 sections: one big (about 2", one smaller about 1 1/2", and then the smallest (at about 1").
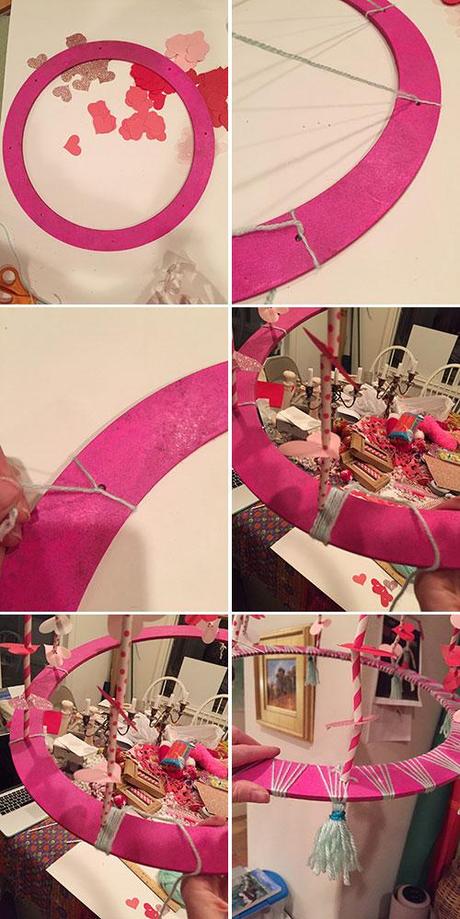
- Tie the yarn around each of the holes in the wreath form. Make sure it's a knot that is even so it won't tip.
- Leave enough yarn going through the hole so you can connect it up at the top. I left about 4' for good measure.
- Start on one strand by placing a straw onto the yarn on the base of the wreath form.
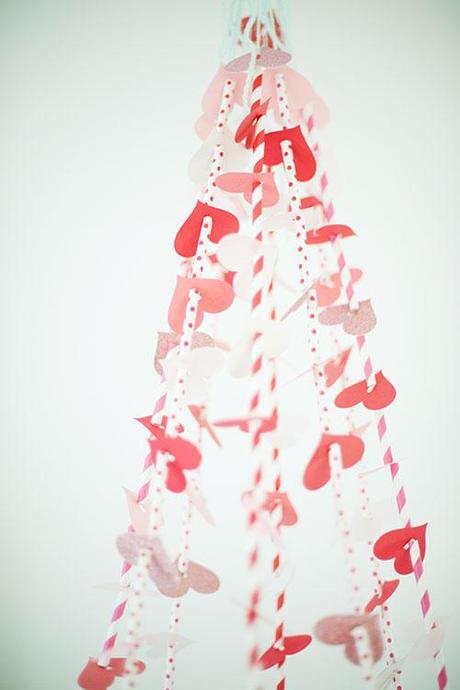
- Slip on a heart onto the straw. Continue all the way up. I added 16 straws and hearts per yarn strand.
- When all the strands are complete, knot them all at the top.
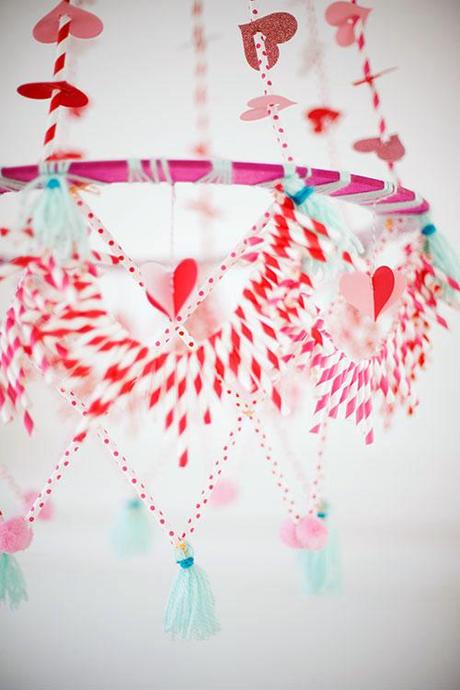
- To decorate the wreath form, I created a design with yarn from one hole to the next by wrapping around it in a fan design 5 times each. See below. I tied it tight enough so it didn' unravel, but if you feel like you need to hot glue it, do so.
- I added in a tassel at each straw point by using a larger piece of yarn and weaving under the yarn on the wreath form.
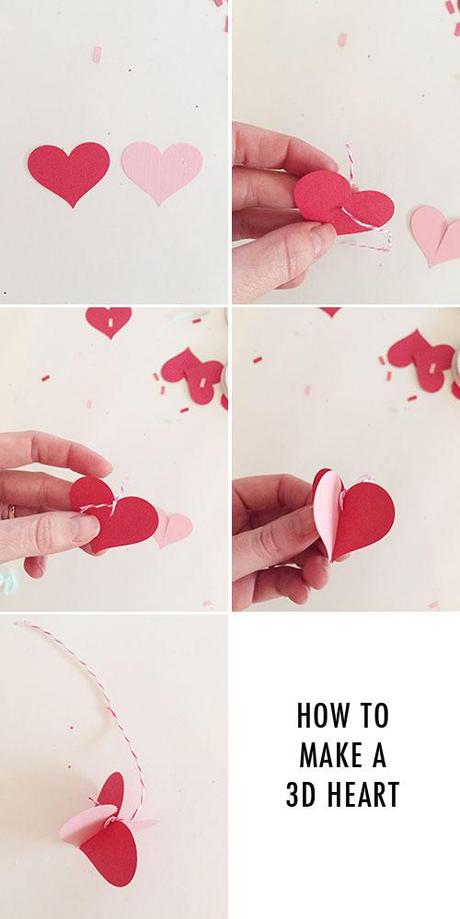
 To make the 3D heart
- Once you've punched out all your hearts, cut from the bottom of the year 1/2" and another heart from the top of the middle of the heart about the same length.
- Slide a piece of twine from the bottom of the incised heart.
- Tie the twine at the top of the heart. Leave about 5" at the top to be able to hang it on the chandelier.
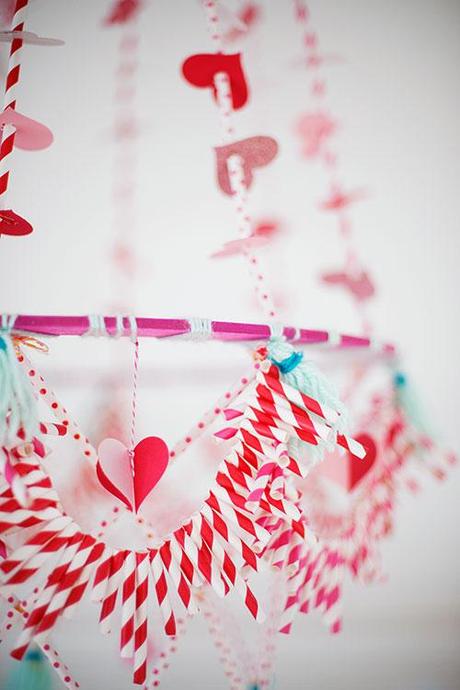
- Insert the second heart piece from the bottom so that it forms the heart shape. I hung mine above the dip of each paper straw swag.
 To make the paper straw swag:
- With the three various sized straw shapes, use a strong needle and thread and insert your way about 1/4" down and through the tops of each straw. We did 40 straws to form one swag leaving some thread on each side to tie it.
Shop the materials here
 JavaScript is currently disabled in this browser. Reactivate it to view this content.

