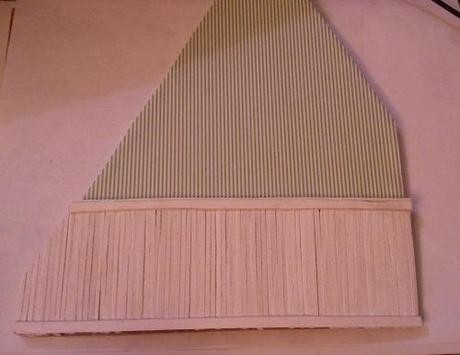
This is what the finished product will look like. This particular job is done on a dividing wall of a space with a sloped roof, but that shouldn’t make a difference in how we make the beadboard wainscoting.
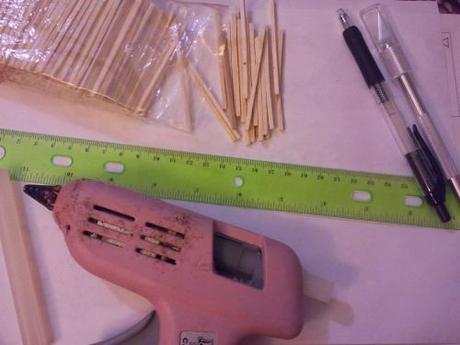
You will need:
Small wooden sticks. There are many different kinds, the kind I used were from Hobby Lobby, and called something like “Craft Sticks”. They are 2 9/16 inches long, and 2/16 of an inch wide and deep. You can use whatever size you like to get the results you are looking for.
A ruler or other means of measuring
A hot glue gun and hot glue sticks
A pencil
A craft knife
And something for the trim. I used 1/16 inch thick foamboard (which is not foam, but more of a thick cardstock) You could also use wood.
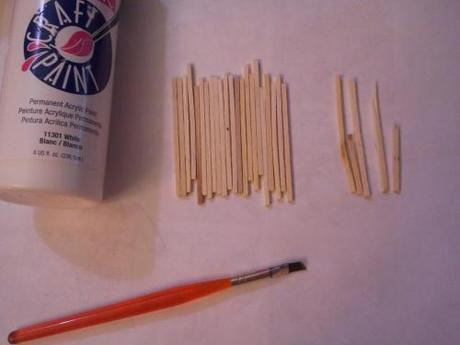
Also, whatever you need for your desired finishing method. I used paint.
Before we even get started, I would like to say a word about safety. Hot glue guns, as the name says, are hot!! Please use good judgement when using them and supervise children. If you are under 12, please ask an adult to help you. Only have it turned on when you are using it, and don’t let the cord dangle where pets or children can grab at it. It is also a good idea to have burn gel nearby just in case. For those of you who have never been burned, it hurts really bad, for a long time. And if the burn is really bad, it might not hurt at all….because you’ve damaged the nerves! So please please please be careful and use it at your own risk. YOU HAVE BEEN WARNED!
You might be able to cut out a piece of paper the same size and length you want the finished wainscoting to be and then use wood glue to secure the sticks and then glue the paper to the wall, but I haven’t tried this so you are on your own.
So, back to the project at hand. First, you need to sort the sticks and make sure to get rid of the broken/misshapen ones. Since I am going to paint mine, it doesn’t matter if there are dark ones. If you were going to stain it though, I would suggest not using those. Next, measure the wall you are going to put it on. Remember that most rulers have extra at the end and beginning so make sure to factor that into your measurement. If your wall slopes ect. measure the widest part of the wall. We will trim off the excess later.
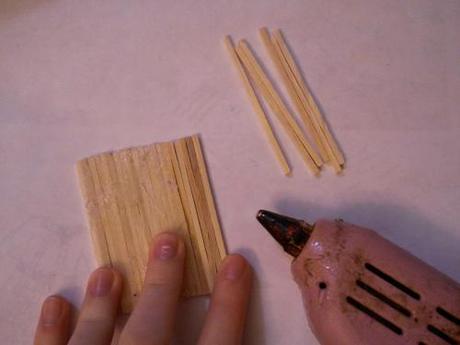
Now is the hardest part. (NOTE: you are not gluing the sticks to anything, you are adding a layer of glue on the back of them that will hold everything together.) On a clean work surface, hold together a few sticks at a time holding the BOTTOM HALF, taking care to keep them snug, but not squeezing so tight that the ones in the middle pop out. Glue ONLY THE TOP HALF of the sticks. smearing it thinly with the side of the nozzle. This is to protect your fingers from getting burned. Hold for a few seconds until the glue has dried and the sticks are secure. Move along, adding a few sticks at a time and make sure you get the glue to connect these new sticks with the previous group, all the time keeping them snug together and even up and down. Use a straight edge if you need to. When you have reached the length you need, you can now glue the bottom half of the sticks in the same way, keeping your hand at the now cool top half.
I don’t have pictures for the rest of it, but now you measure it up to your wall and trim off any excess with the craft knife. Cut around windows carefully. If you trim off a bit too much, then cover the area with a nice framed edge trimming.
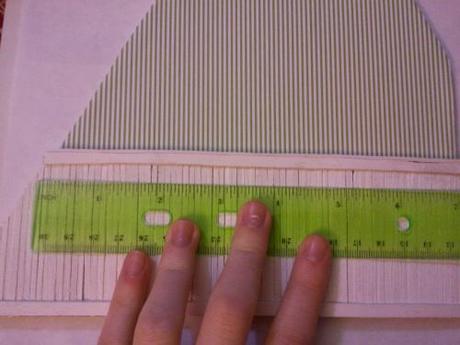
When you’ve trimmed it to fit, measure the length of the sticks and cut your desired trim. I wanted just the plain look so I cut three lengths of the foamboard that were 4/16 of an inch wide and glued one flush with the bottom, one flush with the top, and one on the top edge of the sticks to finish it off. Then you paint it with a few coats of paint and let it thoroughly dry. Apply any wallpaper or wall treatment you wish to the wall FIRST and then attach the beadboard wainscoting to the wall. I hot glued mine.
That’s it, you’re done! Well, maybe three more walls to go. I hope you liked it. I’d love to see pictures if anyone tries it! I’m working on a bathroom that is inspired by this:
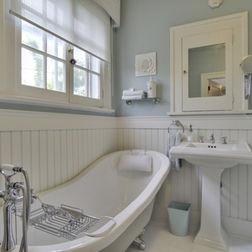
I want this in my real house too!
Thanks for reading! I love hearing from you, so please don’t hesitate if you have any questions or comments.
