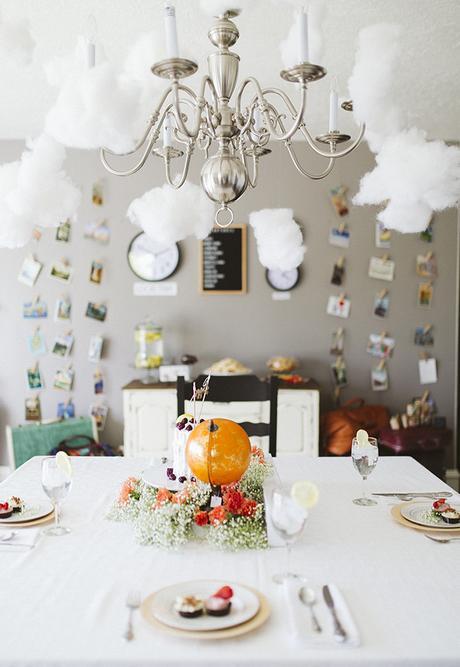
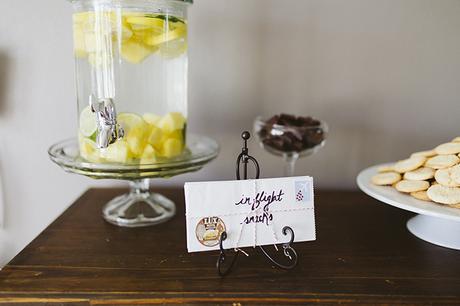
As you may have guessed, I love to travel (obviously). But sometimes, I just can't get away. Whether it be work, lack of funds, or other obligations, I sometimes find myself itching to see the world without the ability to do so. Because of this, I decided to come up with a travel party plan that I can use whenever I'm feeling "grounded". It's a great excuse to invite some friends over, chat about your favorite destinations or future travel plans, and of course, enjoy some delicious "in-flight snacks"!
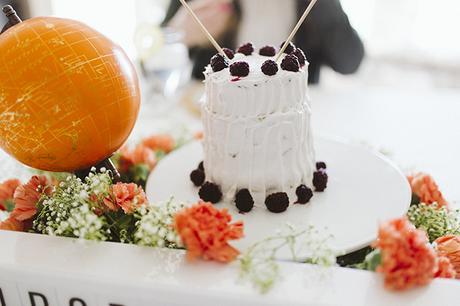
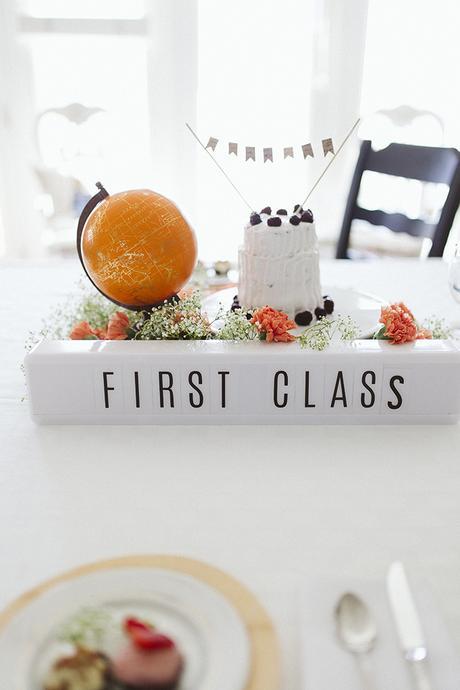
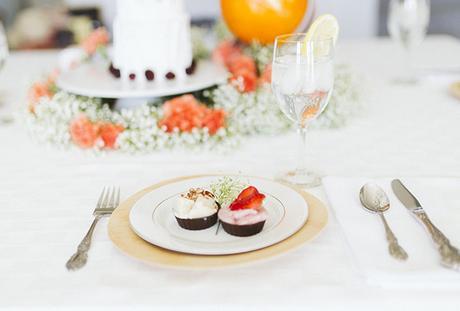
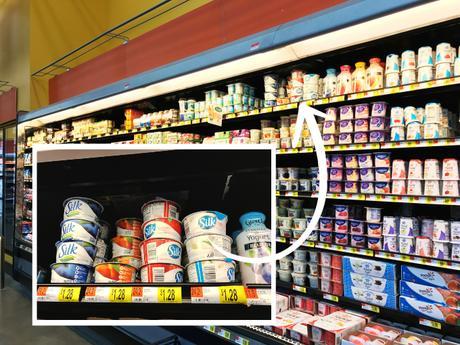
This travel themed party was all centered around my First Class snack of homemade ice cream in dark chocolate cups. This snack, and all of my travel party snacks were made using simple snack solutions that are based off things you'd find while traveling. Using Silk Dairy-Free Yogurt Alternative, I created my own "ice cream" recipe to serve to my First Class party passengers. Check out that recipe below!
The Silk Dairy-Free Yogurt Alternative comes in a variety of flavors, including the Strawberry and Vanilla flavors I used in my recipe. With live and active cultures, six grams of plant protein, and no artificial colors, flavors, or funny business, the Silk Dairy-Free Yogurt Alternative is the perfect way to satisfy your sweet tooth without sacrificing flavor or quality!
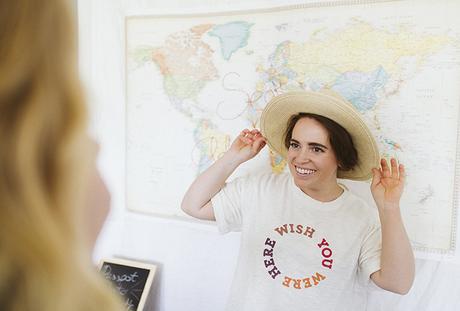
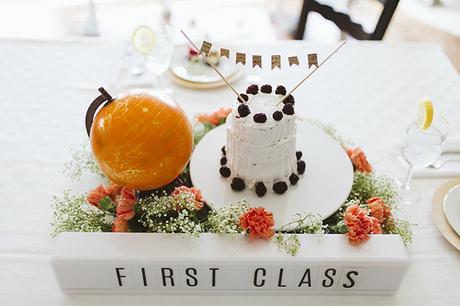
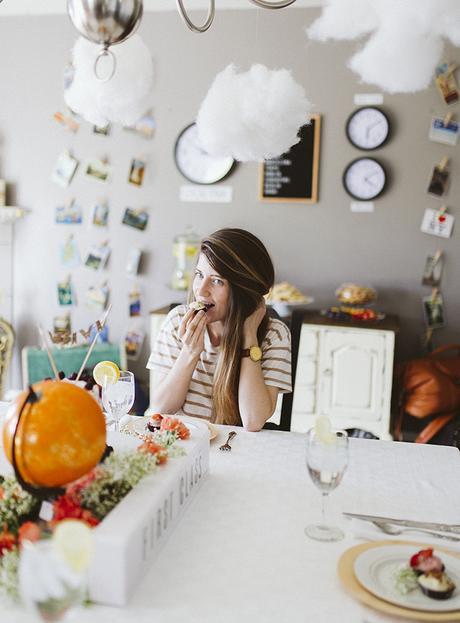
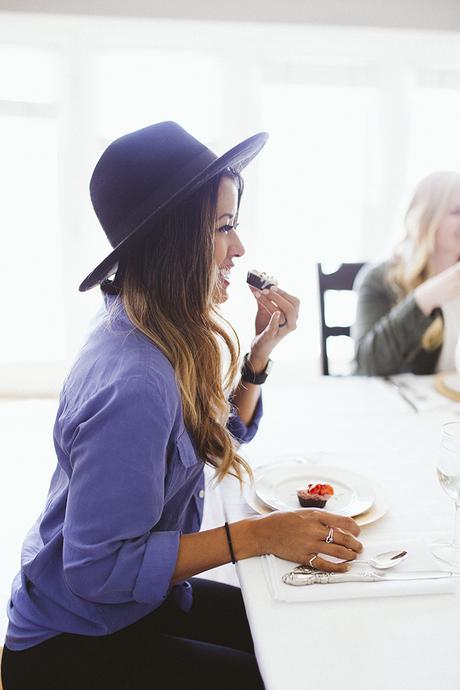
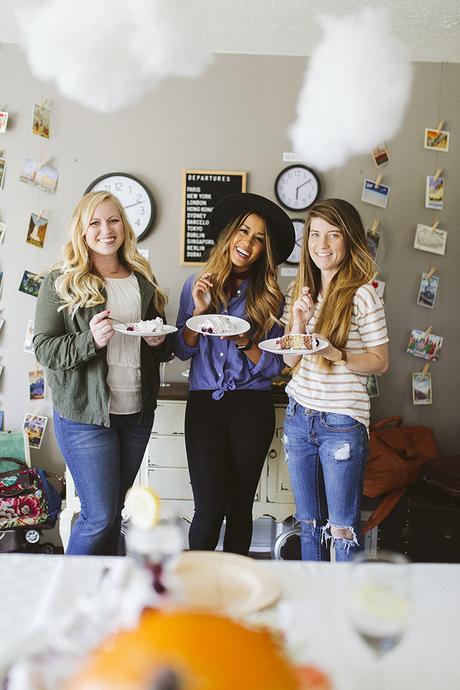
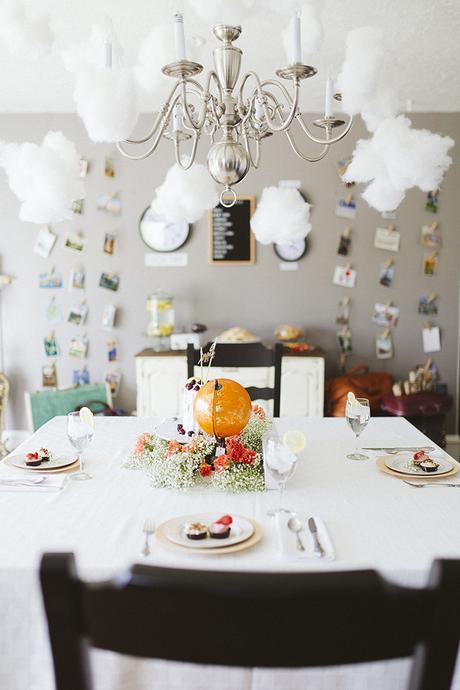
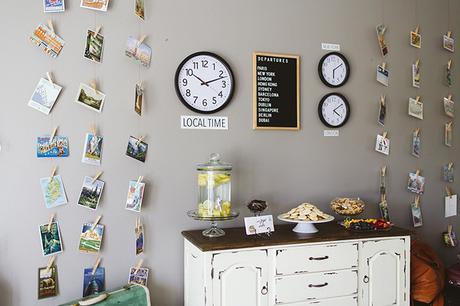
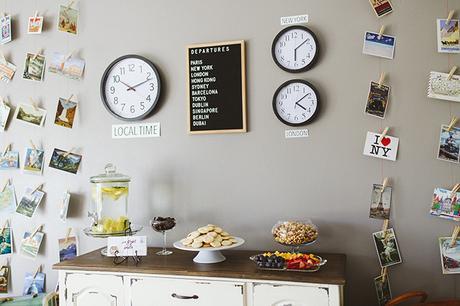
To create this party, I first listed a bunch of things that reminded me of traveling. From the postcards I've collected around the world to the clouds in the sky. Then, I took all of those ideas and implemented them as best I could.
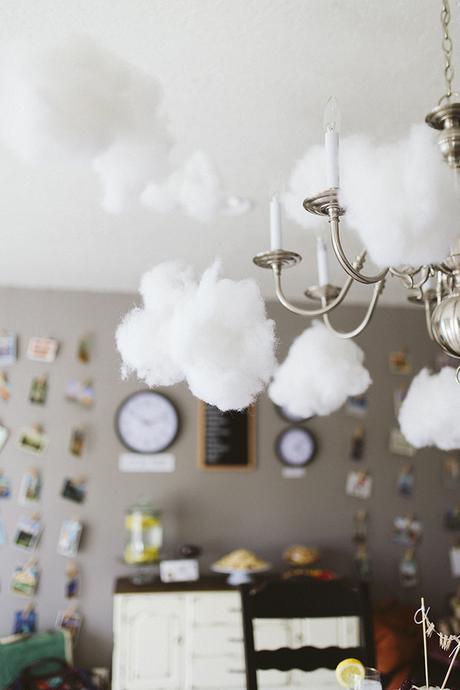
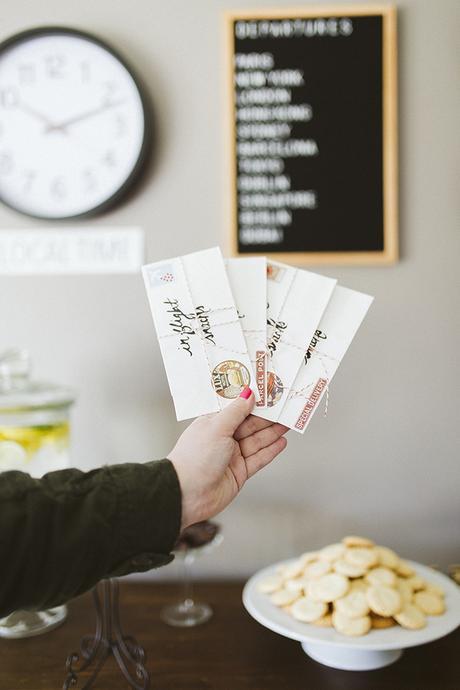
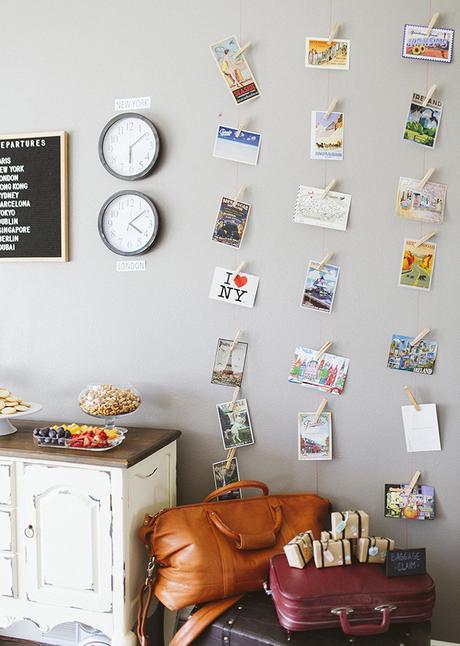
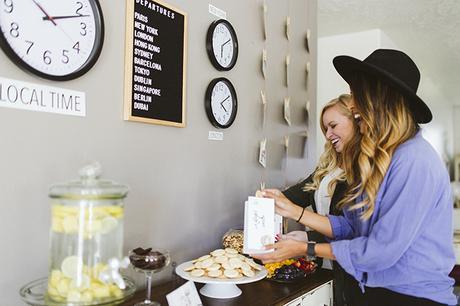
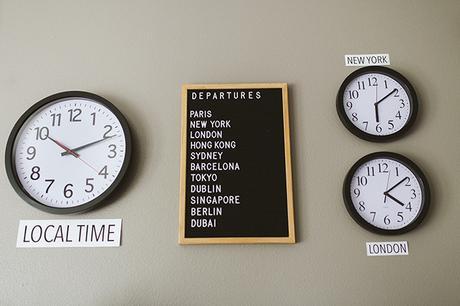
I used a bag of stuffing to create my clouds (simply tied fishing line around the poofs and pinned them to the ceiling), displayed my postcards by hanging them on strings, used my letter board to create the departure list, as well as some minimal clocks to display different time zones like you'd find in a train station or airport.
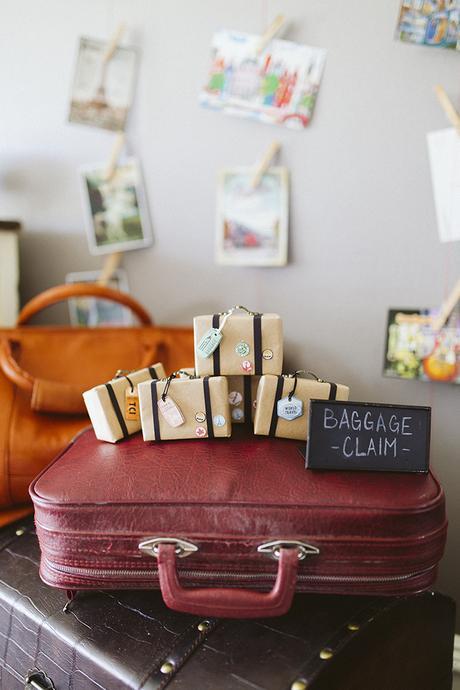
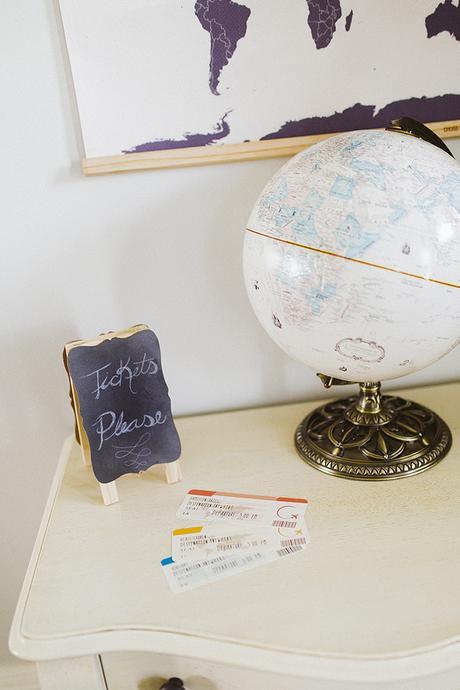
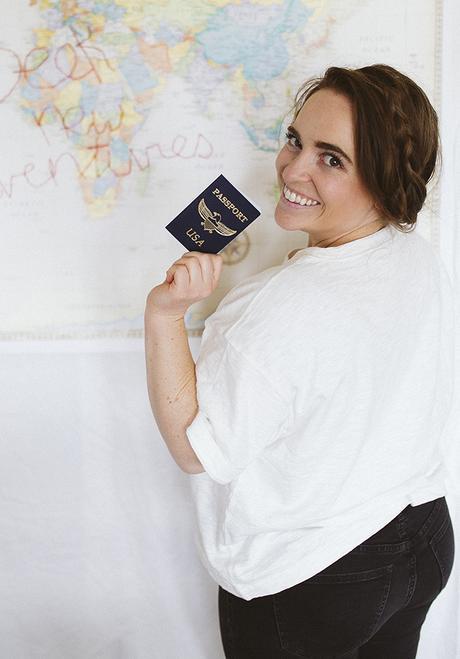
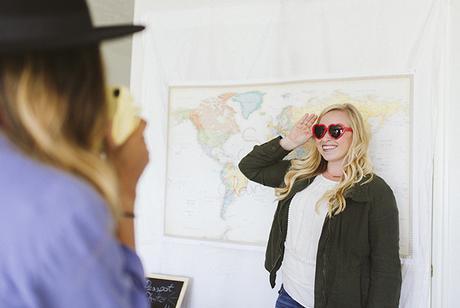
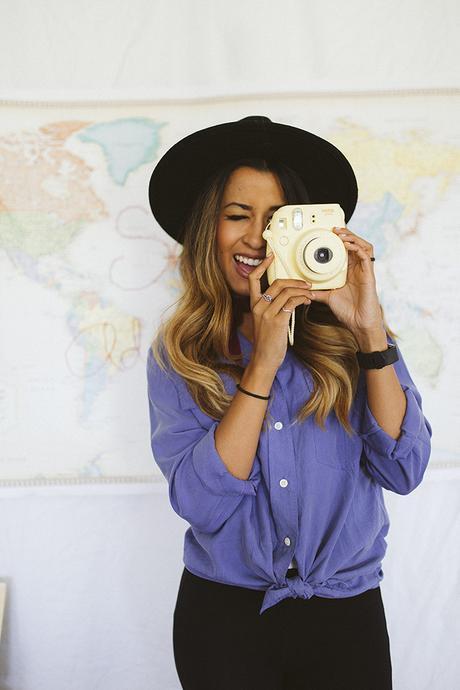
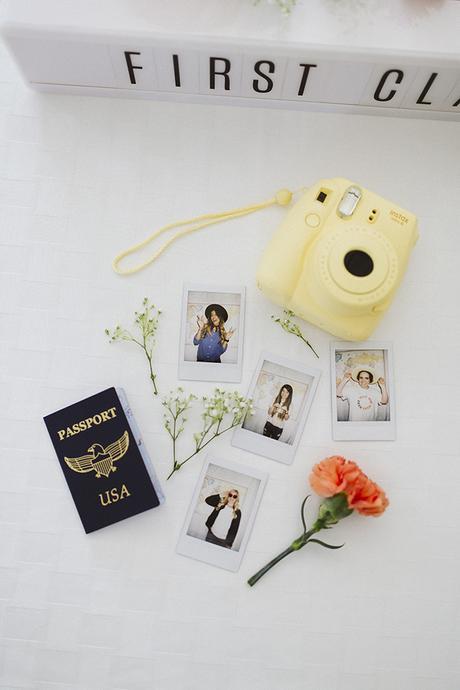
For my photo booth station I made it a "passport photo booth" where my guests could take their photos with a polaroid camera and place them into these little passports I bought at a craft store. My invitations were made to look like airline tickets, and my "First Class Lounge" was decorated to look high class. And of course, I couldn't let my guests go home empty handed, so their party favors were tiny suitcases, found in the "baggage claim".
Ingredients
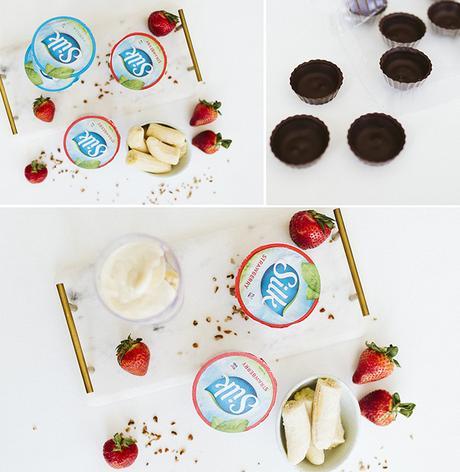
Silk Dairy-Free Yogurt Alternative in Strawberry and Vanilla (two of each)
1 cup Strawberries
3 Bananas (frozen)
1/4 cup Pecans or nut of choice (chopped)
1-2 Strawberries (sliced for topping)
Dark Baking Chocolate (make sure it's dairy-free)
Directions
To make the dairy-free ice cream cups, you'll first need to make your cups! In a sauce pan, warm up your chocolate so that it melts. Using a mould, pour the chocolate in and then freeze.
In a blender, mix a frozen banana, two Silk Dairy-Free Yogurt Alternative in Strawberry, and up to 1 cup of fresh strawberries. Blend them together until smooth. Place your mixture into a covered container and freeze. Rinse the blender and then mix together two Silk Dairy-Free Yogurt Alternative in Vanilla with 2 frozen bananas. Also place this mixture into a covered container and freeze. You may need to leave the mixtures in the freezer over night.
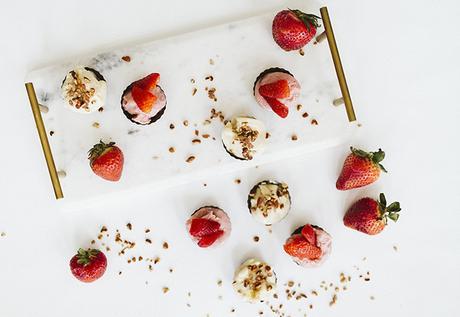
Once the chocolate moulds have solidified, and the mixtures have become "scoop-able", place one scoop of your mixture (which is now a homemade dairy-free ice cream) into one chocolate cup. Top it with strawberry slices for the strawberry banana flavor or chopped pecans for the banana nut flavor!
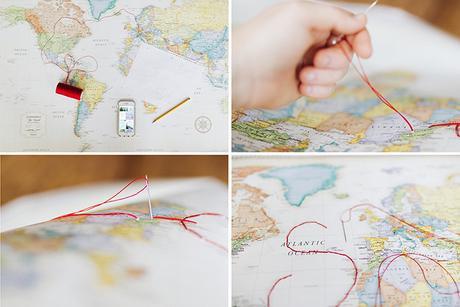
Supplies
Scissors
Map
Thread (in color of your choosing)
Large Embroidering Needle
Pencil
Paper
Directions
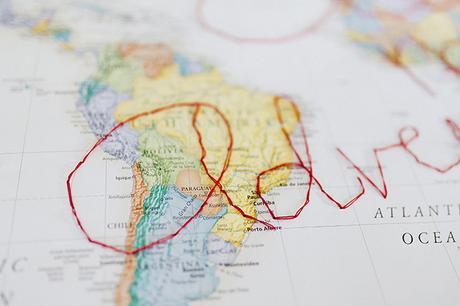
To make your embroidered map, you'll first need to check out the internet for inspiration. Decide what you want it to say, then practice writing it a few times on a piece of paper so you get the look right. Next, write that on your map.
Now, you'll need to thread your needle then pull the end through so it meets with other end, and knot the two ends together. This is where the hard part begins. I had a really hard time finding where the needle would come through and also seeing my writing on the map (so many lines already!). But don't get discouraged, I kind of love the messy, scribbled look that is my result. And remember, yours will probably be way better than mine!
Once your needle is ready to go, find your starting point and poke the needle through from the back of the map, threading it all the way until the knot stops it from continuing. Take the needle back through the map, about half an inch from your starting point.
Now that you have your first stitch in place, you're going to reverse the stitch by bringing the needle up another half an inch away from your previous hole, then taking it back down through that same previous hole. Continue in this fashion (with the backwards stitch - AKA the "backstitch"), following your letters, until you've reached the end of your writing. If you run out of thread, simply knot it on the back of the map, then begin again with a new strand, in the same place you left off. Once you finish stitching, knot the thread on the back of the map, and that's it!
Next time you're feeling that urge to get away, try throwing a travel themed party! It is such a fun way to satisfy that craving without spending all of that money. And remember to create your Dairy-Free Ice Cream Cups with the Silk Dairy-Free Yogurt Alternative from Walmart!
