I don’t know how you prefer your images, but I usually like mine to have a lot of contrast. I’m not talking about so much that the whites and blacks in the image have lost their detail, but I do like to make the shadows and highlights really pop!
Then there are times that I just want to tone everything down. Do you ever feel that way? It was taking me awhile to figure out why I wasn’t completely happy with the processing of an image but then it was like a light bulb went on over my head and I was certain of the look I was going for! I know toning can mean a different things when it comes to photography so the type of toning I am speaking of is when the overall colors/shadows/highlights of the image blend together to create a smoother appearance. I guess the opposite of the toning I am speaking of would be less contrast.
Am I contradicting myself a little here? It sure sounds like it, but who ever said you couldn’t like more than one way of processing a photo? There are no photo processing police reading this post right?
So, seeing as I do like the effect of both contrast and toning, I usually save my images both ways. And because I have such a super easy way to tone your images, I thought I’d share a brief video tutorial with you so that you could apply it yourself!
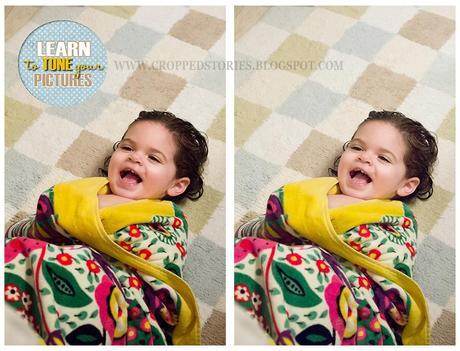
For this first example, I attached the image the way I would normally process it:
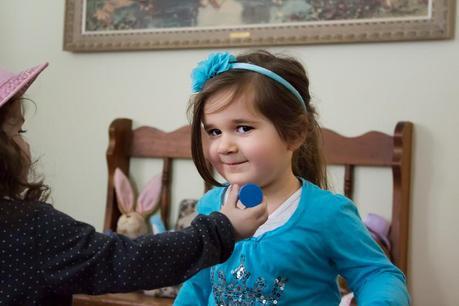
And now with toning applied:
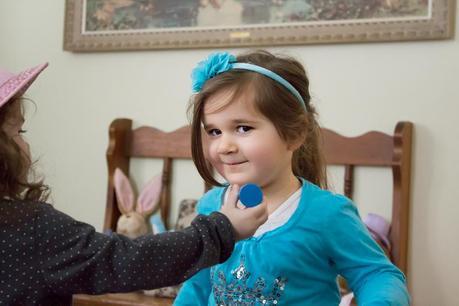
The next two images were only processed with toning:
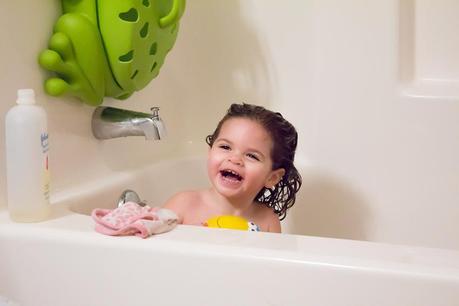
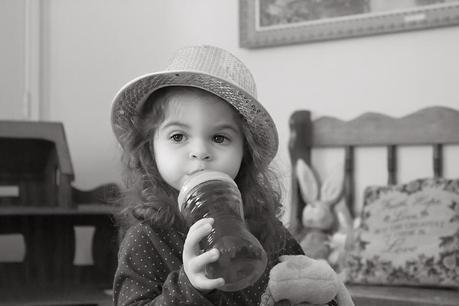
And now for my video tutorial. Just click on the video thumbnail to take you to YouTube.
Before you do, though, I feel the need to apologize for the little sniffle near the end of the video.
I’m either fighting a cold or some nasty allergies!
Duration: 6 minutes
Software: Photoshop CS6
Level: Beginner
My recommendations for viewing this video at it’s maximum quality.
1. Make sure the volume on the video is up (second icon/button from the right at the bottom of the video).
2. Make sure the volume on your computer is up.
3. Be sure to view in 720p HD (second icon/button on the left at the bottom of the video).
4. Viewing it with the large player, instead of full screen, comes in more crisp & clear (fifth icon/button on the left at the bottom of the video).
Also, stay tuned for more video tutorials! If you haven’t visited my (NEW) video tutorial page yet, feel free to take a look! It’s still in the works, but you can get an idea of what’s to come!
Remember, if you have any questions, just drop me a comment!

