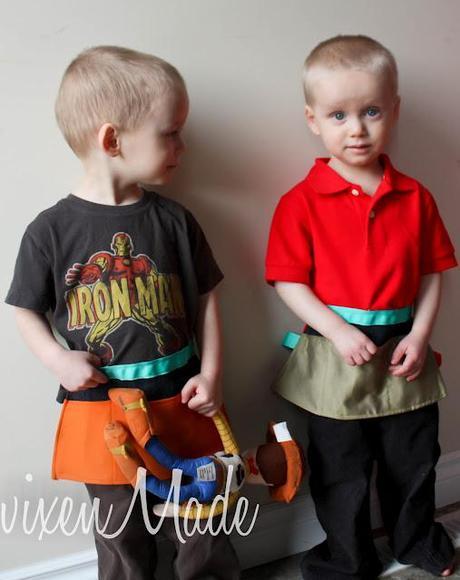
It seems my boys are no longer babies.Well, that was a given since their 2nd birthday.But they're sitting on a chair at mealtime, going to the potty, starting to dress themselves and playing nonstop with their tools and trucks (or 'chucks' as they call them). On top of that, if my husband's working in the garage.. they're there!So it was time for their very own tool belts.
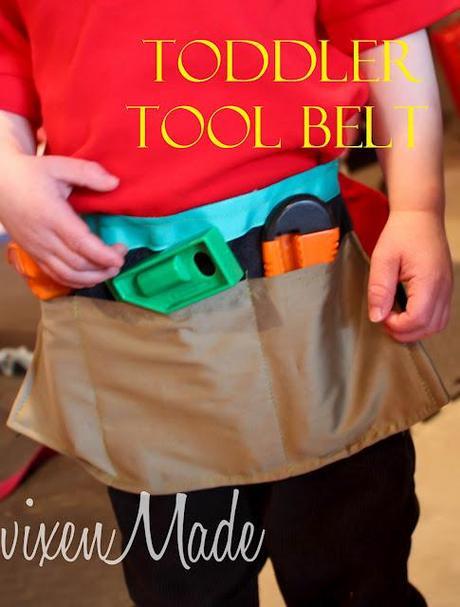
It was a quick project (since I was having to make two) with little supplies, that I figured I'd give you a tutorial.
Here's what you'll need:roll of grosgrain ribbon (you won't need a whole roll)old jeans or sturdy materialscrap of another material (can be cotton or denim)velcro
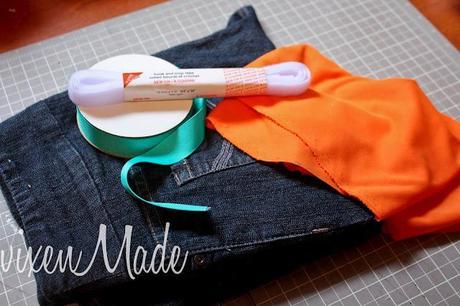
First off, cut a piece from your old jeans. I actually used this pair for this project first. My piece measured 8" long by 14" across the bottom and 11" across the top.
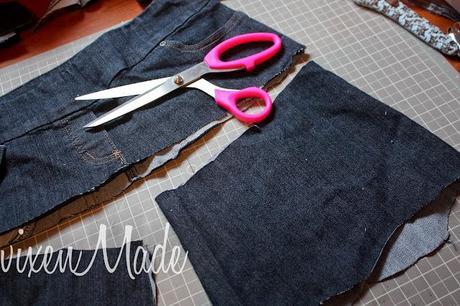
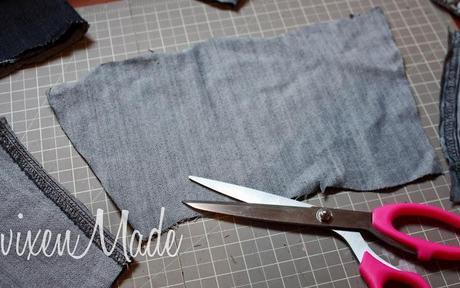
Lay your denim piece over the scrap piece, both laying right side down, with the top 1/3 off the fabric. Be sure the top of the scrap piece is straight (this will be the top of the front pocket).
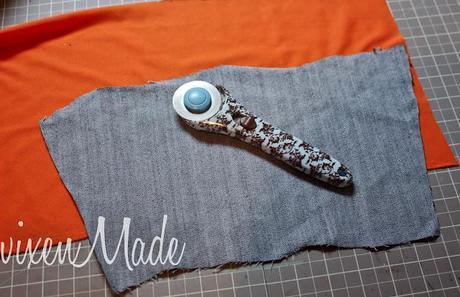
Cut around the denim piece in the same shape.
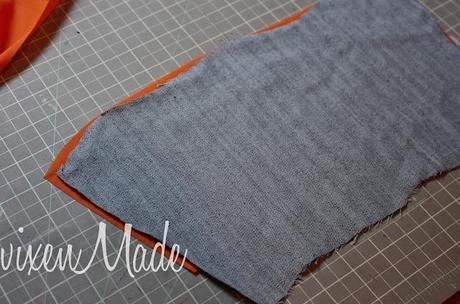
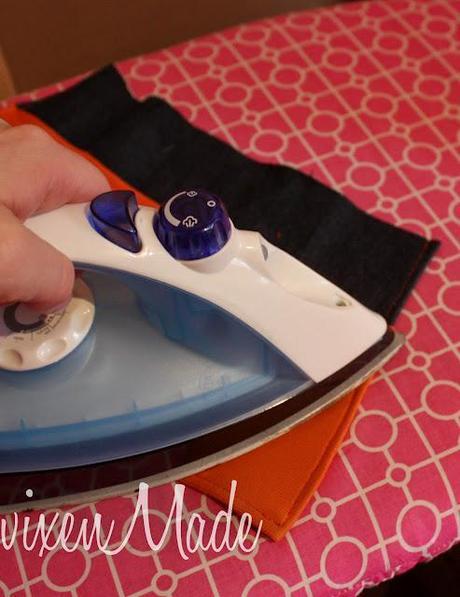
Fold over the top of the cut piece and press with an iron.
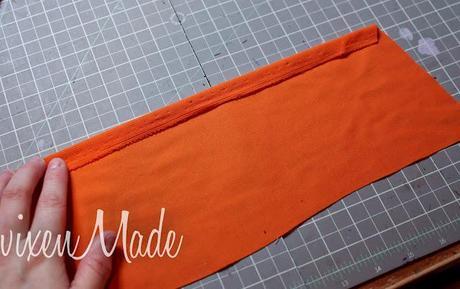
Sew a hem just along the top.
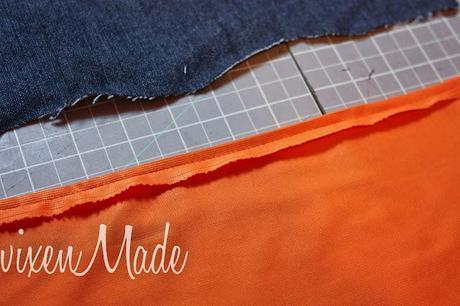
Place the piece over top of the denim piece, lining up the bottom and sides. Pin it on and sew around the outer edges, leaving the top open.
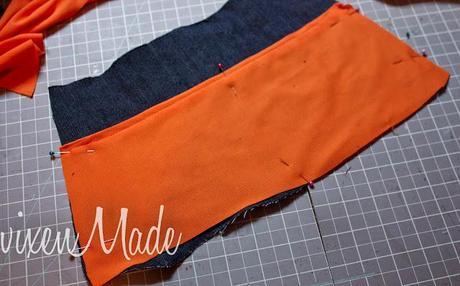
Sew two more seams going down the front for pockets. Here you can choose to do two pockets as well or even a few narrow pockets.
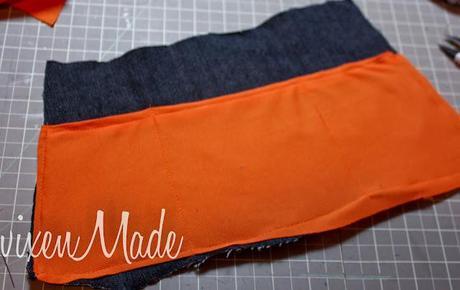
Now fold over the edges of the sides and bottom of the apron and pin in place. You'll be sewing a hem around the edges of the apron. You can do the top or leave it like I did, either way it will be covered up.
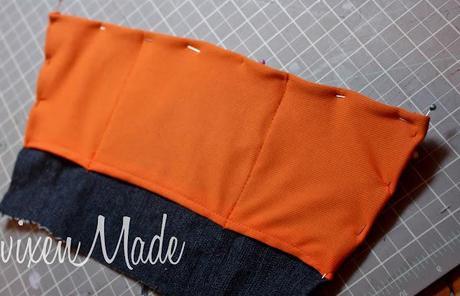
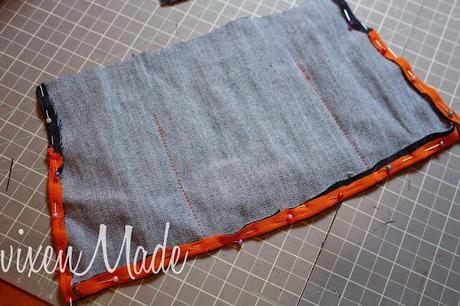
Now press your edges with an iron.
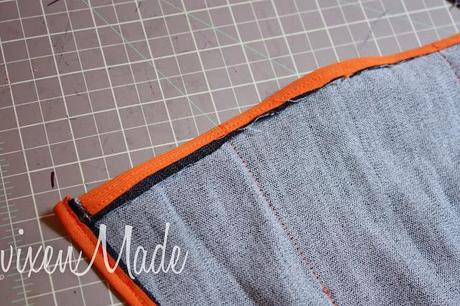
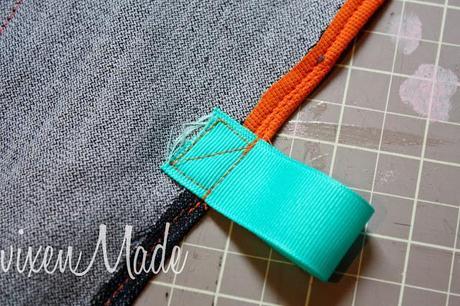
Next, get your ribbon and cut a 4" piece. (You may want to make this longer, depends on your child's toys. Once I was finished, I noticed some of the toy hammers are too big to fit in the slot I made).
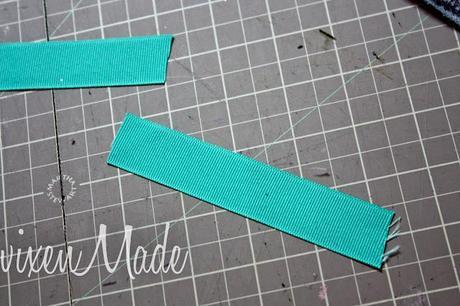
Fold in half and pin onto the side of your apron.
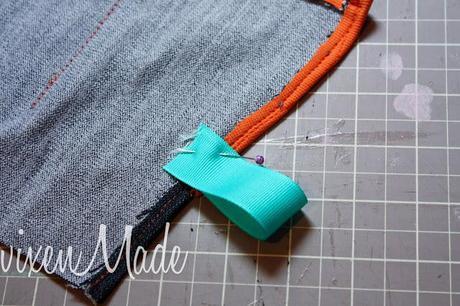
Then sew it on.
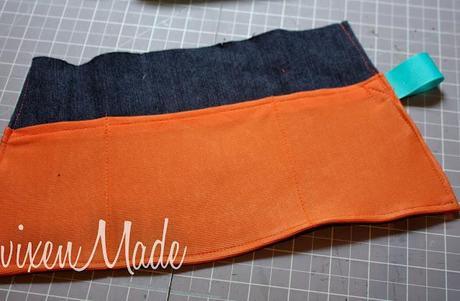
For the top, you'll lie the top of the apron over the ribbon leaving excess ribbon on either sides of your apron. I had about 6 or 7 inches on both sides. You may need to measure your child's waist to see how much extra you'll need.
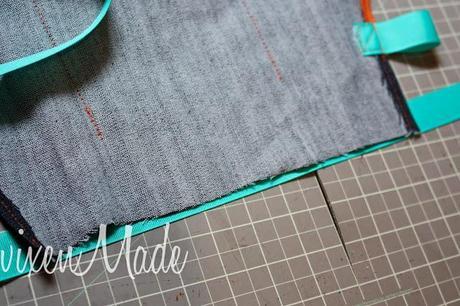
Pin it and then sew your ribbon onto the apron.
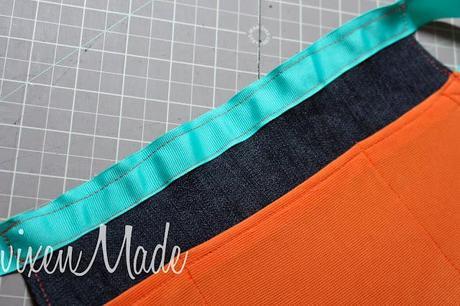
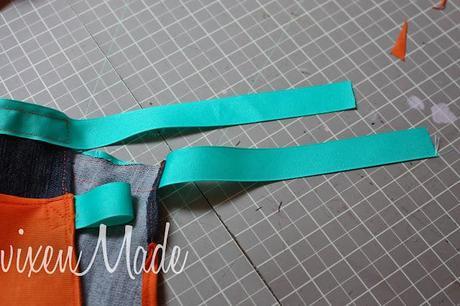
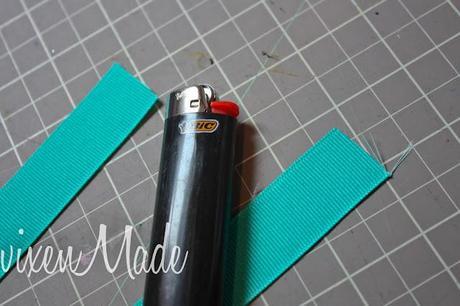
For the edges of the ribbon, I burnt the edges with a lighter so they wouldn't fray.
Now take a 4 inch piece of velcro and pin them on the ends of your ribbon. Make sure you're sewing them on the right sides.
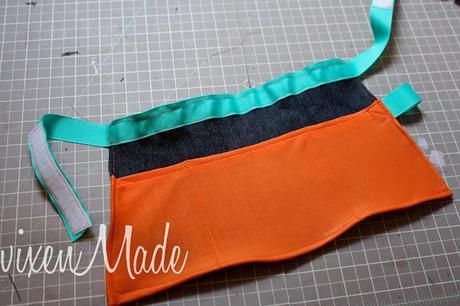
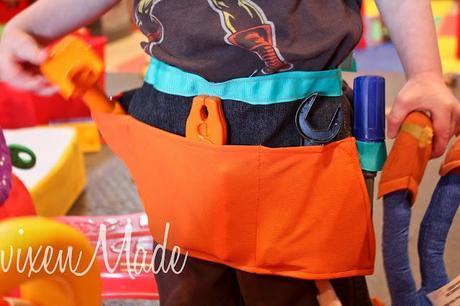
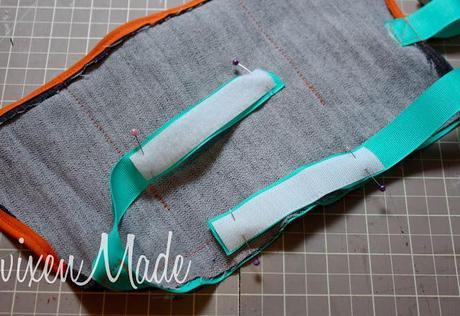 This is how it should look when you're done.
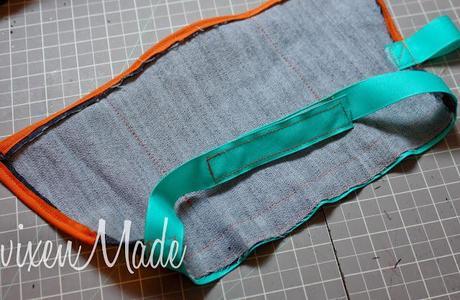
You now have a cute tool belt for your little handyman!
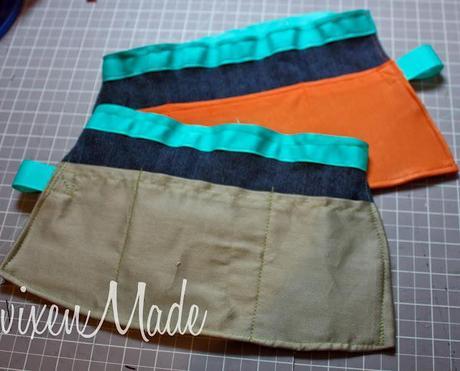
Try them on and play away!
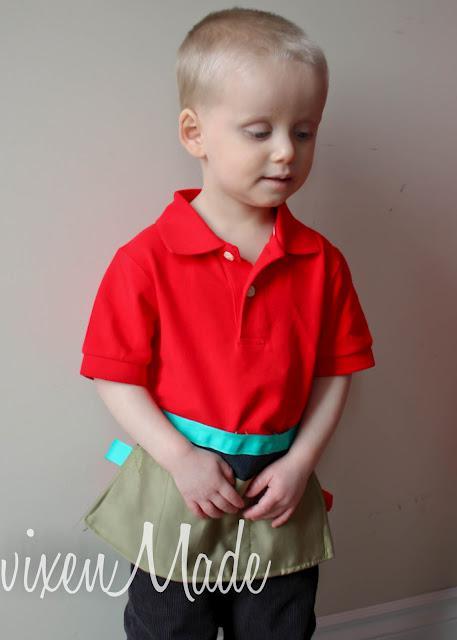
My boys really are growing up.. they'll actually stand still for a picture now!
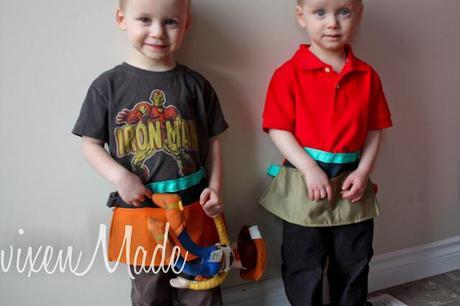
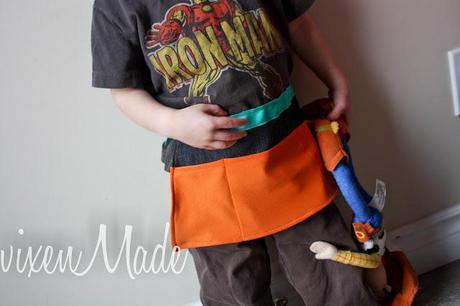
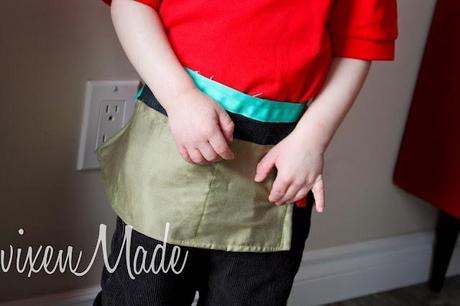
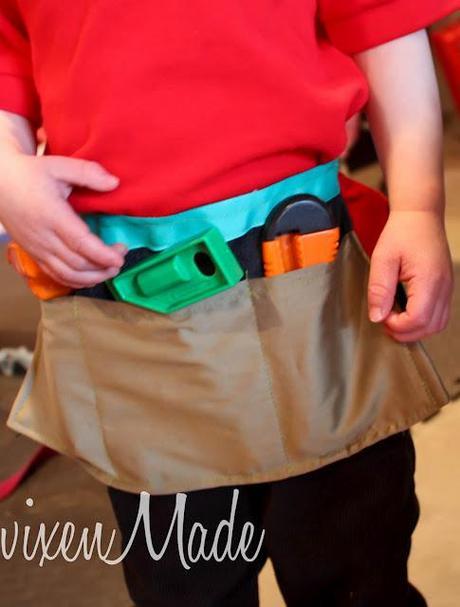
A perfect place to put all your tools.
 I link up here!

