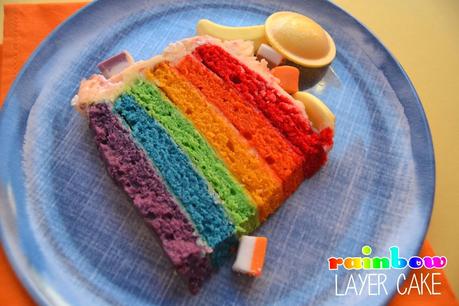
If you read my post about our last Clandestine Cake Clubevent, then you will have seen my rainbow layer cake.
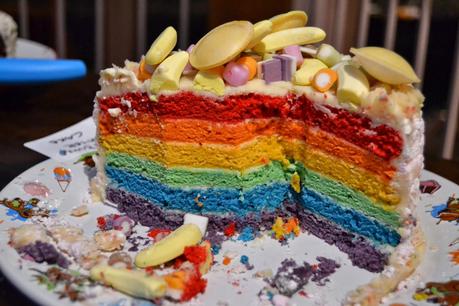
Now, I know rainbow layer cake isn’t a new thing, but I wanted to share a few tips I have stumbled along, in my endeavour to getting the right colours, even layers and so on.
This cake was made for the theme ‘Childhood Memories’ where I set everyone the challenge of making a cake from their past, or basing it on a classic TV show, using sweets from their childhood and so on.And this cake encompasses all these three things for me.
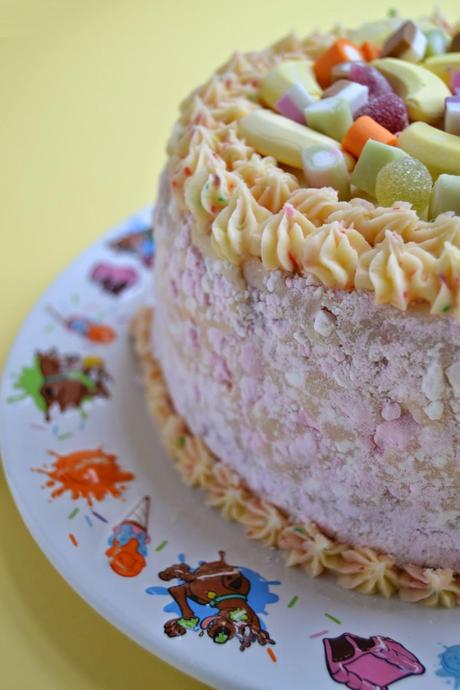
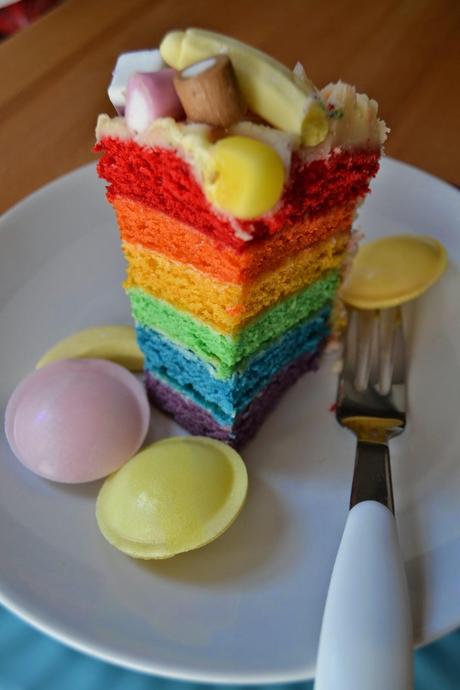
Firstly, I have made the rainbow part – this could be for the TV show Rainbow – remember Zippy, Bungle and George? And I made a buttercream to decorate it, and to enhance that I squished crushed up meringues into the buttercream, something birthday cakes from my childhood always had. And lastly I added some retro sweets on top like flying saucers, dolly mixtures and foam bananas.
This cake would be perfect for Treat Petite this month which also has theme ‘Childhood Memories’, if it wasn’t actually a cake. But it is, so I can’t.
Anyhow, on to the cake. I have made coloured cakes before, with varying degrees of success. My no cocoa red velvet always turns out a good vibrant red, but some colours have been better than others. Take my blue velvet cake from last year – more aqua than blue.
But for me, I found the best way to get the right colours, is through using a pale cake batter. The yellow hue of regular cake batter can influence the food colourings, hence the blue always turns a shade on the green side.
I now use a white cake recipe which has no egg yolks, only egg whites. And the butter in the recipe is yellow, but beating the sugar with the butter for an inordinately long time, I discovered that the mix became almost white! No idea why, there is probably some reason, but I left on high for at least 5 minutes. The result was a smooth creamy white blend.
Vanilla extract can color the batter also, so use it sparingly or add another clear flavouring. You could use almond, coconut, strawberry or anything that takes your fancy.
For the colouring, I use 6 colours – Red Extra, Apricot/Tangerine, Egg Yellow, Spring Green, Royal Blue and Grape Purple. I know the rainbow has 7 but I’m not getting fussy about indigo and violet. Purple seems a good compromise. I always use food pastes/gels now. Usually the Wilton brand. You don’t need much, but I can’t tell you how much exactly, this will be something you have to eyeball. Use a toothpick and add a little at a time. Remember you can always add more, you can’t take it away. But the more vibrant the batter, the brighter the cake will be.
To ensure the layers are equal, I actually weighed the cake batter after it was mixed (I’d pre-weighed my bowl and subtracted that). Going by the white cake recipe, I divided it into six and each layer of batter weighed 240 grams.
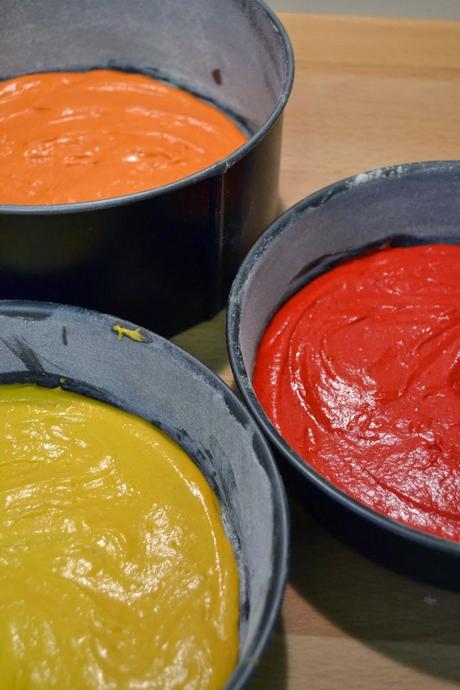
I used 6 bowls and coloured three portions of the batter (red, orange and yellow first) as I only had three cake tins the same size (8” or 20cm). I baked these for about 10 minutes each – as they are thinner layers of batter they don’t need long in the oven.
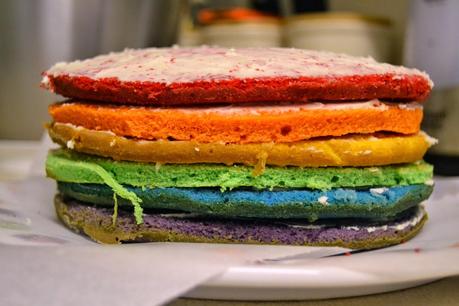
I then turned them out and repeated the process with green, blue and purple. The layers do look thin – I was worried. But don’t be. When they are sandwiched together with a filling such as buttercream they make a perfect sized cake. Also, the baked cake won’t look a vibrant color on the outside. But when you cut into the finished cake, the colours will look amazing!
These are my own thoughts and experiences on making the cake. If you have any questions or thoughts on making a rainbow cake, please get in touch.
Here is the recipe for the white cake:
White Cakeby Stuart Vettese June-5-2014Ingredients
- 400 grams plain flour
- 1 tablespoon baking powder
- ½ teaspoon salt
- 225 grams unsalted softened butter
- 450 grams granulated sugar
- 1 tablespoon flavor extract
- 7 large egg whites
- 250 ml milk
- variable food color pastes
