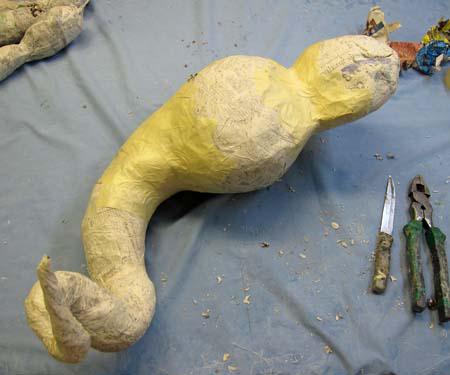
So back to the dragon. This time I decided to break the body into two parts. The big paper mache ball will be the hips and the smaller ball will be the torso. This dragon will only have legs and arms/wings. Sometimes I have legs, arms, and wings. But this one I want to be bird-like (like my Seadragon). I want it to hang and look like it's floating, looking for prey from a great height. On the right are the "fingers" for the wings. You've seen me make those before. I twist paper tightly around pieces of wire clothes hanger and then wrap with cloth and glue before assembling.
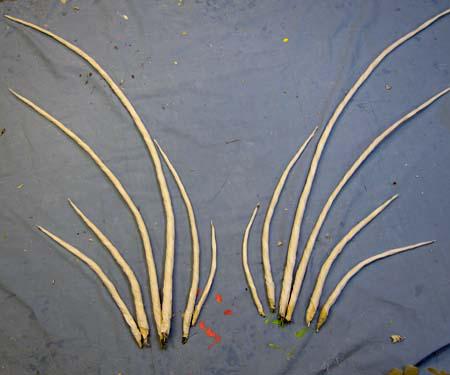
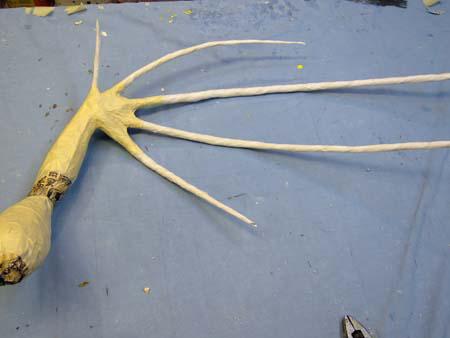
I tape the fingers around a crumpled wad of paper to make a hand. Then I taped the hands onto the paper mache arms I made earlier.
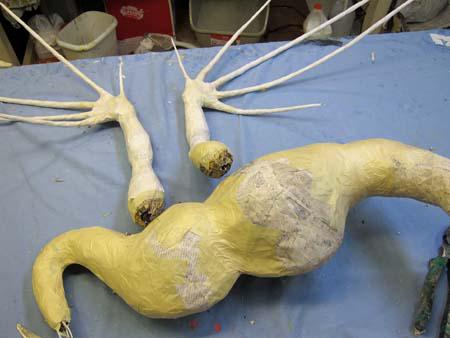
I attached the arms to the torso.
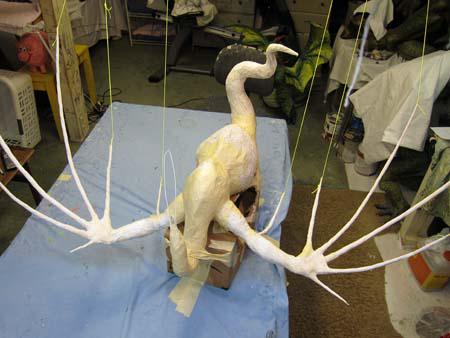
These wings are fairly large. When I drape the cloth dipped in glue over the fingers they will be quite heavy. So I attached string to the ends of the fingers and securde them to the ceiling of my studio. Otherwise the fingers would just bend down and it would be a mess. This is not a problem with smaller wings.
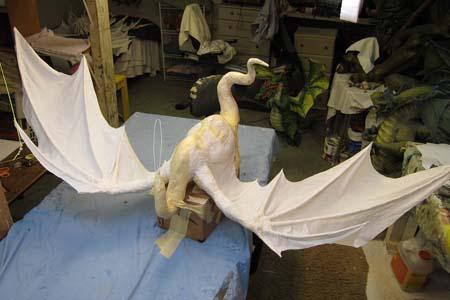
Below you can see the wings after the cloth dried and I trimmed them with scissors. I'm quite happy with how they turned out. When I paint these with latex paint they will feel like leather. The rubber/cloth mache combination is perfect for wings.
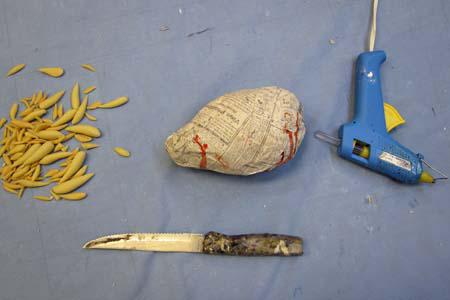
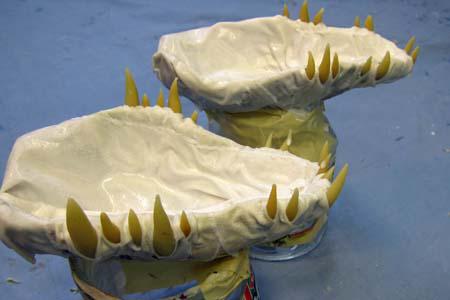
Before I leave you, let me show you the making of the jaws. I know this is getting a bit old for you experts out there. But maybe there is a newbie paper mache artist visiting who has spent sleepless nights wondering about dragon jaws. I always start with one of the smaller paper mache balls. I cut it open and pull out the wad of paper leaving two half shells. I used Fimo again for the teeth (and claws and horns). I hot glued the teeth to the shells.
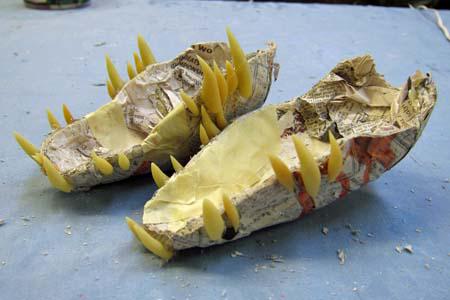
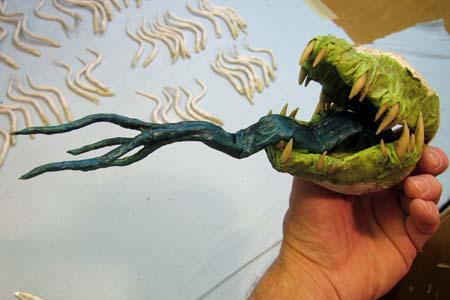
Then I cloth mached around the teeth and inside the jaws. On the right you can see the finished jaws. I decided to paint these green. I made a pretty cool tongue for this dragon. I usually make a bifurcated tongue, like a snake for dragons. But I wanted this to be special. I split the tongue into four parts at the end. It's a bit hard to see. But I think it adds a lot to this dragon.
That's it for now. I'll be back soon. Thank you for stopping by.

