The story of a wooden sign we made for friends - from #LRCrafts - DIY Passion: if you can think it, you can make it by Rici86.
I’d like to share a story with you. It involves a tight-knit group of friends, a cabin nestled in the Alps and a custom-crafted gift.
In the heart of Valle d’Aosta, surrounded by the majestic beauty of Val Veny, our group of Irish dance friends discovered more than just an annual event. If you’ve ever been to the Celtica Festival in the Peuterey Wood, you’ll know what I mean; it’s more than just an event – it’s an inspiration. It quickly became a cherished annual tradition for us.
During the festival week, a rustic cabin, perched 1500 meters above sea level in the woods, became our haven at the foot of Monte Bianco. It also became the backdrop for a tradition shared among friends.
It all began with a casual conversation. After years of attending the Celtica Festival and sharing the same cabin, it felt like our own. Each cabin in that area, including ours, had a wooden sign stating its name. Two of our friends kickstarted the tradition of our annual week in that place, and one day someone cracked a joke about changing the cabin’s name. We did earn the right, for at least one week a year, didn’t we?
Well, it started as a juke, but my husband and I took it pretty seriously! We were like “Why not?” and decided to jazz up the place crafting a custom wooden sign, bearing the last names of the two friends who kickstarted our whole tradition.
Woodworking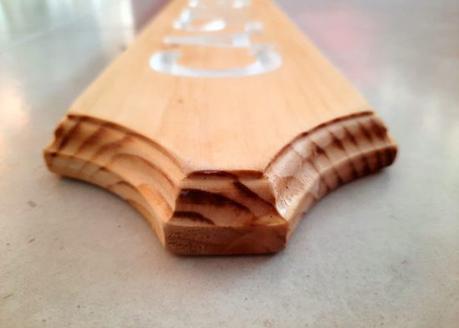
Click for the finished project detailed photos
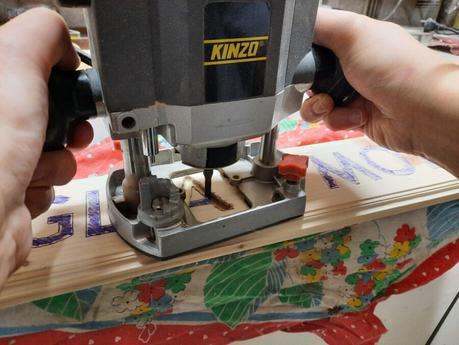
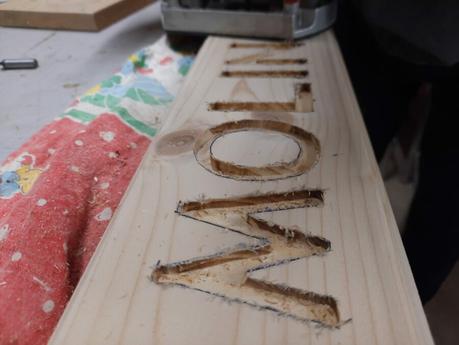
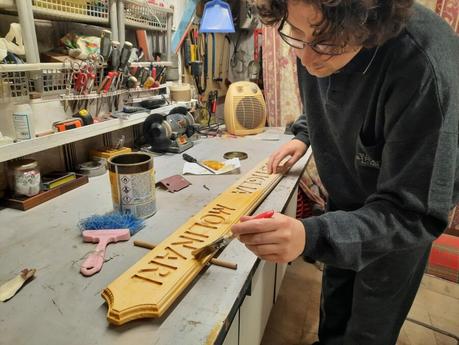
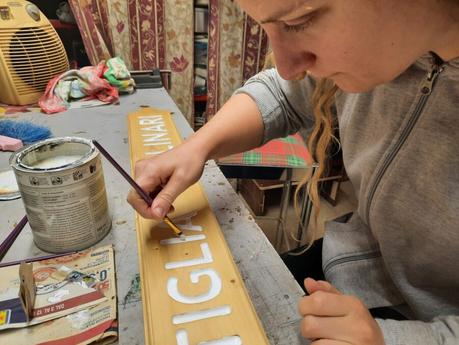
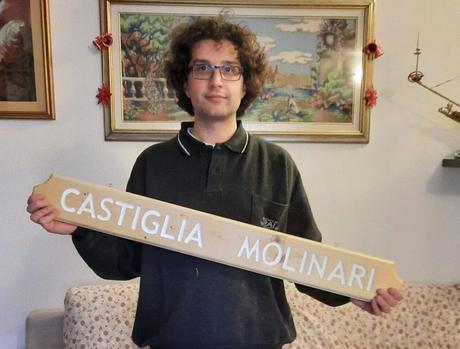
In the pile of all the materials we keep in our garage because they could become useful one day, we actually found the perfect wooden board for our project.
First, my husband shaped the board using his milling machine to give it the look of the original sign. I then drew the names for him to carve, again with his milling machine.
After sanding the wood, Locutus applied a layer of varnish to protect it from the weather. Then, I painted all the letters white to match the original cabin sign.
We added two hangers on the back and our craft was complete! What we had to do was waiting a few months to come back to the mountains with our friends to give them our gift.
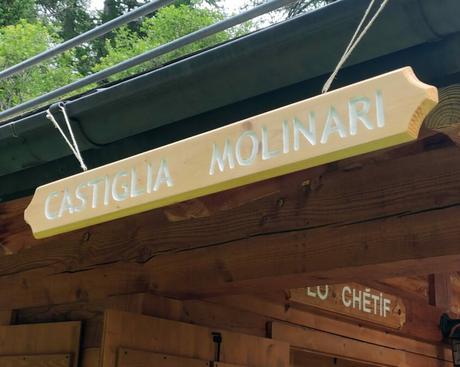
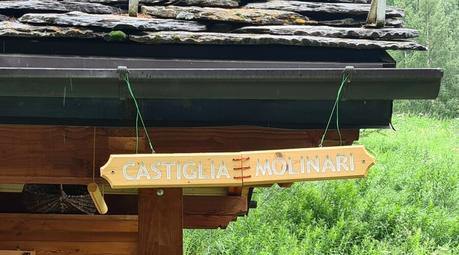
After completing the crafting process and eagerly anticipating our friends’ reaction, we hung the sign at the cabin before their arrival. Their surprise and delight upon seeing their names on wood were priceless. They didn’t expect at all that we could take the previous year’s jokes seriously, but there it was: their names adorning our beloved cabin.
However, as the excitement settled, we realized there was a small issue to address. Our friends, who didn’t live together, would need to find a way to share the sign. That’s when my husband proposed an ingenious plan: we took the sign home once more to make some modifications.
The solution? Splitting the sign into two parts. This way, each friend could take a piece home after our annual cabin stay.
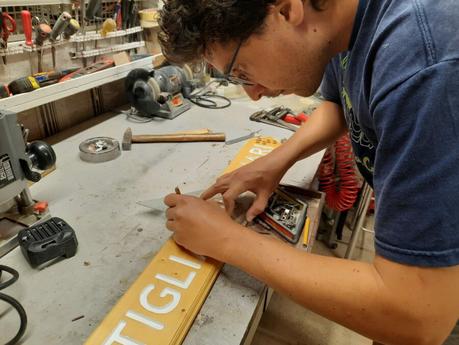
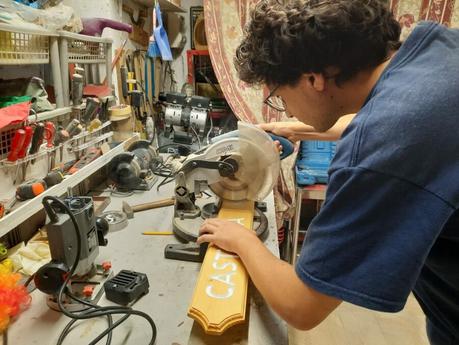
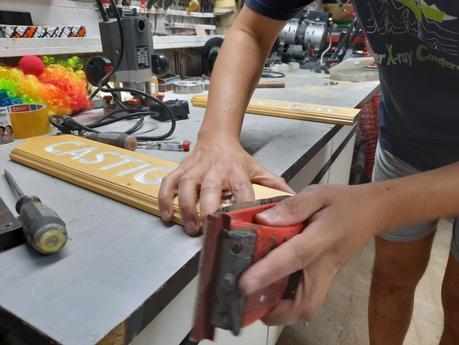
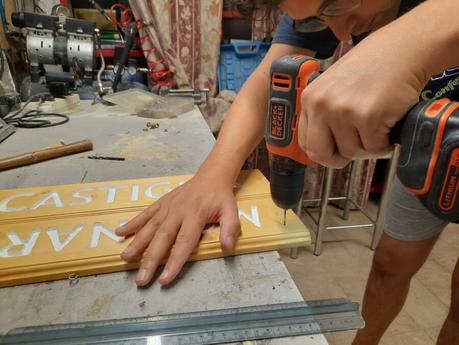
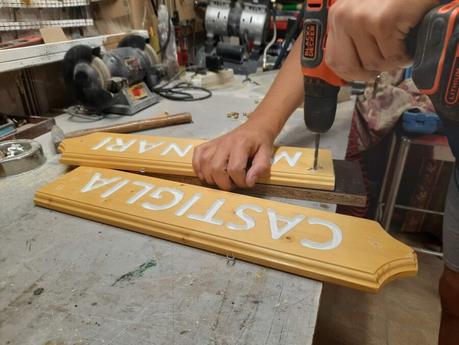
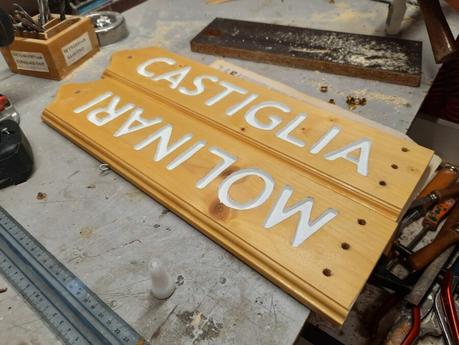
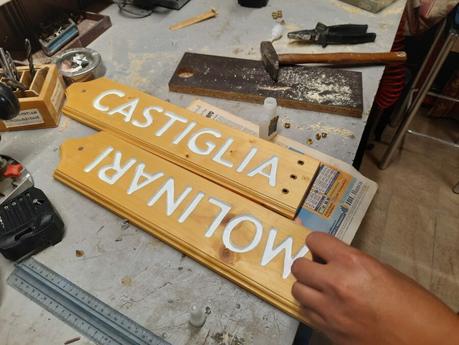
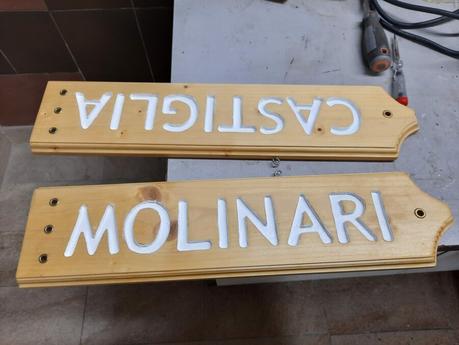
My husband’s first idea was to split the wooden board like a jigsaw puzzle to be reassembled each year for our Valle d’Aosta vacation. That proved to be complicated, though: we didn’t have enough space between the two names to make it.
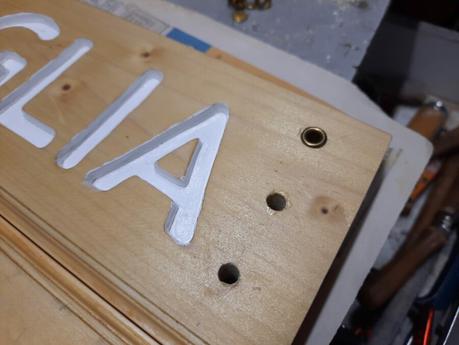
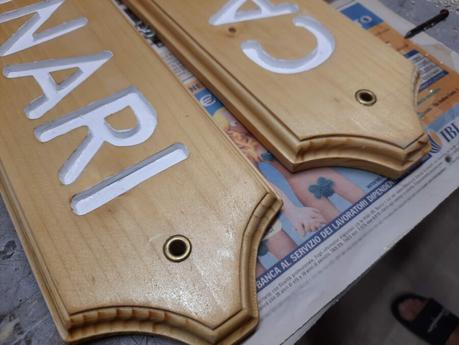
Instead, we simply cut the sign in two halves and drilled three holes on each half. Those would be used to weave a cord to keep the two pieces together while the sign was recomposed and hanged out of the cabin.
To protect the holes from wearing and for a more finished look, we even added metal eyelets. Also, we drilled one hole each at the opposite ends of the wooden board, just for aesthetics.
This way, our friends could both enjoy the full sign and have a piece of it for each one to keep home all year round. A tangent memory of our friendship and our beloved annual tradition, and a link to the cabin during the rest of the year. Just a bit of fun that turned into a tradition without us even realizing it.
And if you want to add a personal touch to your traditions, go for it! Keep it simple, keep it fun. Give it a shot, you might end up with your own quirky tradition!
We’d love to hear about your crafting, too. What’s the most memorable DIY project you’ve done with friends? Share your stories in the comments below!

