How I sew scrunchies - from #LRCrafts - DIY Passion: if you can think it, you can make it by Rici86.
A while ago I happened to be in between sewing projects. Just finished clearing the sewing table from the remains of my latest finished dress, I was browsing my stash to decide which one I would sew next. I had a bunch to choose from: a headboard cover for my mum’s bed, additions for my Irish dance competition dress, an orange dress for my daughter…
In my fabric stash I found a couple of fabric rectangles, scraps from a handmade blouse a friend of mine made for me. Since I loved the fabric she used, with illustrations of ballerinas, she gave me the remnants of the blouse making. Well, it happened I’d just finished watching a YouTube video on how to make scrunchies. I looked at those fabric rectangles and said to me: that’s the next project I want to sew!
Before embarking in some bigger sewing endeavour, I decided to make something small and quick: a ballerina scrunchie for my dance-lover daughter.
Here’s how I made it in less than half an hour.
Embroidery and sewing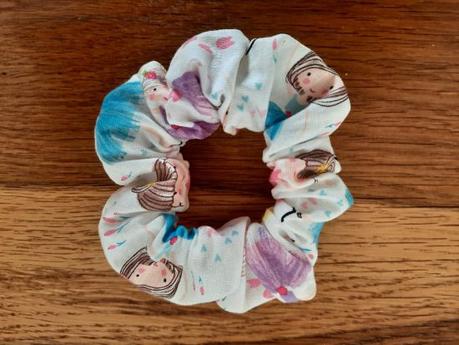
Click for the finished project detailed photos
What you need
- Fabric rectangle of your choice (more about the measures later on)
- Elastic band
- A safety pin
- Scissors
- Needle and thread in matching color
- Sewing machine (optional)
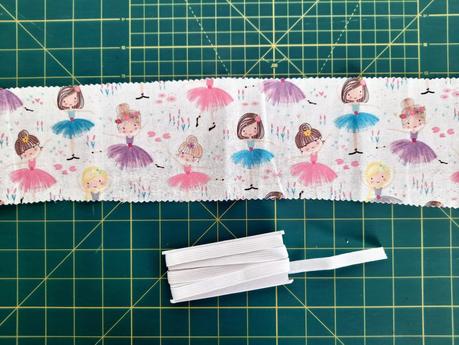
About the sizes of fabric you need for scrunchies, I browsed around and found out:
- Mini scrunchie: 45 cm x 7 cm (or 18” x 3”)
- Classic scrunchie: 70 cm x 10 cm (or 28” x 4”)
- Jumbo scrunchie: 100 cm x 15 cm (or 40” x 6”)
As for the elastic to use, I found a general rule about the diameter of the finished scrunchie:
- Mini scrunchie: 7.5 – 9 cm (or 3 – 3.5”)
- Classic scrunchie: 11 – 14 cm (or 4.25” – 5.5”)
- Jumbo scrunchie: 15.5 – 17.5 cm (or 6” – 7”)
One of the strips of fabric I had was 50cm x 7cm. For a toddler scrunchie I thought it was good enough.
To make the scrunchie, I folded the fabric in half along the long side, right sides facing, then sewed the other long side, to make a tube. I was careful to leave an opening a few cm wide. This is paramount to be able to reverse the tube of fabric.
When you have your fabric tube, the short sides open, turn it halfway to the right side. Just halfway: you need to match the short sides, right sides of your fabric facing. It’s easier done than said. You have to pull out one short end from the other, but not all the way through. You can use the help of a thin tube, a knitting needle, or there are specific tools on sale. I simply used my fingers: this is why I recommend to make a tube of fabric not too small, so you are able to fit one finger inside.
Match the seams for a precise fit and you’ll have your short sides one on top of the other, right sides facing. Now stitch all the way around the short sides. This is something I did by hand, since it’s hard to put such a small circle of fabric under the presser foot of the sewing machine. To be able to use the sewing machine, the bigger the scrunchie, the better. Also, using stretchy fabric could make it easier. I used a backstitch for strenght.
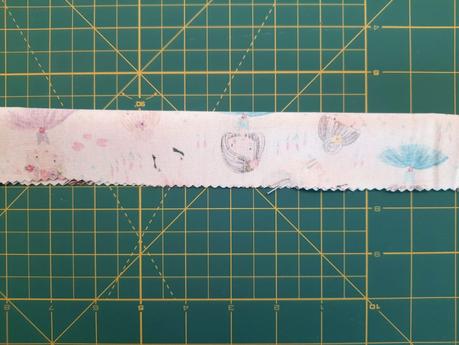
Sewing a scrunchie: make a tube of fabric, short sides open. Also leave an opening in the middle of the bottom long side (it will be used later for turning upright)
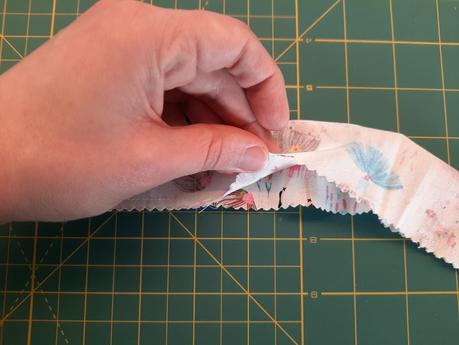
Sewing a scrunchie: make a tube of fabric, short sides open. Also leave an opening in the middle of the bottom long side (it will be used later for turning upright)
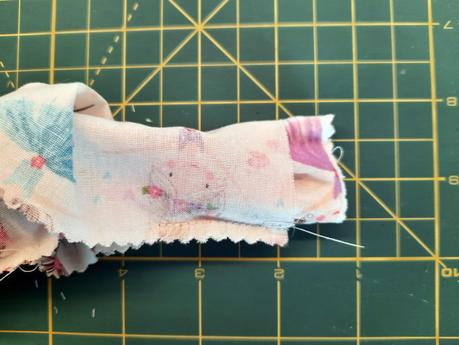
Sewing a scrunchie: turn the tube of fabric halfway right so the short sides match
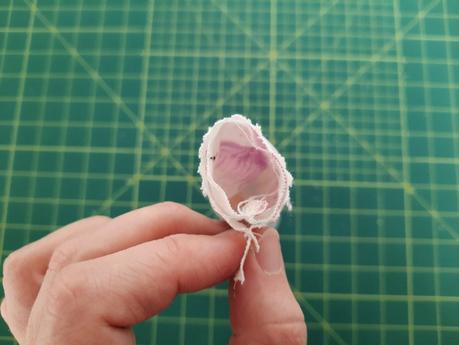
Sewing a scrunchie: turn the tube of fabric halfway right so the short sides match. Match the seams and pin your short sides and pin in place.
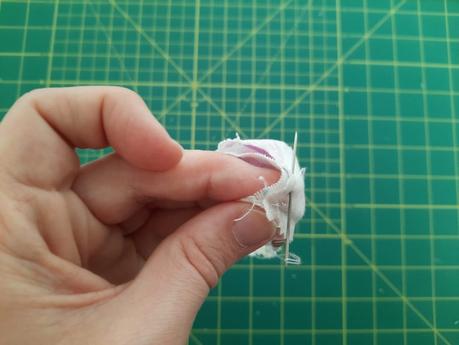
Sewing a scrunchie: stitch along the short sides, all the way around to close
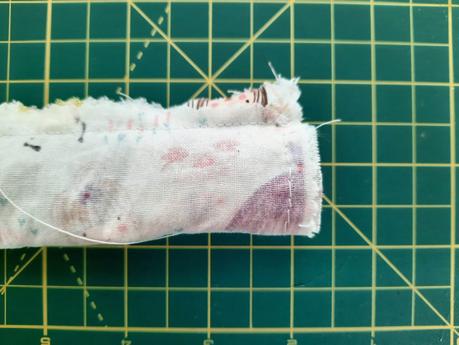
Sewing a scrunchie: stitch along the short sides, all the way around to close
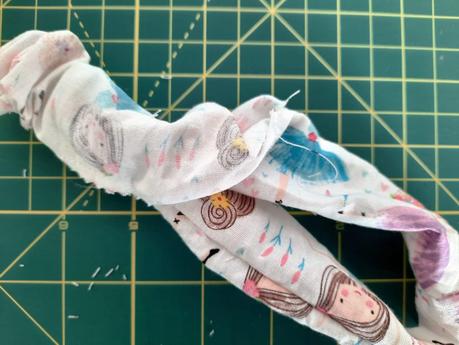
Sewing a scrunchie: turn the fabric tube upright using the opening at the bottom
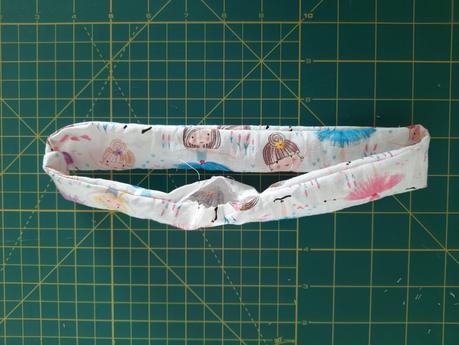
Sewing a scrunchie: turn the fabric tube upright using the opening at the bottom
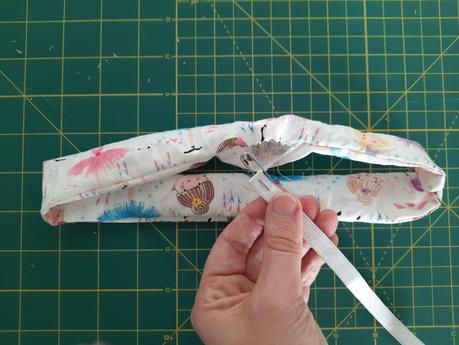
Sewing a scrunchie: use the opening at the bottom to insert elastic
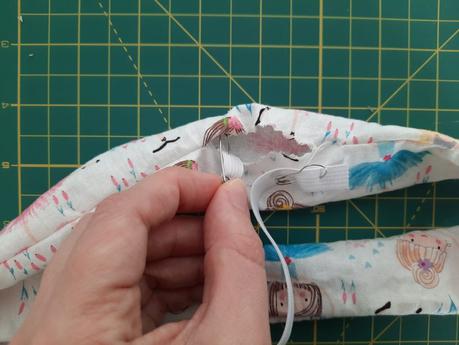
Sewing a scrunchie: use a safety pin to thread elastic throug the ring of fabric
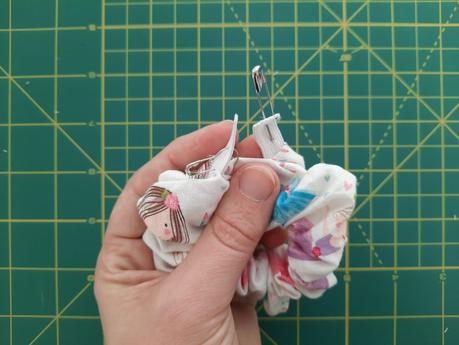
Sewing a scrunchie: use a safety pin to thread elastic throug the ring of fabric
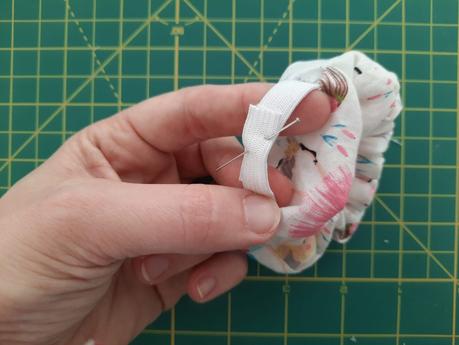
Sewing a scrunchie: join the two ends of the elastic
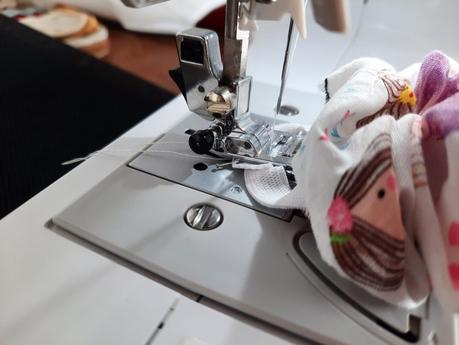
Sewing a scrunchie: join the two ends of the elastic
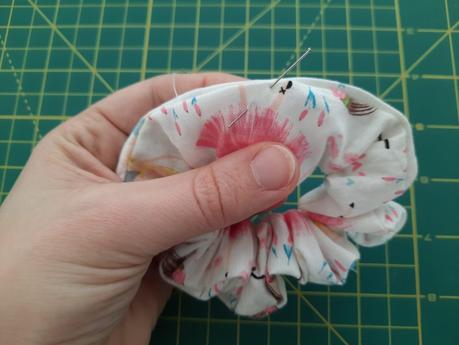
Sewing a scrunchie: close the bottom hole
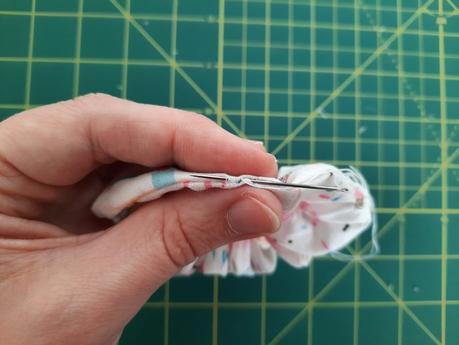
Sewing a scrunchie: sew the bottom hole closed
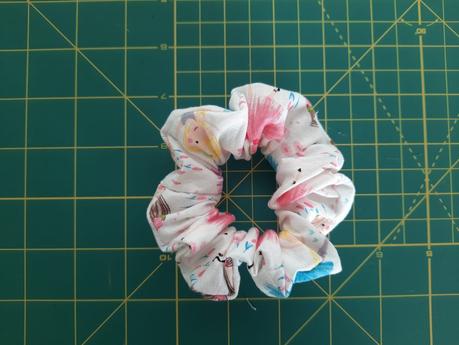
The finished scrunchie!
See the magic now? Turning the tube of fabric upright, through the bottom opening on the long side, you get a ring.
Time to insert the elastic. Mine was big, about 15cm, but I know my daughter doesn’t want her scrunchies too tight. I used a technique I learned by my granny: I thread a safety pin through one end of the elastic and feed it inside the hole, all the way through the ring. When I have long elastics to thread, I usually get another safety pin to pin in place the other end, just to avoid losing the elastic inside the fabric.
When the elastic has gone all the way through, you can connect its two ends and sew them together. Check with your fingers that the elastic inside has not turned, but it’s making a smooth ring.
Final step: closing the hole. You can do it by hand with an invisible stitch or with your sewing machine, keeping the stitches close to the edge of the fabric. This time I chose the latest method, for strenght and speed. With this, your scrunchie is finished!
And there you have it—a charming scrunchie crafted from fabric scraps in just a few simple steps. This is a quick and easy project that could put fabric scraps to good use.
I plan to gather my tiny cabbage, divide them by fabric type and color, and join them together to make rectangles to turn into scrunchies.
Now it’s your turn to raid your fabric stash and start your own scrunchie-making. Don’t forget to share your creative endeavors and inspirations in the comments below!

