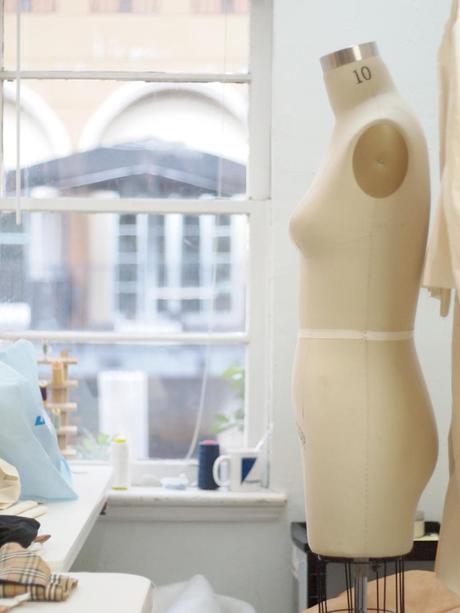
I remember when I bought my dress form. For several years, my aunts and I would take a trip to New York City for a girl’s weekend. I have a crazy family, which accounts for my insanity, and when the ten or so of us Flanigan women were in the Big Apple, there was a lot of fun to be had. The fall that I was a sophomore is both college and my sewing career, I asked my aunts if we could make a detour to hit up Superior Model Form. Thankfully, and without any smacks upside the head, they agreed (interrupting an itinerary that included Canal Street and Serendipity could warrant physical pain).
On the Friday we were in town, my aunt Terry, Meg, and I walked to the heart of Chelsea, where Superior Model Form was located, to buy the closest approximation to my figure. I remember the feeling I had while riding the elevator up to their offices - this is when New York City was an intimidating place and I thought I was so damn cool for being where I was. The staff’s personality was typical New Yorker – straight, blunt, and to the point – but within thirty minutes, my order for a size 2 dress form was complete. About three weeks later, it arrived at my apartment in Miami.
A novice seamstress and pattern maker, I thought a dress form would be the key to making perfectly fitted garments. I had visions of draping and fitting with ease but each time I made a garment, pants, dresses, skirts, and blouses all included, the fit was never quite there and I couldn’t quite figure out why. The balance the armhole was always off and on every pair of pants I draped/drafted, I had to increase the length of the rise ½” at the inseam. Other garments brought other fit problems.
The answer came when I was working in technical design. When a fit sample, which is the equivalent of a muslin or toile, arrived, it was first fit on the form and then on a live model. Many times, there was a fit issue that appeared on the form but didn’t on the model. Drag lines across the back on the form disappeared on the model. A shoulder seam that appeared to be forward on the form would be in the correct spot on the model. After evaluating one garment on my own, on both the form and the model, I asked Macy, the tech designer I was working under at the time, what I should do about a neckline that was wonky on the form but okay on the model, she said, “Go with what it looks like on the model because it’s the model, and not the form, that is our customer.” It hit me – the light bulb went on. And it was so simple! The form is just that – a form and not a human figure. A form stands perfectly poised but that’s not how we stand. If you’re like me, you crouch over a sewing machine and/or a computer and your posture is less than perfect. I also have a sway back and one shoulder that is higher than the other, which both effect fit. So even though I measure the same as my dress form, garments to do fit us the same because I am a human and she isn’t.
But I still find lots of uses for my form. Actually, I rely on it heavily! I use it mostly as a visual tool for my designs. When I manipulated my block to make the pattern for this dress, I used the form to determine where and how much to slash, open, and pivot darts and fullness. I had an inspiration image but it wasn’t enough – I needed to decide how big the flounce would be, what the bottom opening would measure, etc. So I made a mock skirt to test different flounce heights and widths. When I achieved the look of the skirt I wanted, I transferred that to the pattern.
I have also learned the flaws of my dress form and account for it when draping/drafting a pattern. It’s a lot easier to drape a rise than to draft one. So when I’m making a pair of pants or shorts, like this one, I drape it first and then add ½” of length to the rise at the inseam. I know to do this because all the previous pairs of pants/shorts I have made gave me an incredible wedgie.
