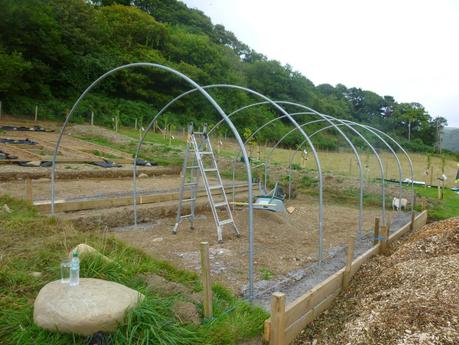
Yesterday was an exciting day, and in between heavy rain and in at times very windy conditions we managed to get the polytunnel frame erected.
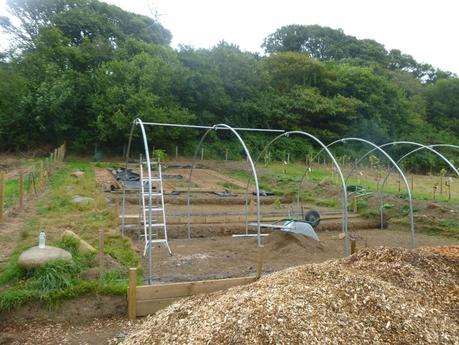 Photographing it stage by stage for posterity.
This picture shows the hoops all up and the ridge being attached to them.
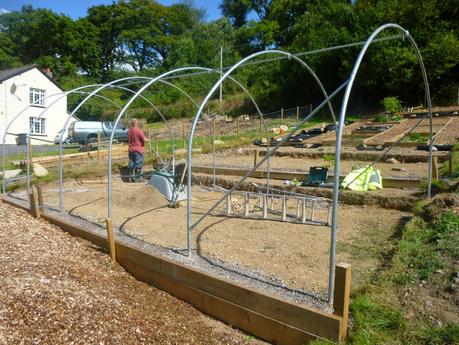 And this one shows Lovely Hubby attaching the corner stabilisers.
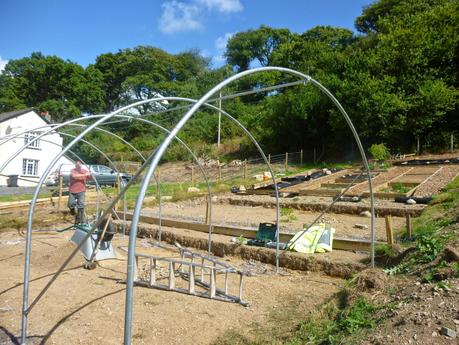
We got our tunnel from First Tunnels, who we also used for our last polytunnel, the frame of which we will be using for the net tunnel we will be erecting next to this one. This one, which will be covered in the traditional polythene, is the upgraded tunnel with heavier duty metal hoops, built to withstand windier conditions and more stress, and hopefully with the net tunnel sheltered behind it that too will be safe in the high winds we get here. I cannot recommend First Tunnels highly enough, in fact I am putting a link permanently onto my sidebar as they are one of our preferred suppliers. During some of the showers Lovely Hubby came in, and over a cup of tea and a biscuit, watched some of the brilliant tutorial videos available on their website that shows you exactly how to erect the tunnels for yourself. Every stage of the erection is covered in easy to understand and follow clips.
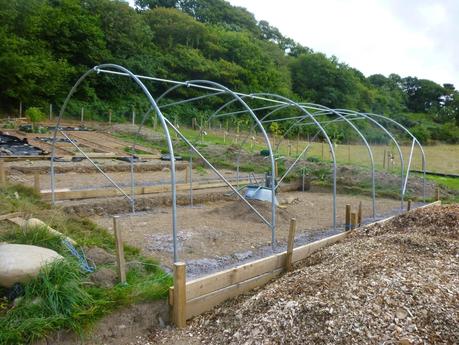 With his mind refreshed on how he did it last time, the frame of the tunnel was completed in no time at all and as the heavy black clouds rolled in, the outline of the tunnel stood proudly on our hillside, changing the look of the field forever.
Sue xx
