so I decided to save the other half- the 'hangout out' patio portion for today.
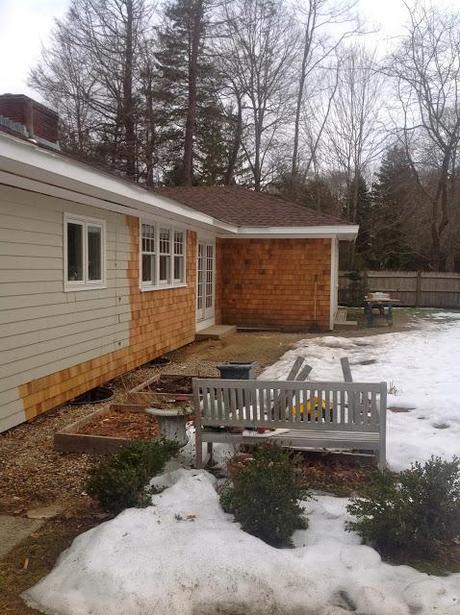
 Back in early spring my patio looked like this:
(it's New England- lots of snow in spring)
 and now we have this...
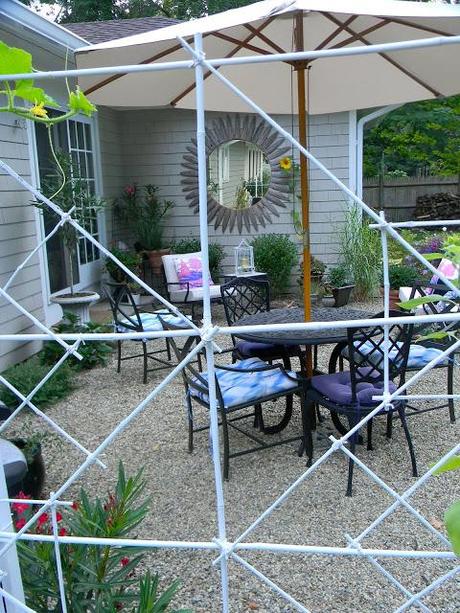 It has become one of my favorite spaces to hang out in.
Whether it's coffee in the morning or relaxing at the end of a long day with a glass of wine,
I'm out here a lot. The key was making it comfortable.
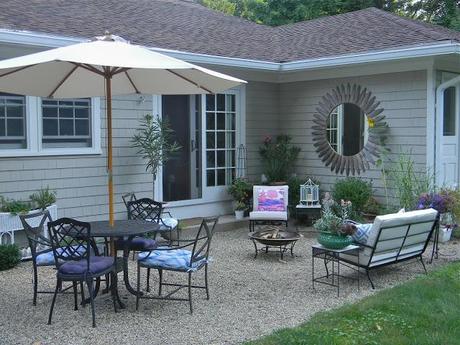
This area started with just the table and some chairs, which worked fine, but then I got my husband a fire pit for Father's Day. We pulled the chairs from the table around it at first, but they weren't exactly great for lounging in.
Then one day my husband's cousin pulled up with a discarded wrought iron patio set in his truck.
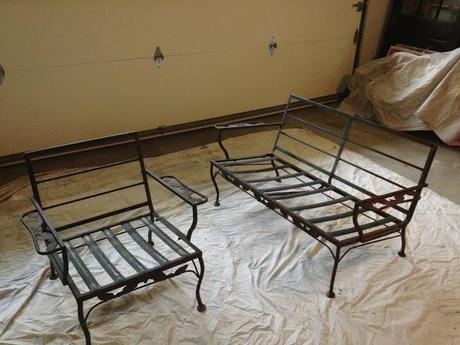 He does this quite often and I'm very thankful for his eye.
 He was the one that found my orange sunroom chairs.
He delivers the set and says "I found these on the curb and figured you can do something with them, you are always painting something..."
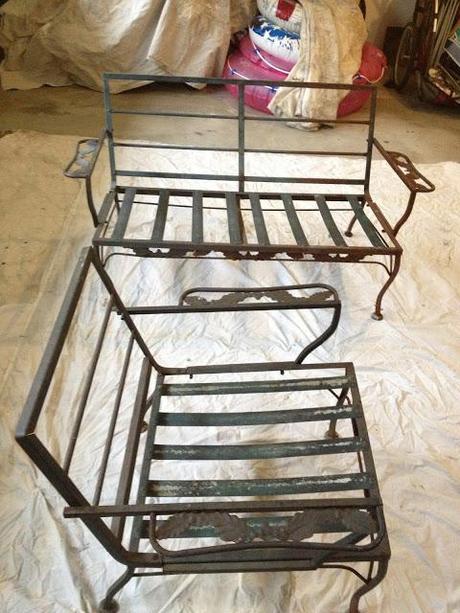 You know you might have a problem when people think of you when they see trash!
The set was VERY rusty,
but it was only surface rust. Aside from that the set was solid...
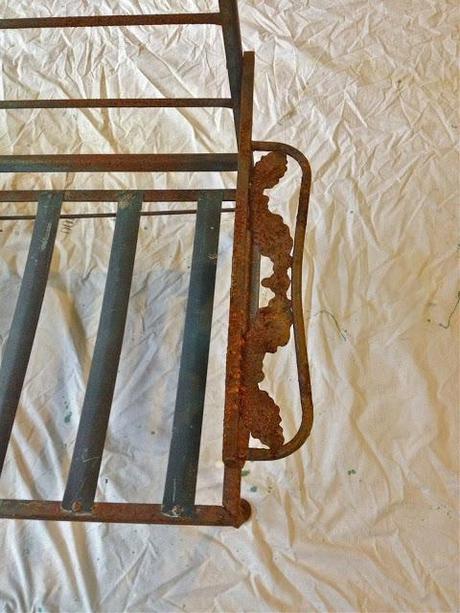 Since I am a spray paint addict I remembered all the rust inhibiting paints I've seen.
And just like, that I had another idea for the True Value DIY Squad project list.
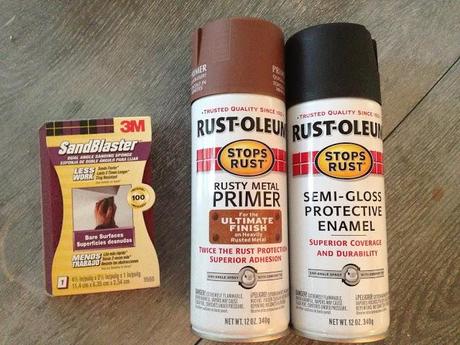 This one required the above products and an orbital sander.
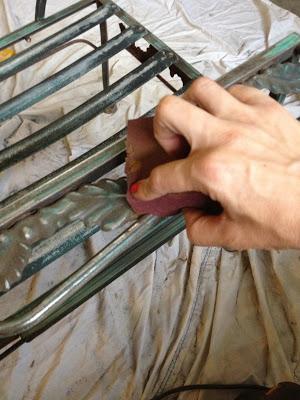
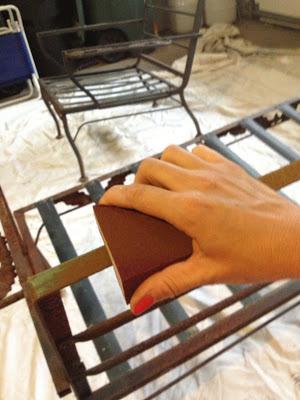 I started sanding with 3M SandBlaster pad.
 It was excellent for cleaning the rust off the decorative bits and curved areas...
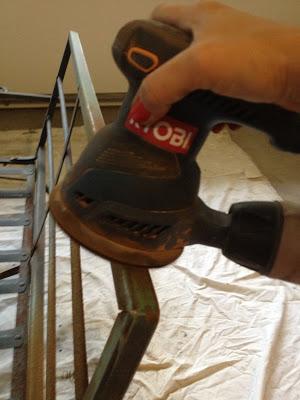
 I broke out the orbital sander for the flat areas to save time and arm fatigue...
Once all the rust was sanded off, I wiped away any dust with a clean rag and
began priming with Rustoleum's Rusty Metal Primer.
The primer actually is a rust color, a little confusing!
Start by painting the underside of your furniture first...
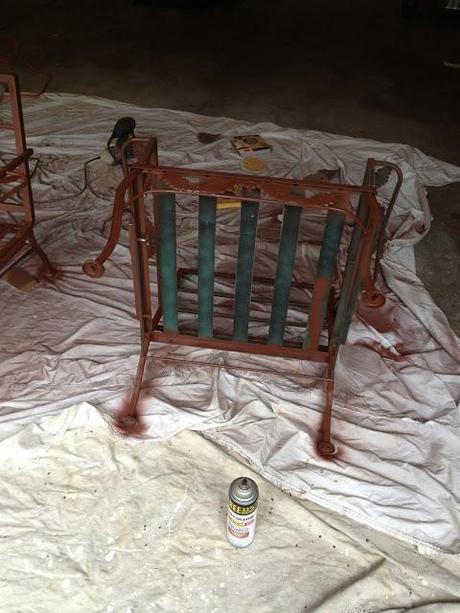 Then just tip it upright and continue painting...
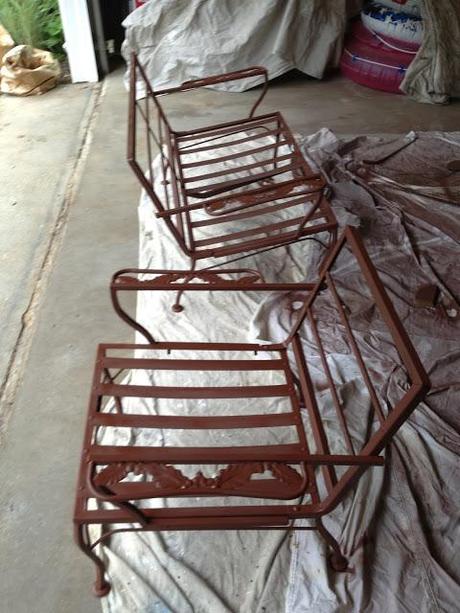 I gave it two coats, let it dry and sanded any drip marks.
Then it was time for the finish coat...
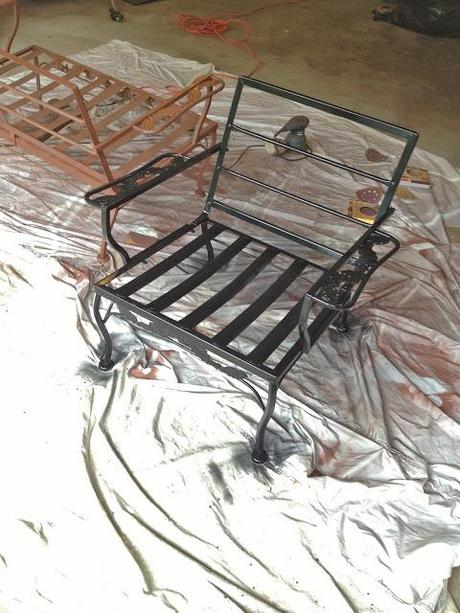 Two Coats of Rustoleum's Semi-Gloss Protective Enamel in Black to match my existing table.
This project was completed in one morning. I can't believe I put it off for so long!
And now for the dreaded cushions...
I had planned to sew some using Sunbrella fabric and outdoor foam, but as I began to price this out online I quickly learned it was going to be expensive. I had my dimensions and started looking into ready made cushions. I found a set on Amazon that fit my chair and sofa perfectly, and for MUCH less than I could make it for.
$249 for (4) complete cushions vs. $350+ to make them!
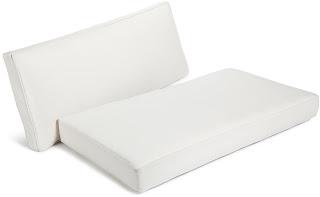
I ordered them in off-white and had them in two days!!!
And they DID fit perfectly and were well made...
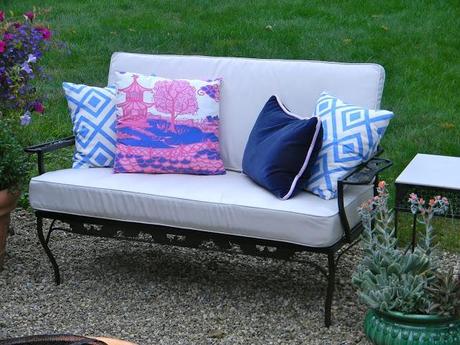 gotta love when that stuff happens!
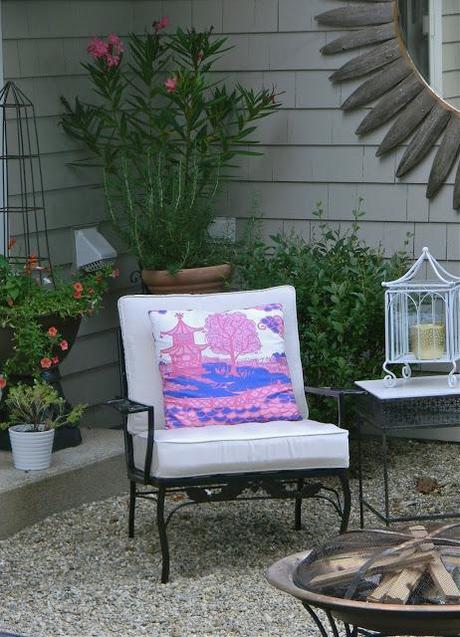
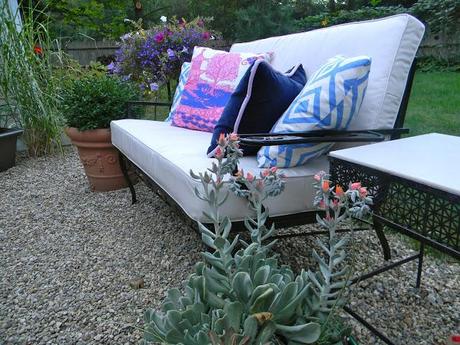
The old rusty patio set has a new life and is very comfortable now...
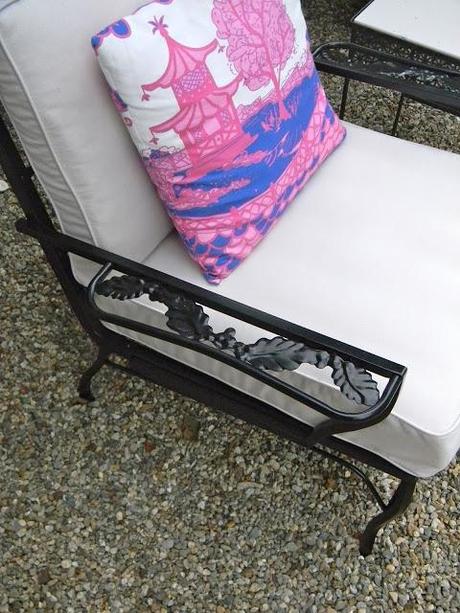 and our dining chairs get to stay at the table.
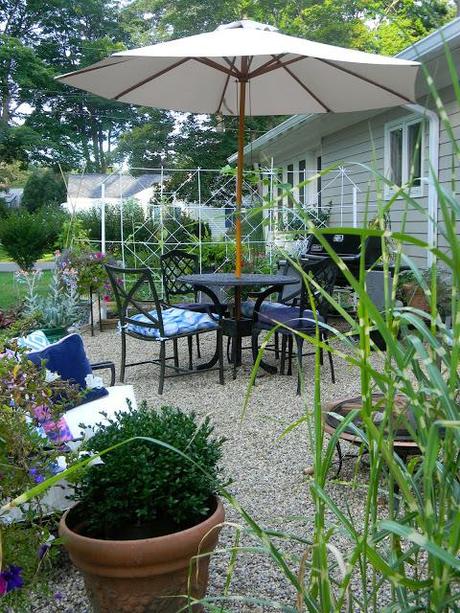
So keep your eyes out for end of the season toss outs
that people think are unusable because of a little rust...
you can fix that!
Have a great weekend!
I will be back next week with a tutorial for making cushions.
I was one of the bloggers selected by True Value to work on the DIY Squad. I have been compensated for my time commitment to the program as well as writing about my experience. I have also been compensated for the materials needed for my DIY project. However, my opinions are entirely my own and I have not been paid to publish positive comments. For more patio and garden DIY inspiration, take a look atTrue Value’s Pinterest boards.

