If you have somehow missed the earlier parts they can be seen in these links (part 1, part 2 and part 3). This series of posts left the project in August 2012 when the pergola had just been completed and we were preparing the pond for fibre-glassing.
In the last post we were fitting the insulation board to internal walls. This has two benefits, firstly it saved us having to render the walls to get a smooth finish and also would help insulate the pond from cold winter weather.
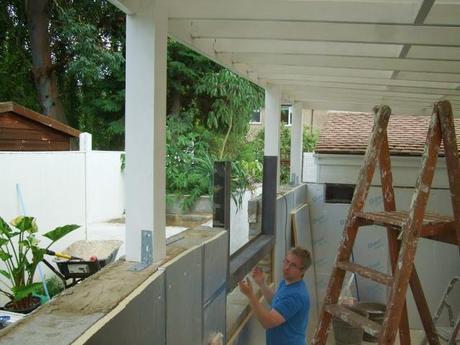
Once the boards were all fitted the next job was to fit the window frame. This was made by a member of our local koi club and would give the glass a tidy finish.
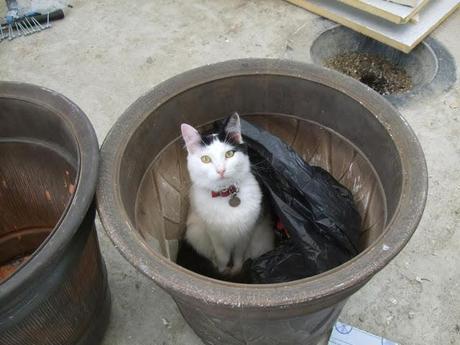
When ever we were in the pond we had a little helper!
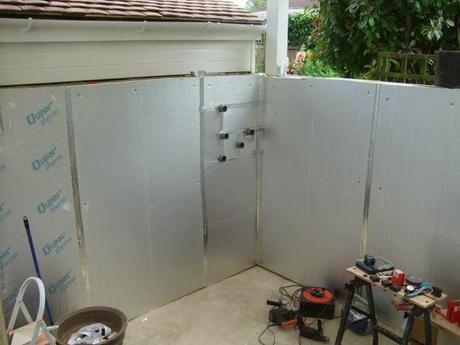
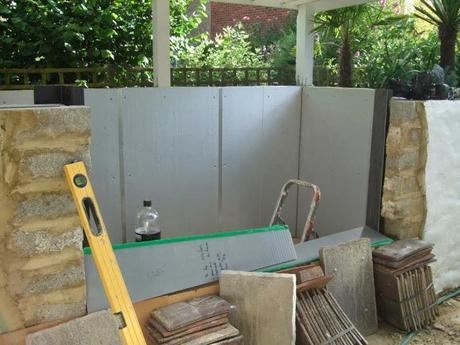
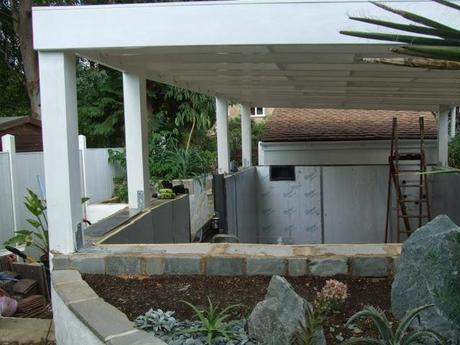
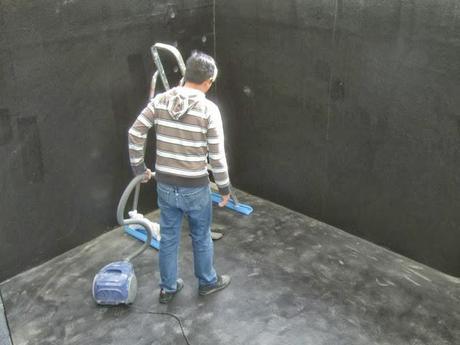
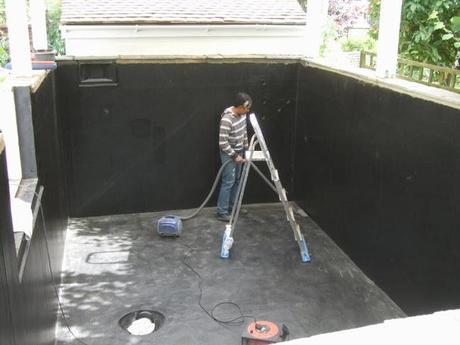
With the pond boarded there were only a few more tasks to complete before it would be made waterproof. The final one being to get it as clean and dust free as possible. We cleaned and even vacuumed the floor. The pond base was not insulated as the ground should provide insulation and at that depth the ground is often warmer than the air temperature in winter and will help provide some relative warmth to the bottom of the pond.
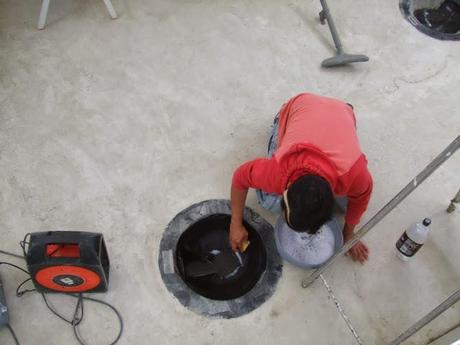
With it all set the professionals moved in for a couple of days to apply the fiber glass finish. Whilst it is possible to do this yourself we decided not to risk this, as if you get the chemicals wrong you can create a toxic pond lining and we really didn't want to risk that.
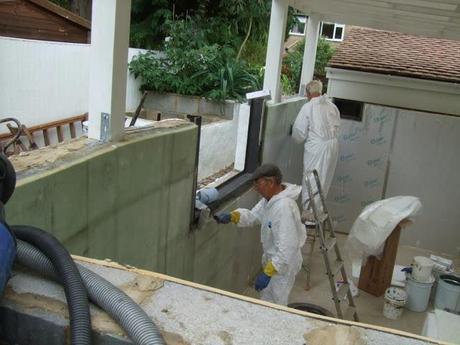
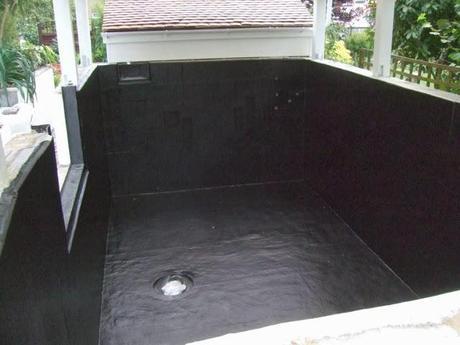
And after a couple of days work the pond was now very black and water proof!
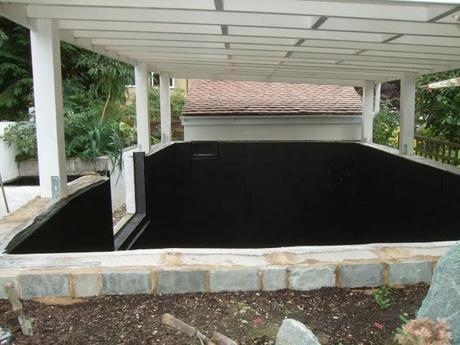
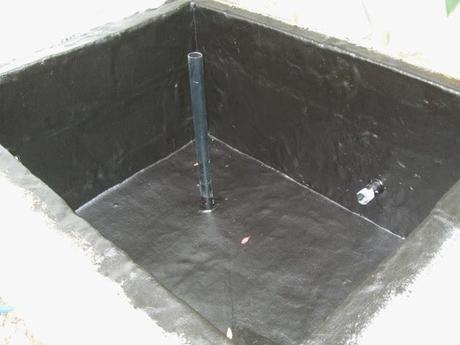
At the same time they also water proofed our small water feature. For more on this feature see this post.
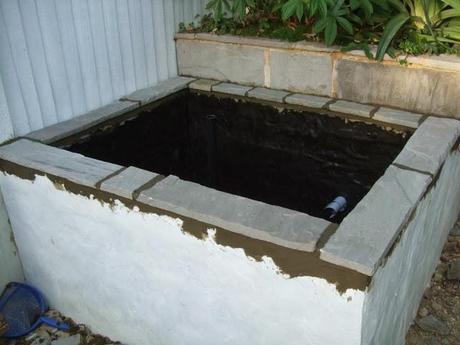
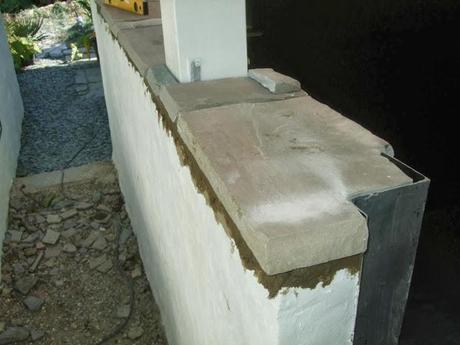
The final construction could then take place with the fitting of all the coping stones on the water feature and also the pond. We opted for the same blue/silver sandstone we had used elsewhere on the project.
With the fiber glassing complete we washed down and cleaned the pond again. This made sure we removed any loose glass fiber that we did not want to get into the filter system.
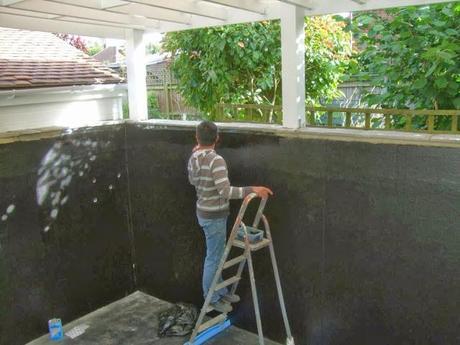
The top of the pond had a cement finish that held secured the coping stones, however to avoid having a gray stripe we used a waterproofing paint to give an even color.
As well as concentrating on the pond itself we also wanted to get the surrounding garden looking good. As part of that we laid a stepping stone pathway, again using the silver blue sandstone.
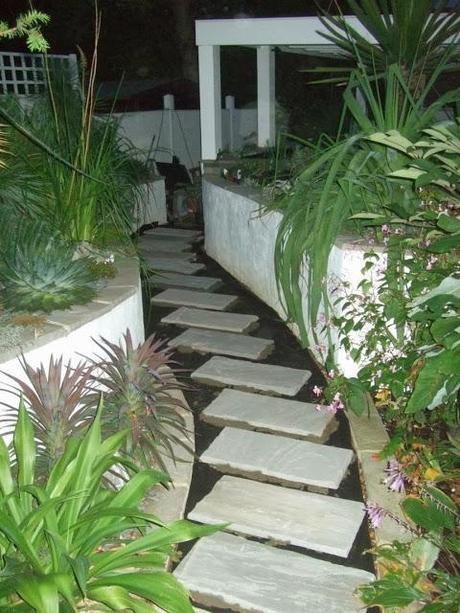
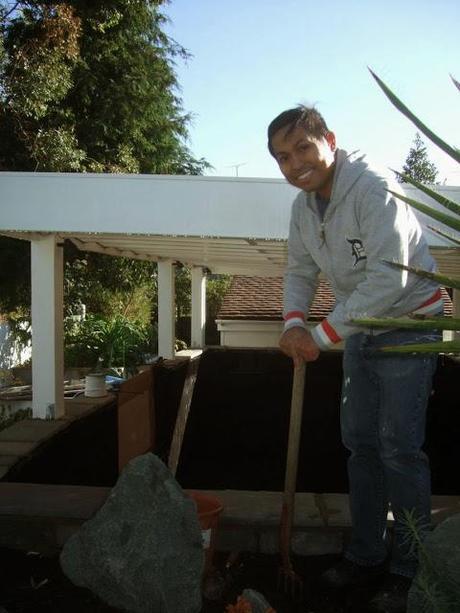
Mark getting the second raised bed ready for some new plants.
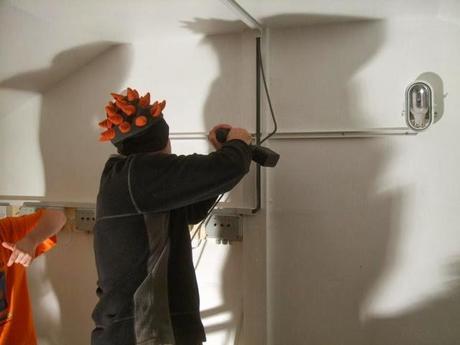
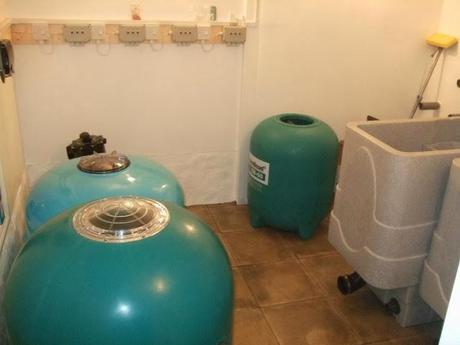
Having got the outside of the pond almost complete we turned our attention to the filter house. We had help from a friend to get the electrics done, opting for lots of extra power points to future proof the filtration system. As the koi filter house would have a higher humidity than a normal internal room we chose waterproof fittings. The various plug sockets and switch boxes are all designed for outside use.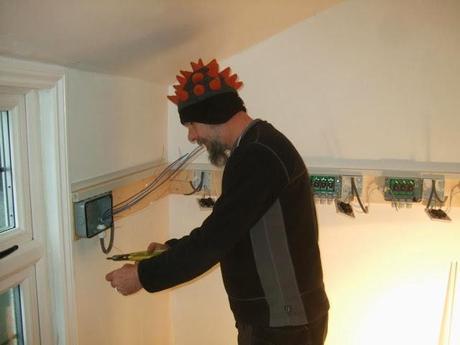
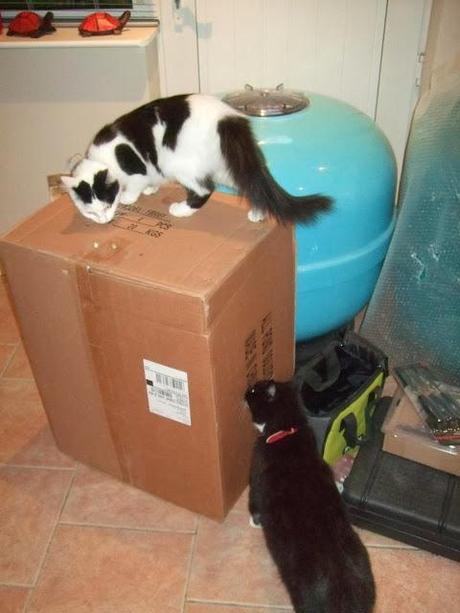
With the wiring complete the next stage was fitting the filters. Our usual helpers turned up to investigate what we were up to.
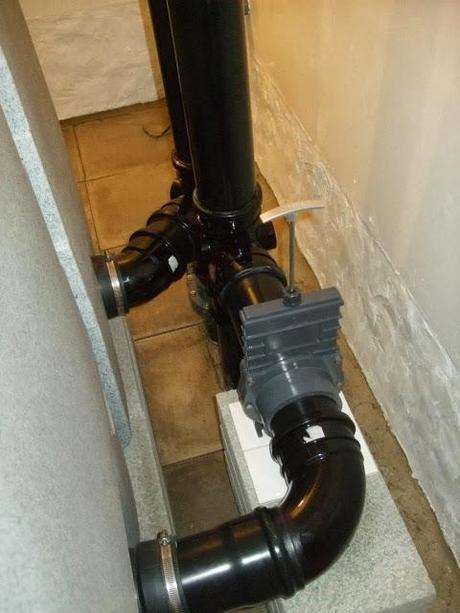
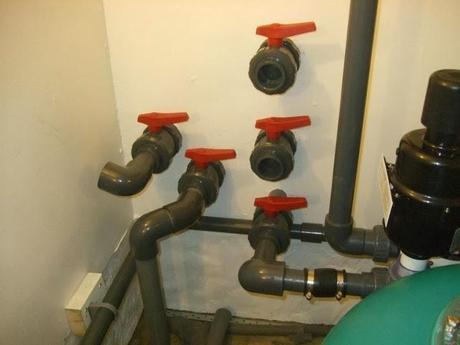
We positioned the filters and made sure we were happy with the layout, moving them about several times before deciding on the final choice. Originality we had planned to have them much tighter together and have additional storage in the filter house. However when we looked at it we decided it would actually be better to have plenty of space to move around and access the filters. Several months on from making that decision and I'm really glad we did. It makes life so much easier to have plenty of space for maintenance.
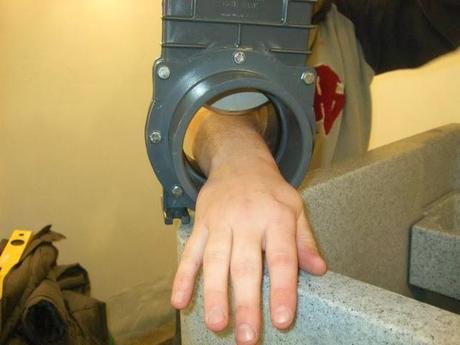
One of the large gate valves on the system.

I think things got too much for this little helper!
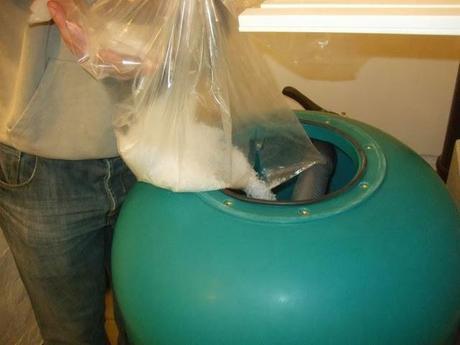
Filling the filter with the bead filter media.
Once the filters were set up and ready the final tasks were to finish off the woodwork.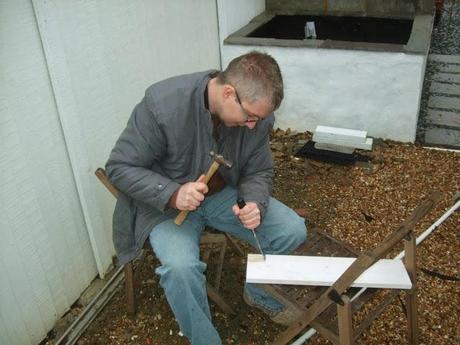
Making cladding to hide metal brackets on the pergola
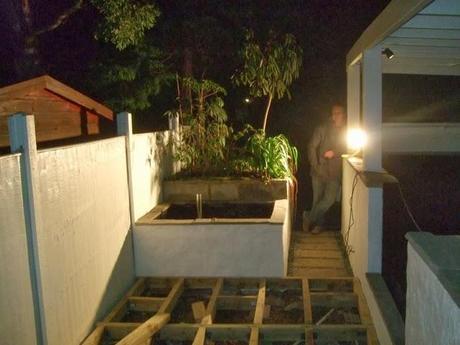
The final carpentry job was to build the deck in front of the pond. We built the deck frame one Sunday afternoon and evening in January 2013, with near freezing weather we rigged up work lights and Mark kept lots of hot tea and snacks on hand to keep us warm.
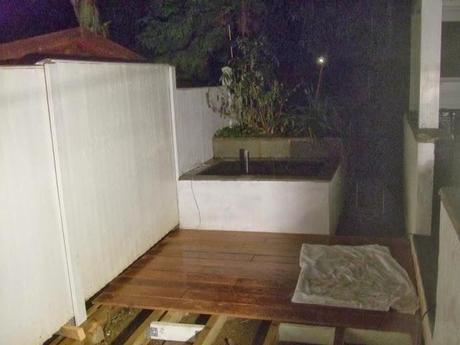
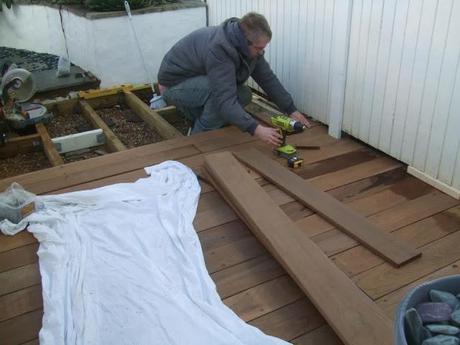
Laying the deck boards.
By March this year we were all set for the final push, the last task in the pond itself was to scrub everything down and remove any grime from the previous winter.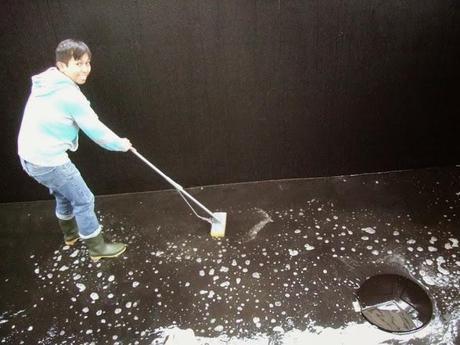
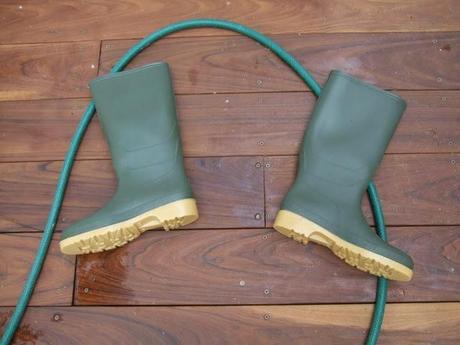
To avoid contamination we even bought new rubber boots!
With the pond clean we could then fit the window. This weighed around 80kg. We didn't get any photos whilst we were fitting it as all hands were needed to manipulate the window.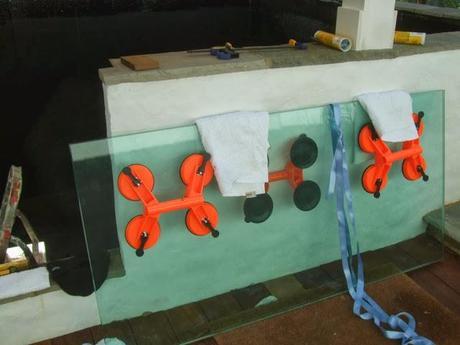
And after all that we could finally fill the pond! We borrowed a water meter to get an accurate reading on the final water volume (just over 8,000 gallons, nearly 37,000 litres)
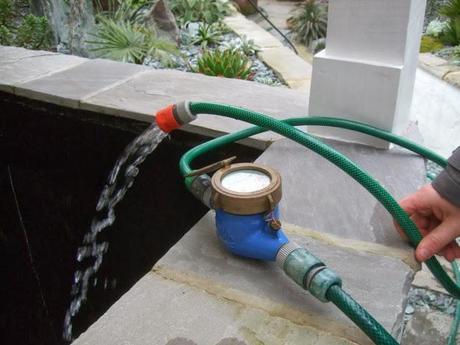
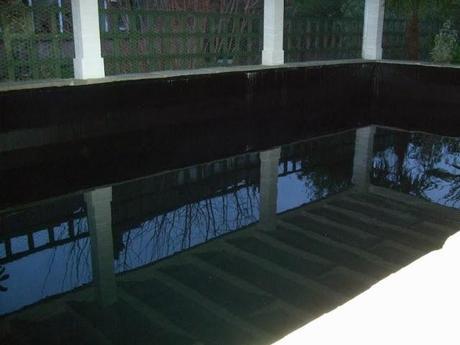
Nearly there...
Finally we could move the fish, heres the first batch moving into their new home. We placed them in the floating bowl first to allow the water temperate to adjust as the old smaller pond was warmer than the temperature in the new pond.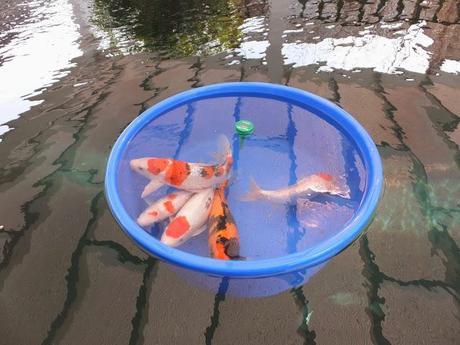
So after almost three years in the making the pond was finally completed back in March and we are nearly at the conclusion to this particular story.
There will be one more post in this series, the big reveal (and we promise not to make you wait 8 months for that!)
Gaz
