
Carrots can be sown over a long period [Feb to Jul], especially if sown successionally (in little batches, at different times), but I usually sow mine all at once, in mid to late March and aim for an extended harvest by sowing several different varieties. This year I have chosen "Nantes" for early cropping, and "Autumn King" and "James Scarlet Intermediate" for maincrop, and I also have a few "Dragon Purple" that I got from a seed-swap. At a later date I will also sow some "Amsterdam 3 Forcing" for baby salad carrots.
This is my method for sowing the carrots:-
The first thing to do is prepare the ground. I am using a raised bed which is 1 meter wide, 2.4metres long and 40cm deep. It is filled with a soil-and-compost mix, and is virtually stone-free. I dug it with a fork and then raked it to a fine tilth. I specifically avoided manuring this bed, because manure can (allegedly) cause carrots to fork or spilt.
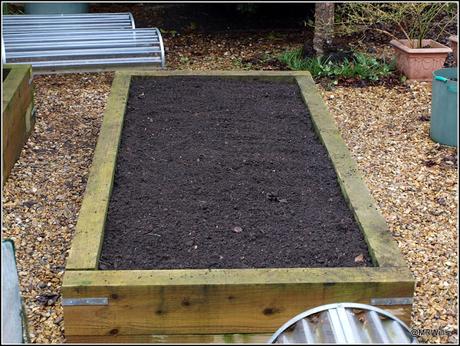
Raised bed prepared for sowing
My next stage is to make a number of shallow drills (grooves) in the soil, about one inch deep. I do this by pressing the handle of a rake into the surface of the soil. (Luckily, my rake has a detachable head). My drills are very roughly 15cm / 6 inches apart, which is probably closer than ideal, but I always try to squeeze as much as possible out of my limited space.
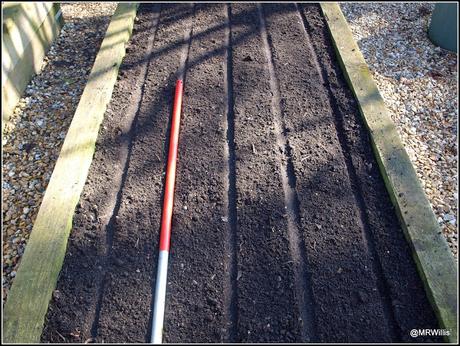
Seed-drills made with the handle of a rake
I then use a watering-can with the rose removed to carefully wet the surface of the drills, whilst keeping the surrounding soil dry.
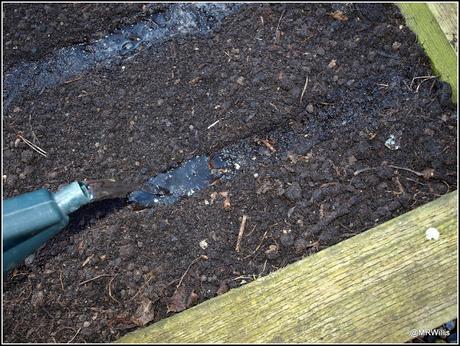
Wetting the soil in the seed-drills
Then I manually sow the seed along the drills a "pinch" at a time, using thumb and forefinger, trying to sow them as evenly as possible. Again, the ones in my photo below are probably too close, and if they all germinate they will need to be thinned. I like to err on the generous side, because I don't want gaps in the rows because my space is very limited.
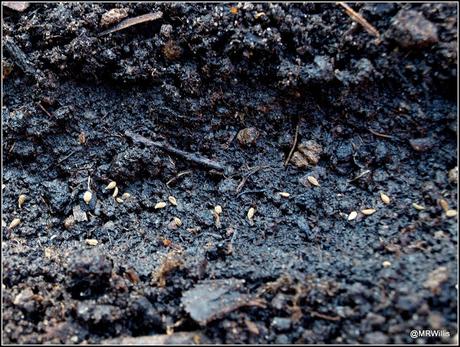
Sowing the seeds
I label each row so that I remember which is which.
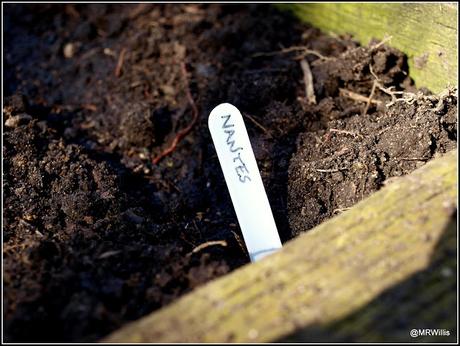
Labelling the rows
Once the drills are fully populated the next stage is to cover the seeds with dry soil. For this task I use a little metal tool called a "Widger". It's a very handy little item that has lots of uses in the garden.
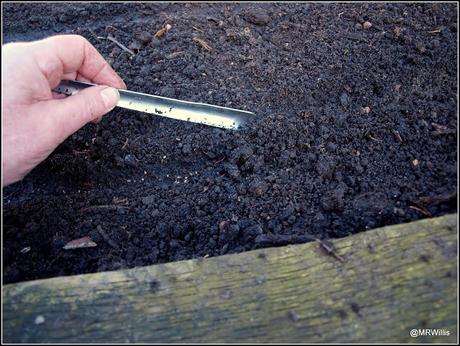
Covering the seeds with dry soil
Then, tamp down the soil using the back of a rake with the handle held vertically. This will ensure that the seeds are firmly in contact with the moist soil in the drills.
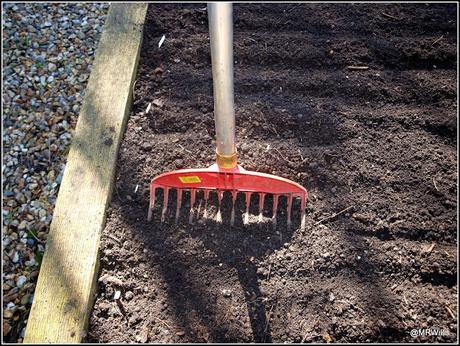
Tamping down the soil with the back of a rake
The final task for me is to erect a suitable frame and cover it with Enviromesh or similar. Here I'm using the very effective and versatile "Build-a-Ball" system, with aluminum rods purchased from Gardening Naturally.
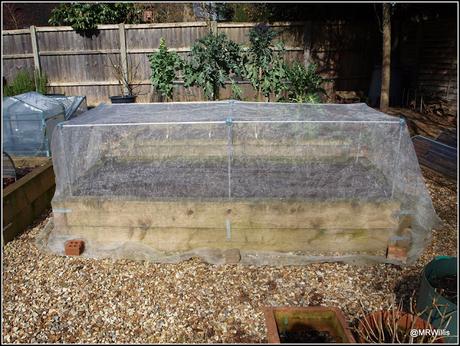
Raised bed covered with fine mesh supported by a frame
So, there you are then. That's my method. Hopefully by about the end of June I'll have some lovely crunchy carrots to harvest!
