I’ve had a few folks tell me that they find it hard to get a lot of quality good bacteria in their diet because they don’t like yogurt.
Good news!
There are TONS of ways of getting this vital nutrient into your diet on a daily basis. Since discovering fermentation, we don’t take probiotic pills anymore.
According to Dr. Mercola, there are more probiotics in one serving of a fermented food than in an entire bottle of some probiotics!
Plus, fermented foods that you make at home are live, raw, and include a host of different varieties that you may not get in a capsule or pill, and at a fraction of the price.
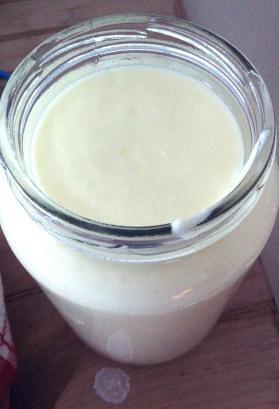
We get a good daily dose of these good bugs through my homebrewed kombucha and homemade yogurt but I am LOVING experimenting with other foods as well.
I recently made fermented beets that I got completely addicted to – I added them to everything!

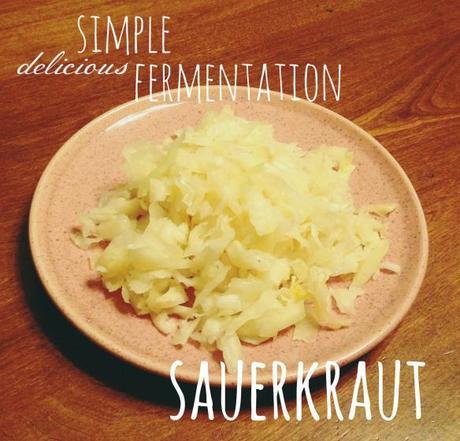
One of the simplest fermented vegetables to make is sauerkraut.
If I can do it, anyone can – so give it a shot! The worst that can happen is that you waste a head of cabbage

Here you go! I used the directions straight from Nourishing Traditions – this girl never fails me!
Lindsay’s Easy Sauerkraut (fermented cabbage)
- 1 medium cabbage (I love purple, but the only organic option this week was white which is still wonderful)
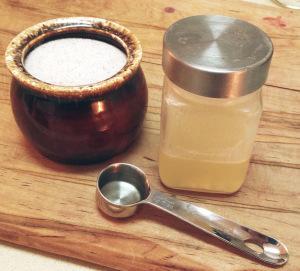
- 1 Tbs. sea salt (always use unrefined sea salt)
- 4 Tbs. whey (you can make it by straining yogurt) but if you don’t’ have any, just use purified water and an additional tablespoon of sea salt
- non-metal bowl
- wooden mallet
- 1 quart glass jar
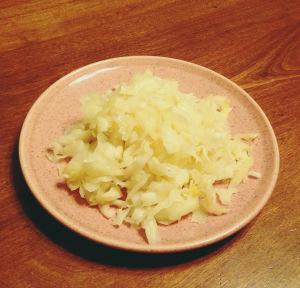
- shred or finely chop the washed cabbage (taking the “bone” out of the center, and removing the outer leaves)
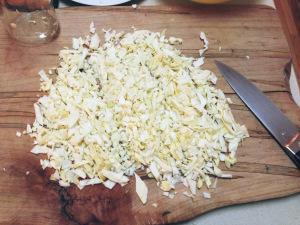
- add in your sea salt and whey.
- pound with your mallet for a good 10 minutes or so to release the juices. if you don’t have a mallet, just “knead” it with your hands until it is well broken down and the juices have been released.
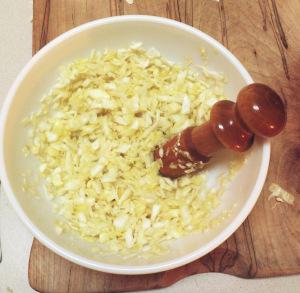
- press the mixture into your jar, making sure there is a good amount of liquid that rises to the top.
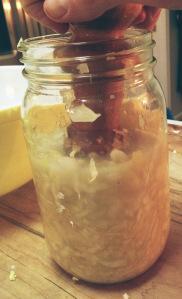
- be sure that there is at least 1″ between the top of the cabbage and the top of the jar. my cabbage was especially small so I have more room than you might at the top.
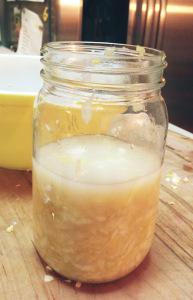
- secure a tight lid and set aside in a warm place for three days, then transfer to the fridge. here is the finished kraut!
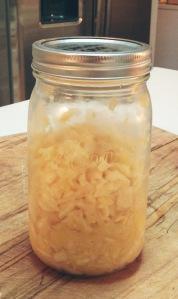
the obvious use for sauerkraut is on hot dogs (we love organic, grass-fed, all-beef, nitrate-free ones from Applegate Farms).
but I use this kraut regularly as a side, over roast, in place of salad dressing, or just a snack.
I hope you love it!
live well. be well.


