On a trip to Berlin, some moons ago, we went to the very cute and candy store-like Frau Tulpe. If you're ever in Berlin, I definitely recommend taking a trip to Mitte to check this place out. I got some lovely Michael Miller prints and some unique German cotton.
Patient as ever, I asked Mr Szabs if he saw anything he liked for a shirt. Surprisingly, he chose a sweet Autumnal-esque floral print. An idea was born, but one that would fester for said two-year period. Oops! However, our two-year anniversary rolled around and as two years represents cotton, I finally set to work.
Now, before I show you the finished result, let me tell you how fussy my guy is with shirts. They have to be slim fit with no baggyness AND no ridiculous Harry Hill collars (which I find most sewing patterns have). I've made Mr Szabs two shirts before, and they've been great but still not quite perfect. This time I decided to try Burda Style 7045 as there are two styles and one shirt has the option of darts.
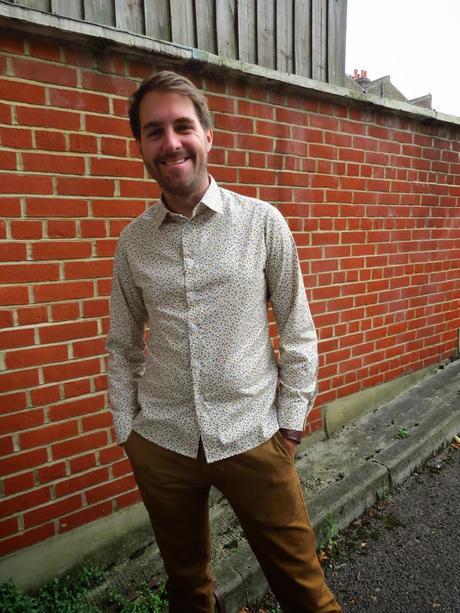 My baby Daddy
In making this shirt, I first collated the flat-pattern measurements and then compared them to one of Mr Szabs favorite RTW shirts. The size I opted for was a 34, which seemed small, but added up to the RTW and his body measurements. The changes I made were to grade at the neck and shoulders to accommodate his collar size, and to grade the awful collar down to something a bit less comical! Seriously, Burda, wut?
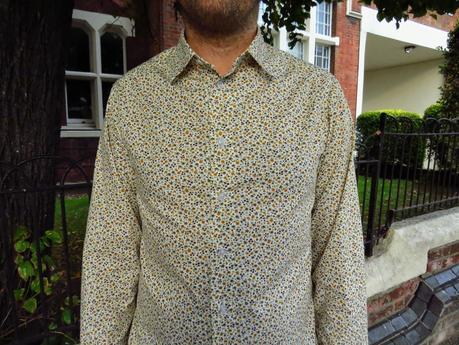
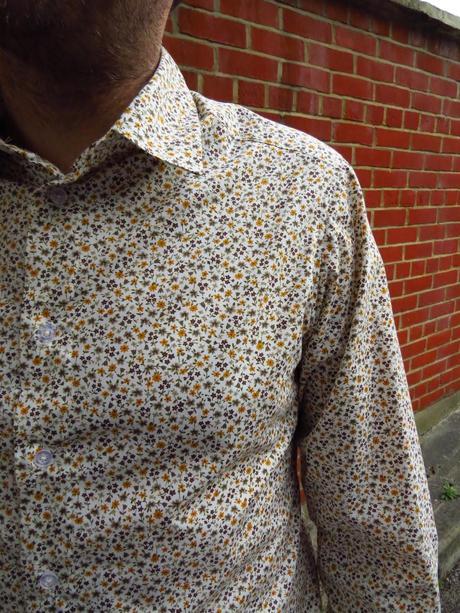
I wanted to make this shirt as a complete surprise, but luckily my cautious side stepped in and showed it to him a few days before our anniversary. All I can say is, phew! A fit of giggles ensued as, yep, the shirt was definitely a little too snug. It's all that popcorn, my little sweet-toothed Canuck!
Although I had already flat-felled one side seam (and oh how neat and handsome it looked) I opted for a cheeky save, and stitched the other side seam at just 1/4". Albeit a tiny seam, it saved the day and made a huge difference to the fit. My client was pleased. I then zig zagged and mock flat-felled said tiny seam, as unless Tim Gunn takes Mr Szabs' shirt off for an inspection, who will know?
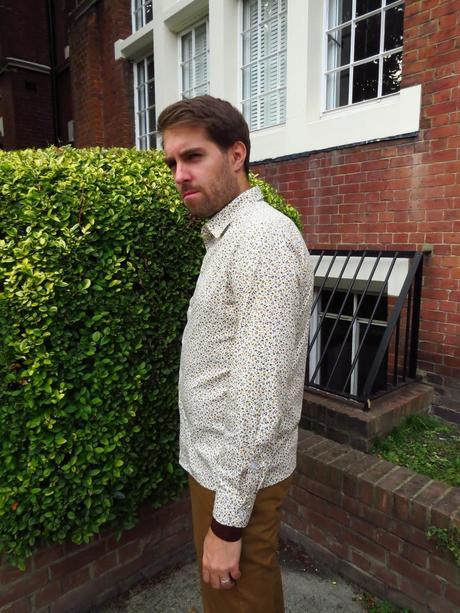 Canadian guys rule <3
I could then carry on finishing the shirt adding the collar, sleeves and cuffs. I love doing these parts of a shirt, it brings out my geeky sewing side. I always use this method to get super-duper pointy collars - if you've not tried it before, do, it will change your life!
Button-wise I didn't have time to order anything special, so I used some standard shirt buttons I picked up in one of those handy packs in Sainsbury's. No shame!
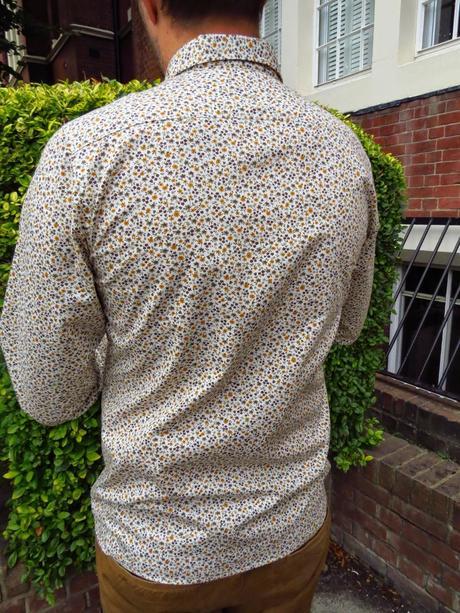
Instructions-wise this pattern was pretty good. The shirt includes sleeve plackets, and I thought that as far as instructions go, these were quite clear. I have made these plackets before so I did have a fair idea of the construction process, but a shirt-newbie may scratch their heads a little.
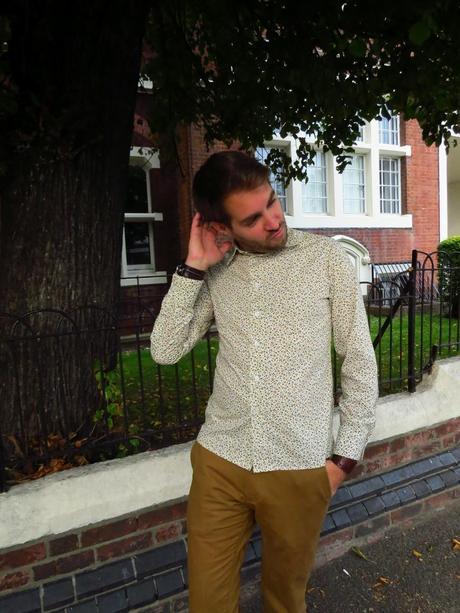
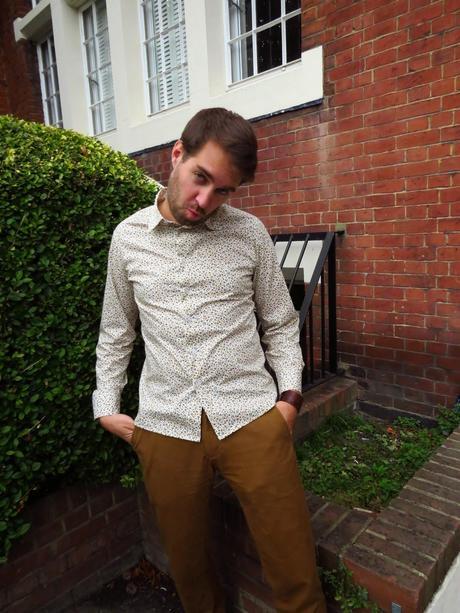
Mr Szabs really likes this shirt, and is pleased with the fit. It's still not 100%, but I think I am only one step away from the perfect go-to-pattern for his shirts. I asked him for his alterations, and he would prefer a shaped bottom (on the shirt!), which I agree with. I am not sure why this pattern has such a straight hem, fine I guess if you're just tucking the shirt in, but not great for casual wear over trousers. He'd also like a firmer collar, so I'll employ those little plastic thingies into the corners next time. I'll also go a up a size so that I can properly flat-fell ALL the seams and possibly lengthen the sleeves a little. Otherwise, I think we have THE pattern for Mr Szabs Shirt-Making Emporium.
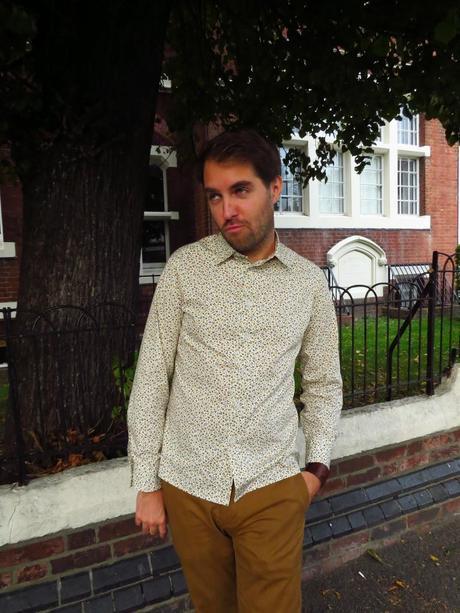
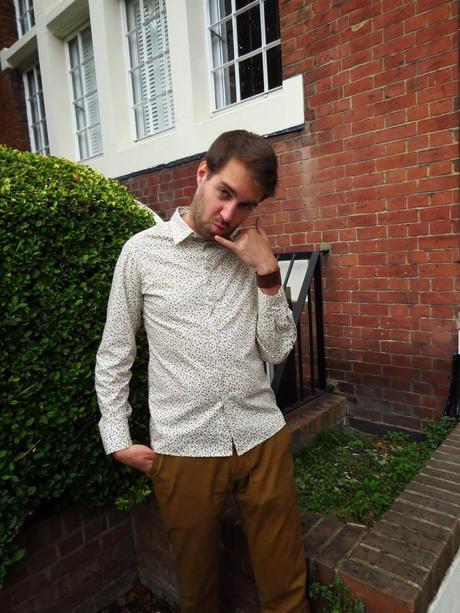
I can't resist including these out-takes. During the photo-shoot Mr Szabs decided to copy what he says I do when posing for my blog photos! HA HA HA!!!!
Have you made your guy a shirt? Which pattern has been your most successful so far?
