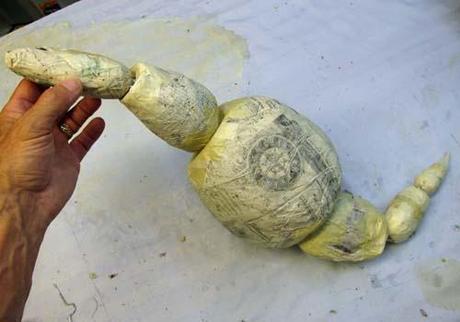
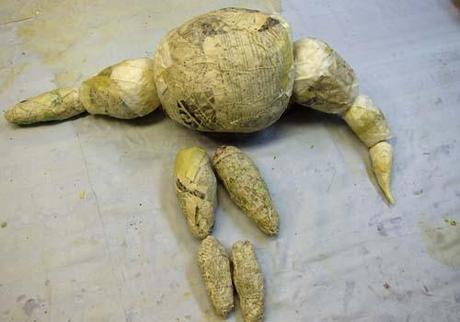
Anyway, back to the making of the central character in the video, the little dragon marionette. This is a bit more of what I started last time, the assembly of the body. As I showed you last time, I used pieces of wire clothes hanger to connect the segments. I left off with the tail. As you can see below on the left, I put together two segments of the neck. I know, it doesn't look all that different than the tail. It will look more like a neck once I put a head on it. On the right you'll notice that I added some cloth mache between the segments. I wanted them to stay together as I assembled the rest of the puppet. You can see the elongated paper mache balls I will use for the legs underneath.
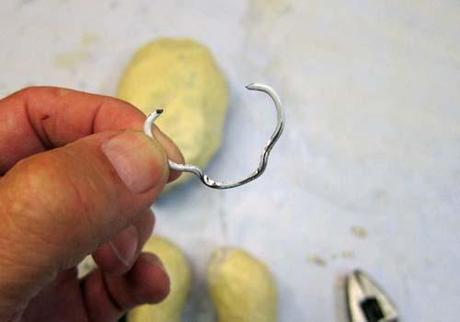
Next, I put together those parts of the legs. I essentially made knees. On the left you can see how I bent a piece of the clothes hanger. I pushed it over the "thigh". The sharp ends punctured the paper mache ball making the joint very sturdy. Then I added some masking tape. Well, I added a lot of masking tape. If you've watched me work you've undoubtedly noticed that I use way more tape than I really need. Sometimes I think I'm really just sculpting with masking tape.
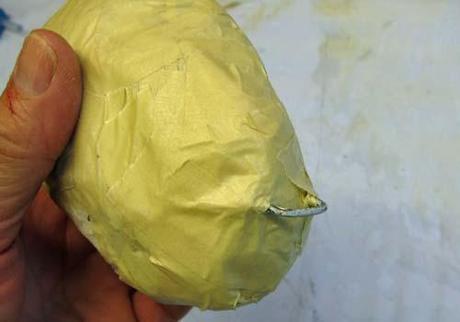
I bent two more pieces of wire hanger and looped them through the piece on the thigh. As you can see on the right, I put one of these on either side of the calf. I found that I needed this configuration for these kinds of joints. I wanted to restrict the movement. I didn't want them flopping all over like the segments on the body. I wanted the action to be knee-like.
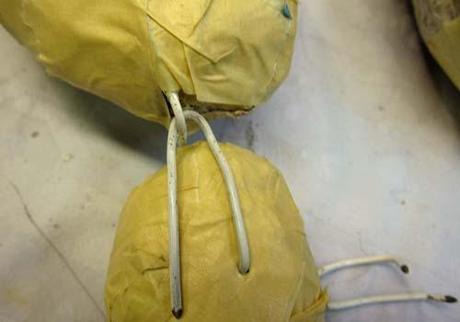
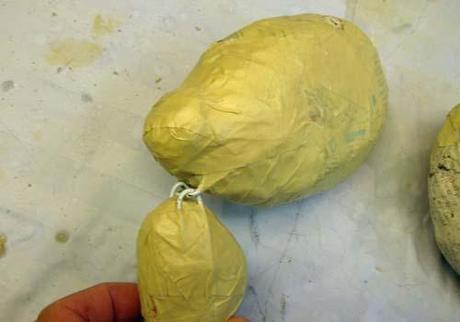
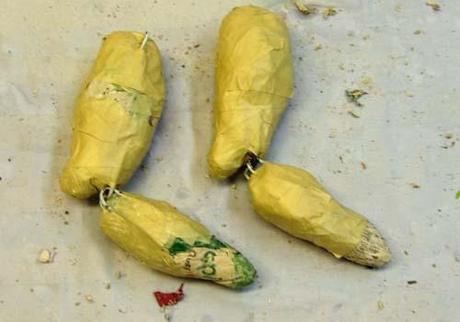
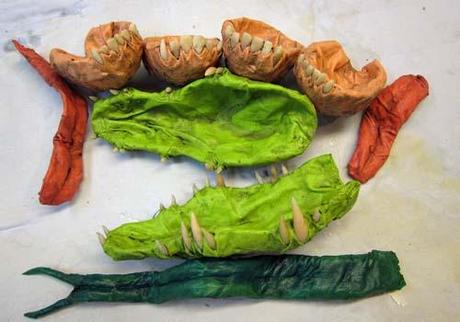
Note that I added knee caps. They are just pieces of paper crushed into a ball and taped on top of the thigh. Again, they restrict the movement of the joint so that the knee only bends back not forward. There will be more joints to come (sounds like I'm back in the early 70's doesn't it?). On the right you will see the early stages of the jaws I used. The dragon jaws are the long ones. I made the teeth out of Fimo, as usual. They are just hot glued onto some paper mache shells.
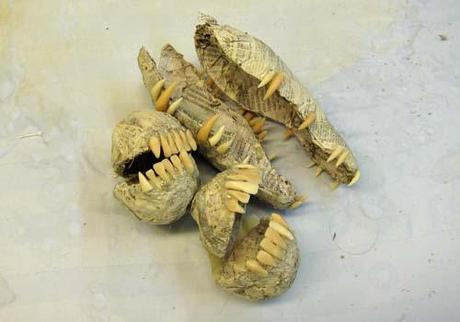
Here are the jaws after I added the cloth and painted. Again, the dragon's jaws are the green ones. I also made some tongues to go along with the jaws.
Okay, so that wasn't all that exciting. But life isn't always moving at a hundred miles an hour, right? Well, only in school zones for me. Back to my video. I'm teaching my marionettes to dance. The way it's going you'd think they all had two left feet. Wait a minute....did I make all left feet?
Sorry if I just offended all you left-footed people out there.
Thank you for stopping by!

