After that mega-drama echoserang whatever treatise on beauty, let's go back to the light. It's all about the pretty. Hahaha!
For the last class at Module 1, we are tasked to return to a look that we want to focus on, and though I would have had more fun doing the high fashion looks—I thought it would be good to do your typical bridal make-up. So freshness, lightness, pretty. Hahaha.
But also really, precision, perfection and flawless. There's real craftsmanship in bridal work and I felt that I needed to perfect that.
I even asked one of my younger cousins (in their 20's—good lord, i told them that apart from students, they're the youngest people i know na on whom i can apply make-up. will eventually corral them for a make-up Saturday. Hahaha.) to be my model.
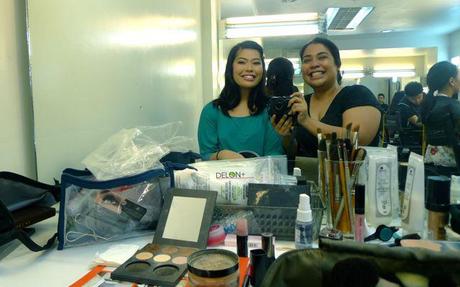
I wanted to make conditions as close as possible to what they may be when I'm working, so I brought my brushes and some of my palettes. Even brought a pair of Ardell Fashion Lashes—they are fabulous! Though it would be great if I had the MakeUpForEver products with me too ano? They're lip products (pencil, lipstick and gloss) are still incredible, along with their illuminators. Also discovered Mat Velvet+ which I'm jonesing for my kit, too. Though there's call of the airbrush.
Here was my workspace, after the session:
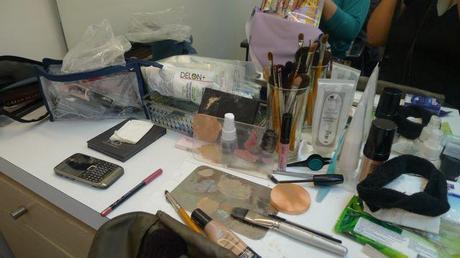
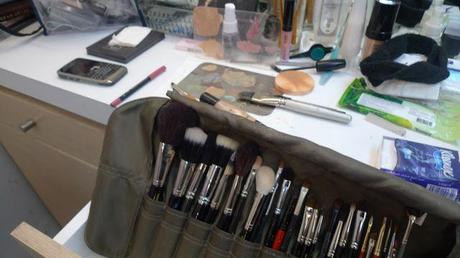
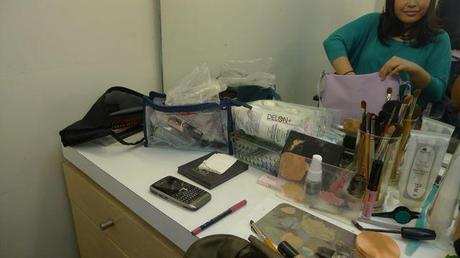
Yes, I brought the plastic tray. Hahaha. Oh and that tiny spray bottle is Ben Nye LiquiSet—fabulous for making your own liquid liner.
I made sure to take my time. Like really, take my time. Clocked at an hour and a half which is still too long, especially since I want to give my bridal clients a Leyende bare-faced facial beforehand.
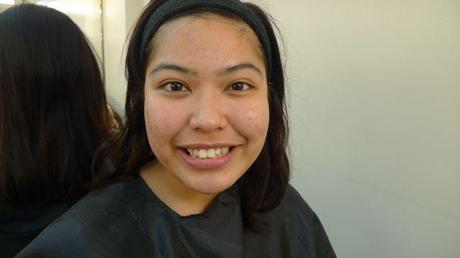
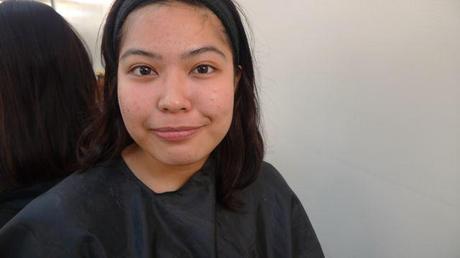
Here's R. before:
Notes:
BROWS
- R's got really lovely full eyebrows, so I just trimmed them a bit (first time I actually brought my scissors out) and removed some underneath to clean it up. This would usually scare me, but since her eyebrow shape was perfect, it was easy to see where to remove.
- I used the MUFE Eyebrow Corrector in 0 to just fill them in where needed and to tame the unruly hairs. Was worried that 0 would be too light, but I think they were perfect. Must add a 0 to my kit!
BASE
- For the most part, R's skin is soft and poyfect. But hormonal changes (she is a growing girl. hahahah!) have given her breakouts so we did a little work.
- Used the MUFE HD primer in green to neutralize some of the redness, putting them only where she had the breakouts. For the rest of the face, I used the MUFE HD Primer in mauve to brighten her complexion.
- Then there was the green corrector for the spots, and orange for her darkness under her eyes. Layered concealer over.
- I used MUFE HD Foundation because it has always worked well with me, but I may have not blended the primer well because it was patchy. (little heartbreak!) And I needed a little more coverage for the problem areas. So I tried the Mat Velvet+ over the areas that needed more coverage. I was thinking of Lisa E.'s method of dealing with problematic skin which was really to try for lighter coverage on the good skin (which R had naman talaga,) and heavier coverage just where it's needed. And it worked great. I did need to add a little more MakeUpForEver Full Cover Concealer.
- I might end up combining the MUFE HD Foundation with the MUD cream foundation which is great with coverage!
- Then seal everything with powder, using a powder puff—I don't think I'm going to ever do it differently.
EYES
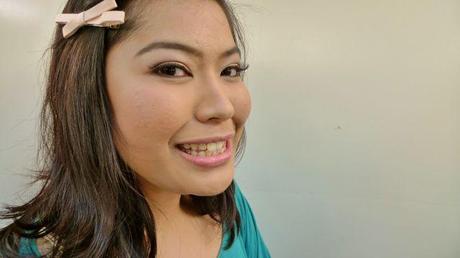
- Since my classmate behind me was using all the neutrals, I just took out my MUD palette and used my greatest hits. That beautiful shimmering pink/peach is Pixie, then Taupe and Espresso to contour and deepen. Pixie is lovely talaga.
- I used a MUFE Aqua Eyes in 2L (pearly brown) eyeliner for the upper lashline, going really slowly since we were touching her waterline. And also for the lower lashline, making sure to seal it in with Taupe/Espresso.
- I used the Ben Nye LiquiSet with the Espresso for eyeliner on top before we added the false lashes.
- I highlighted using Dulce de Leche (creamy,shimmery white-gold) and added MakeUpForEver Shine-On powder in Porcelain Pink.
- While waiting for the glue to dry, I did her brows. After which, I appliedMUFE Smoky Lash mascara using the MUD mini fan brush to make sure that I coated them well and stuck the lashes to her own.
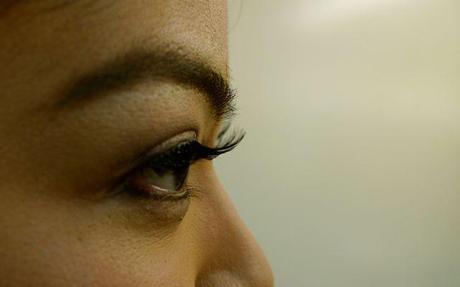
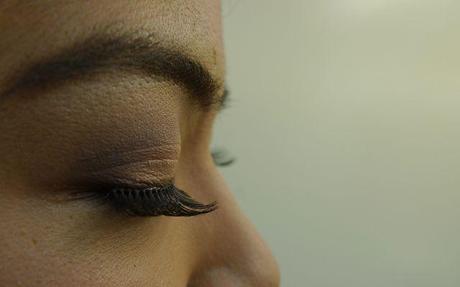
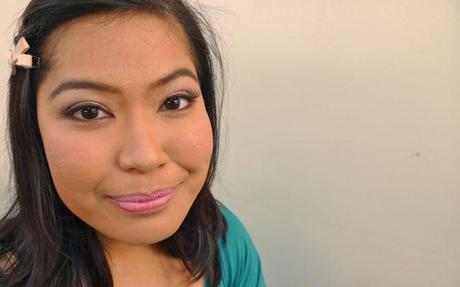
Look at those LASHES!!
CONTOUR & CHEEKS
- R and I share the Abola cheeks so I had to ask her to do a fishface so I could make sure I got the contour right. The nose contour was difficult, but I think this was the first time I applied it while actually breathing.
- I think the MUFE HD blush would have definitely been perfect for a wedding, but since I wanted to be able to control it perfectly, I stuck with a light, blue-toned pink from MUFE.
- Highlighted of course with the highlighter portion of the contour palette, but also added shine-on powder.
LIPS
- R lent her own The Body Shop Raspberry Get Lippy balm, and I retouched her eye makeup while we let the balm sink in. (Yummy smelling, I must say!)
- MUFE Aqua Lips in Fuschia 16C to line those beestung lips, then MUFE Lacquered Transparent Lipstick in either Soft Pink or Pearly Tea Rose (i think they've discontinued this line—couldn't find what i wanted in the Rouge Artist Intense or Natural, but am sure they have something I could have used.) Topped it off with MUFE Lab Shine S22 in Candy Pink.
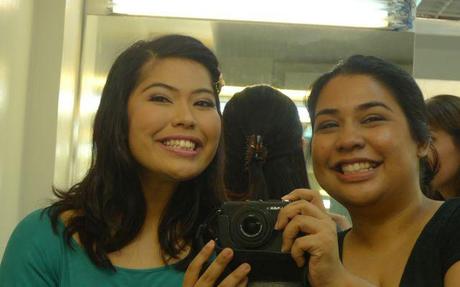
(will evaluate the whole experience in my next entry! hmmm, must wash my brushes!)
Permalink | Leave a comment »
