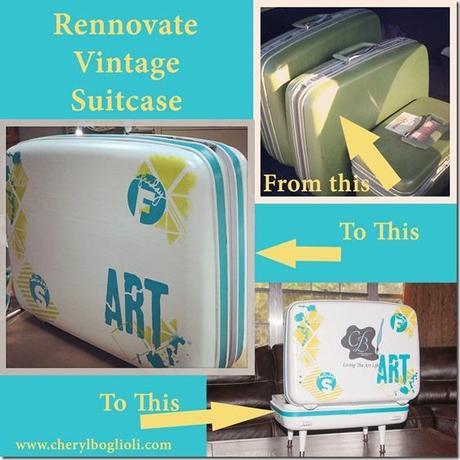
What started out as a worn out vintage suitcase has turned into an eye-catching piece of luggage as well as a table display. I bought a whole set of suitcases bought on one of my trips to Maine. I wanted a fun piece of luggage for Glinda and I also decided to use this as a display so I’ll show you how to take the renovated suitcase to create a tabletop display as well.
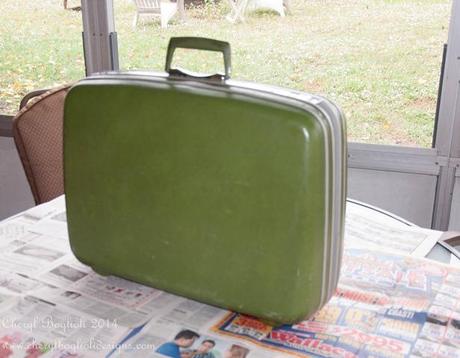
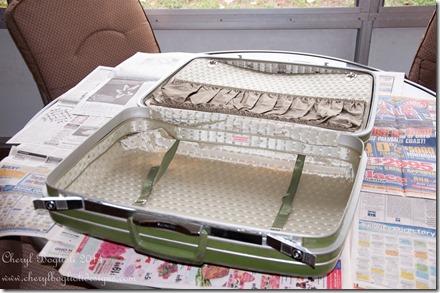
Some people might be a little disappointed as this was actually in really good condition for an old Samsonite, but it wasn’t reflective of me and my style. Let’s create something artistic.
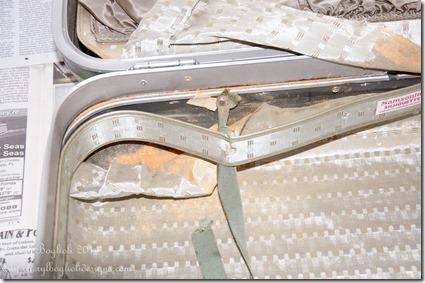
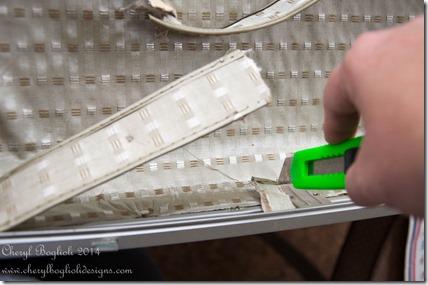
#1. Remove inner lining. Use a utility knife where needed to cut away from hardware.
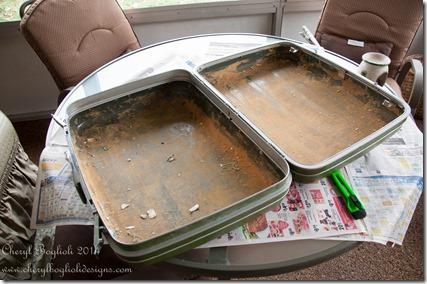
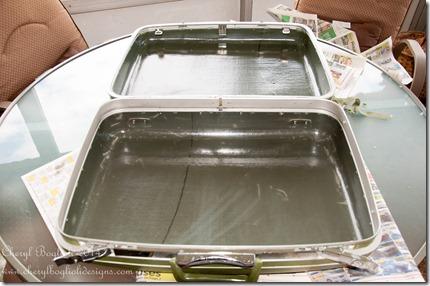
#2. After removing inner lining, use soft brush, soap and water to wash old glue from suitcase interior.
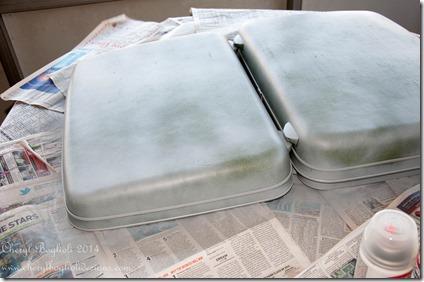
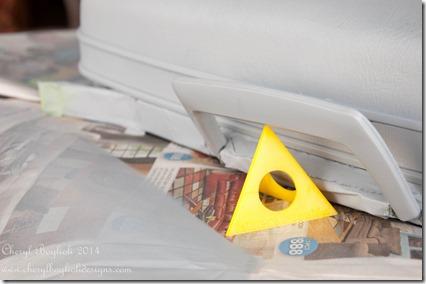
#3. Tape any hardware you do not want painted. I only taped latches. Begin painting suitcase exterior with several thin even coats of primer. I used Krylon gray primer first to neutralize the dark green followed by Krylon white primer for a bright white base. Note how I used a painters triangle to hold up the handle so I could paint all around it.
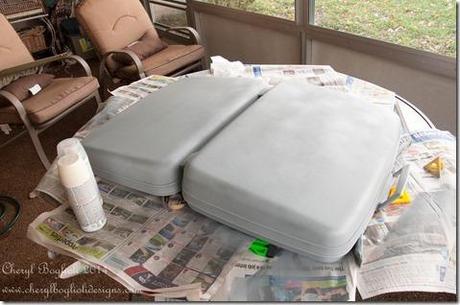
#4. After suitcase is primed, follow with several coats of white paint. I used 3-4 coats of Krylon Satin White.
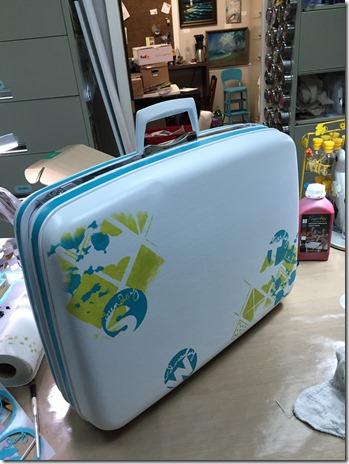
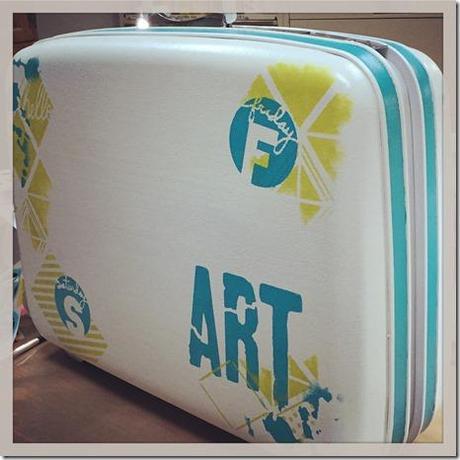
#5. Decorate as desired with paint. I used DecoArt acrylics and The Crafter’s workshop stencils to add my designs. If stenciling, use a cosmetic sponge and dab most paint off before stenciling remembering that less is more. I handpainting the turquoise trim on the sides with a small paintbrush. I also added my logo using Craft Attitude film.
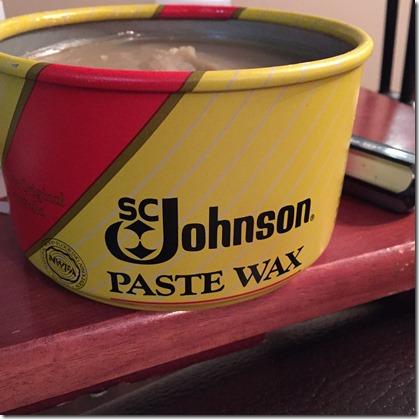
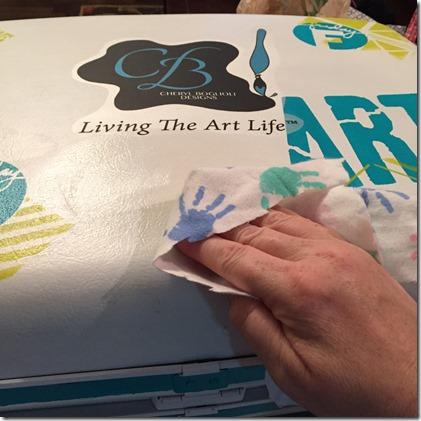
#6. After paint is completely dry, I used paste wax to finish my suitcase and protect my artwork.
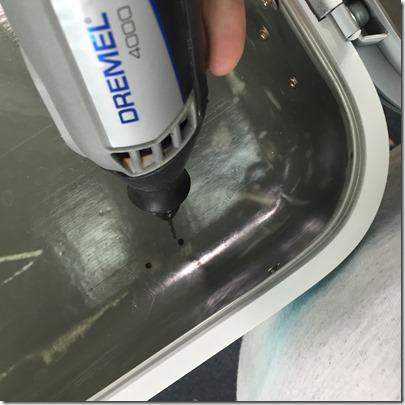
#7. If you want to add hinges or additional hardware, now is a good time to drill your holes for hardware.
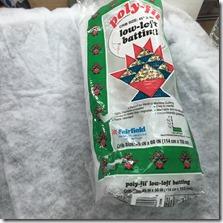
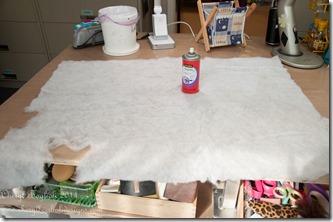
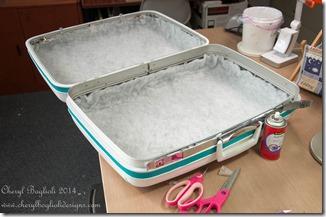
#8. To recover suitcase interior, I used Fairfield World low-loft poly-fil and Scotch Super 77 spray adhesive to adhere batting to interior of suitcase, trimming around inner edges.
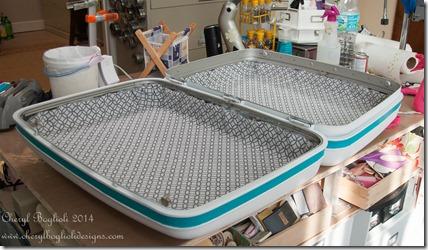
#9. Following the same procedure used in step #8, add fabric of choice.
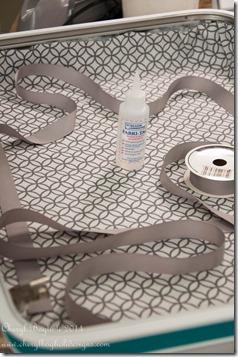
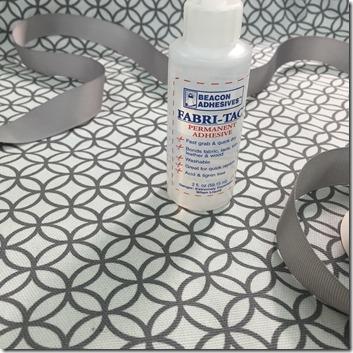
#10. Adhere ribbon on interior to hide raw edges of fabric. I used Beacon Fabri-Tac. It held fast and strong.
Now, if you only wanted this for a suitcase, this would be complete! However, I also wanted to use it as a table display.
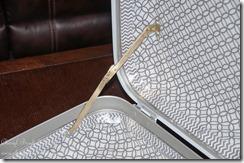
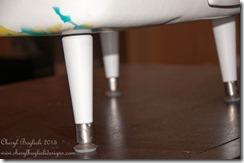
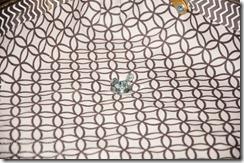
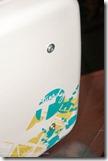
I pierced the holes through the fabric that I drilled for hinges and for table legs. I installed hinges. I also added small table legs that I had painted white. When traveling, I can remove the legs and use small bolts and wing nuts to cover the holes.
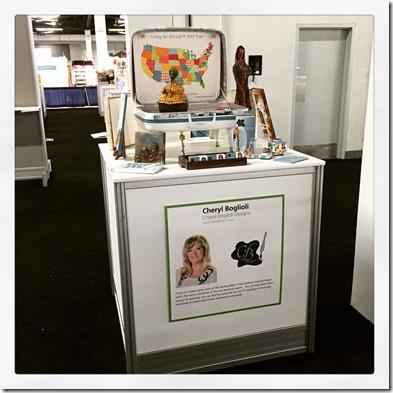
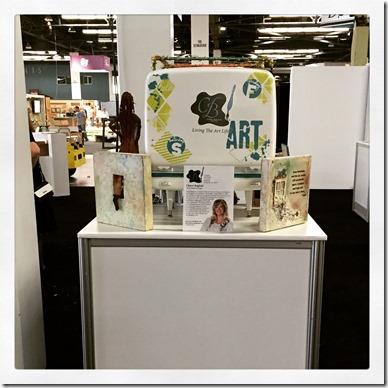
I used the suitcase as part of my CHA Designer Display. I was able to carry most of my artwork in the suitcase as travel on and then quickly set it up as the center of my display. I love that I can use this as a regular suitcase for traveling and it fits as a carryon for most airlines or I can use it as a display whenever needed. Now I am Living the Art Life™ in style when I travel.

