Some of you may recall the making of my workbench back in 2009. It wasn’t until several months later that I decided to make a plywood unit beneath to house three wide drawers for the storage of hand tools and other pieces. In truth, I was never entirely happy with the setup and, each winter, the drawer sides and fronts would swell and it would be an effort to get to the tools I wanted to use. Over time, this has led to the ‘collapse’ of the previous drawer bases (cheap, distorted 6mm plywood).
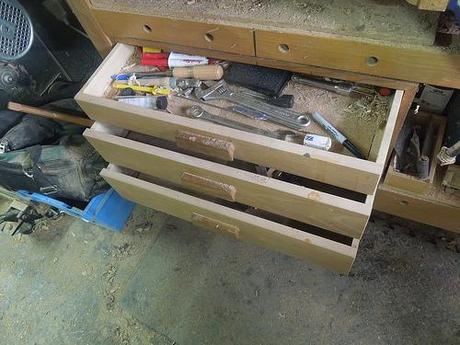
My workbench drawers; as they were for almost four-years.
A few weeks ago; I took a look at the materials I had available and decided to tackle this issue properly.
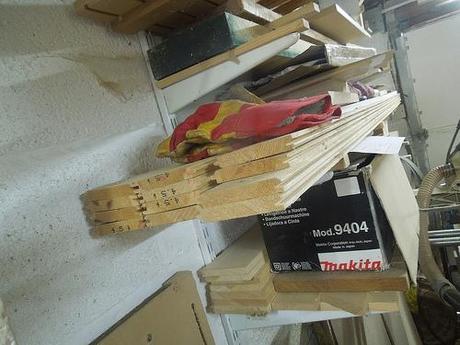
Pine PTGV boards, 16mm thick.
I’d been holding on to all of this tongue and groove softwood since late 2010. I originally bought these boards to make a gate from but, when I realised they were only 16mm thick, I decided they were too thin and, being the woodworker that I am; I chose not to return them but to hold on to them as they would surely come in handy one day…
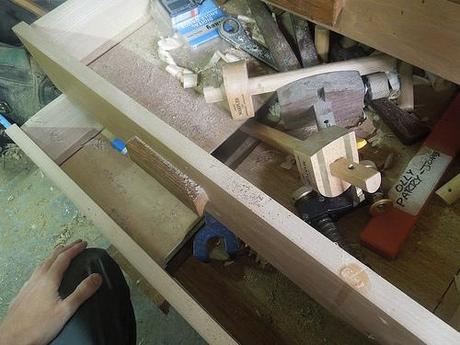
Bowed bases and jammed drawers would lead to the muntin dropping loose, which in turn resulted in tools falling through the bottom of the drawer (or, worse still; getting stuck halfway).
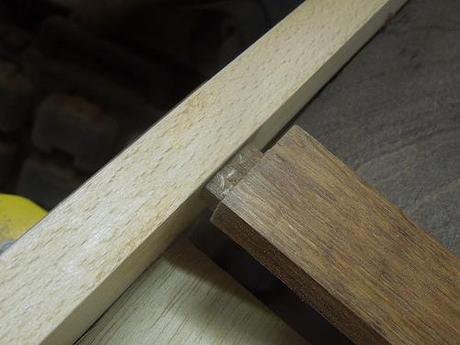
A mutin who’s tenon has slipped out of the groove in the drawer front, due to complications with each drawer’s fit.
This is where the inspiration for the headers for both my Facebook page and YouTube channel came from…
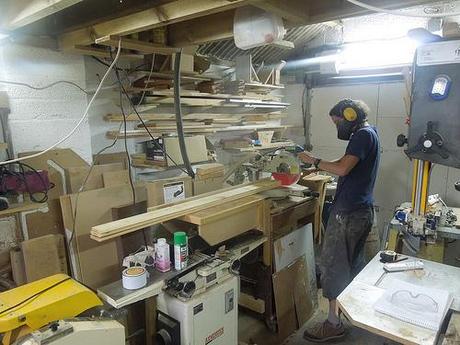
At 2.1m long, these were too much for me to handle comfortably in my workshop without cutting them down a bit. After trimming to rough lengths, I wanted to plane 1mm or 2mm off of each face in order to reduce the thickness of each board, very slightly.
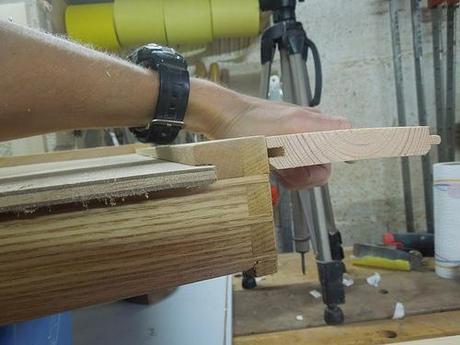
Before planing to reduce their thickness, these boards were identical to the thickness of the drawer slips, which might’ve meant the new base boards would interfere with the sliding action of these drawers.
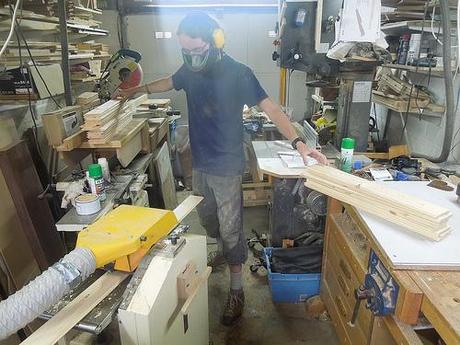
Planing any quantity of short lengths is always an experience in my workshop, as I continually juggle the stack from one work surface to another via my thicknesser… It’s no wonder my neighbours never speak to me with the noise I make sometimes!

By the time I got around to looking at fitting these bases, I realised that I now needed to be able to empty each drawer. It was impractical for me to do them all simultaneously so I had to work on one drawer at a time.
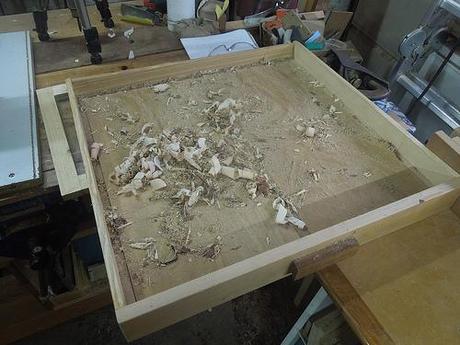
Even without their main contents, these drawers were full of shavings and sawdust.
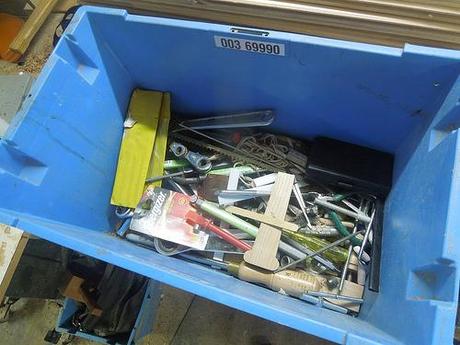
Contents of the shallow top drawer in its entirety.
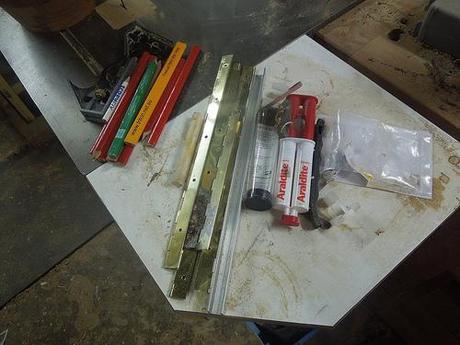
…And even a few items that I could give away and/or dispose of.
I chose to rebate the ends of each board so that they would correspond with the rebates cut along each of the drawer slips (glued along the bottom of the drawer sides).
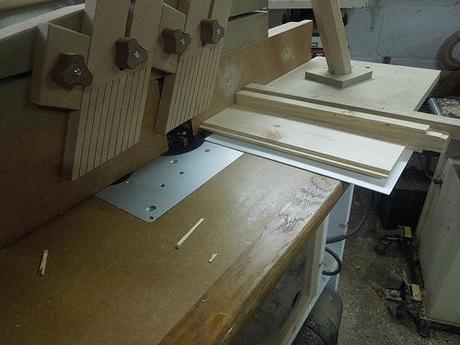
This was done on the router table using a simple sled.
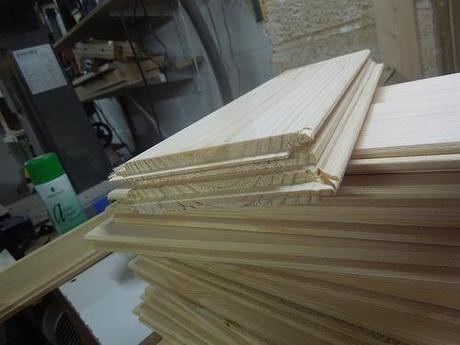
I’ll be honest… I only messed up two of these boards by routing the wrong faces!

Of those twelve long lengths I showed you at the top of this post; I think I only used seven, which left me with a few spares. What I didn’t realize at this time though was that I’d already accumulated a few spares of these now-shorter lengths. So, I did waste a bit of time (and timber) in cutting down some more boards… But hey, the shelves now look a little tidier!

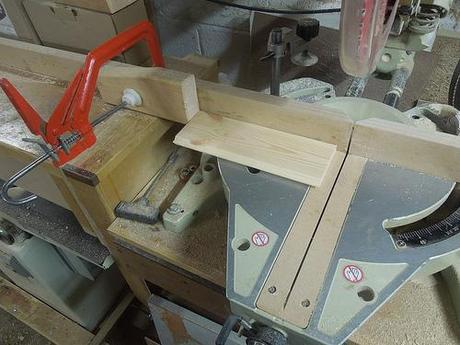
I’ve never gotten around to replacing or repairing my flip-stop system but I did fit a nice MDF zero-clearance insert to my mitre saw a few months ago.
I would need to reduce the widths of four boards for each drawer (remember; they fit either side of a central muntin) and I then wanted to create a tongue along one edge that would fit in the groove on the inside face of the drawer fronts. At the back, I simply needed to trim away the existing grooves of these boards and to add some countersunk, slotted screw holes for fixing them in place.
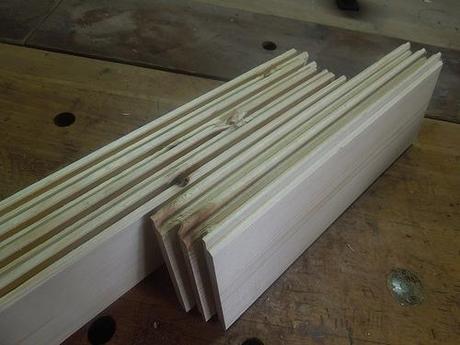
Where some boards had damaged edges (with some thanks to my up-and-over door), I deliberately put these boards aside for this part, as these parts could be cut away.
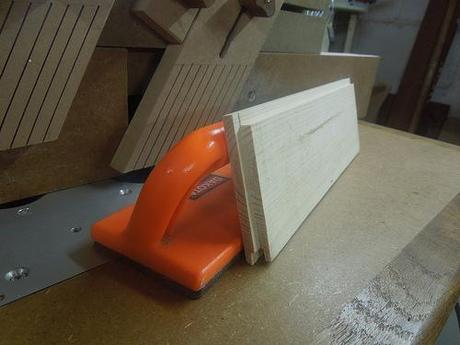
Without changing much on my router table from the previous operation; I cut rebates down one long edge of each of the front boards.
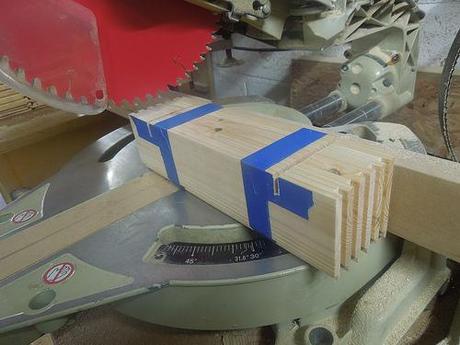
For a change, I stacked the back boards together with masking tape and trenched out the elongated screw holes using my mitre saw. It worked really well!
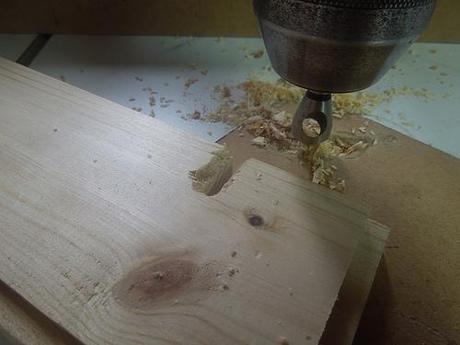
But the countersinking made a bit of a mess in places because I tried to use my pillar drill like a freehand overhead router… Oh, well. At least they won’t often be seen!
After all of that, it was time for some sanding, which is daunting in many cases but, with softwood, you’ll find that sap and resin soon begins to build up on your abrasives, just when you’re trying to get the job done quickly.
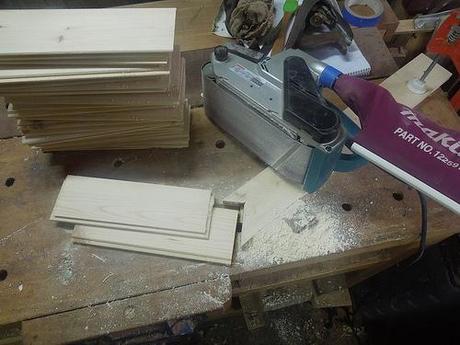
This jig idea came from a video by The English Woodworker (aka. Richard Maguire). Used with my belt sander, it was probably the fastest way I had to getting these boards ready for finishing.
Another problem that arises when you’re working with quantities of anything concerns the issue of space and, in particular; storage while components are waiting to dry…
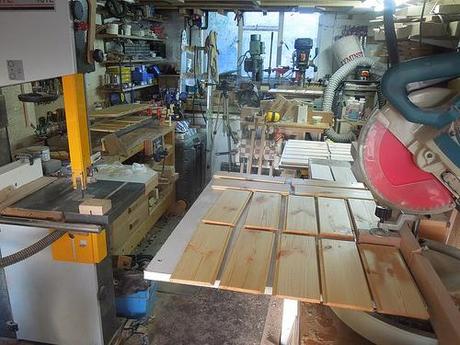
It’s fair to say that I couldn’t use the workshop for anything else while the oil was drying overnight!
I went with Danish Oil because I had a bit left in a very old can and now, I’m about to receive a small but brand-new tin so that I can finish off a few small items in the next month or two.
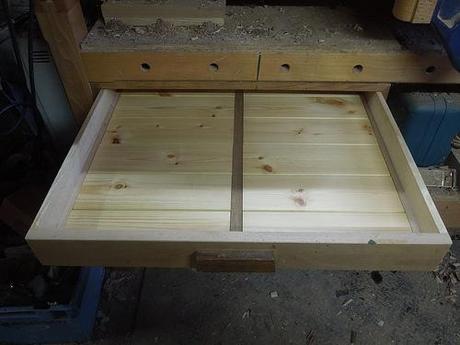
I was pleased with the end result, even if I end up having to re-home this bench in a couple of months’ time… They look a whole lot better and I’m hoping the boards won’t curl up like that cheap plywood before it. Grooves in the drawer slips (or sides, if they’re thick enough) will always be the better option so, I’m maintaining a game of chance by pushing on with the original rebate design.
At this time of year, each drawer slides perfectly. There are still some untreated edges from where I had to trim the edges down a year or two ago and, when that new tin of oil arrives, I might make an effort to seal them now, in case it does help to prevent future frustration.
Thanks for reading.
