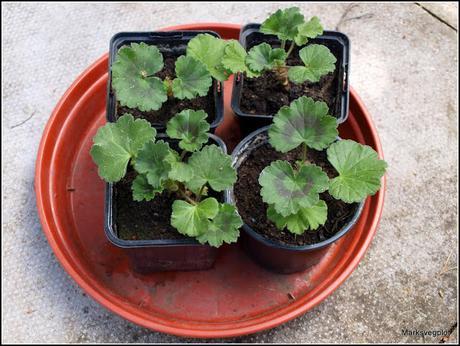
The cuttings all "took" successfully and were looking very healthy, and I judged that with the weather seemingly set fair for the next 10 days or so it would be safe to plant them up. Pelargoniums are frost-tender and prefer nice warm sunshine.

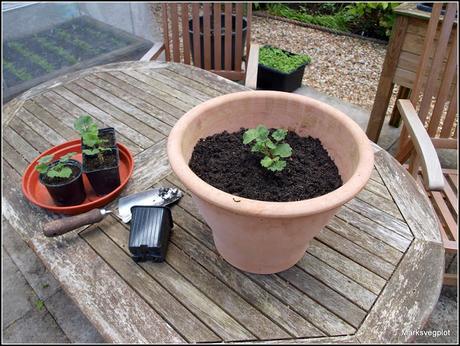
I have put my four new young plants into much bigger pots - mostly ones that until recently held Daffodil bulbs. I have used ordinary garden soil instead of compost, because I think that Pelargoniums (or Geraniums, as most people call them) actually do better in quite poor soil. They tend to produce more flowers and fewer leaves.

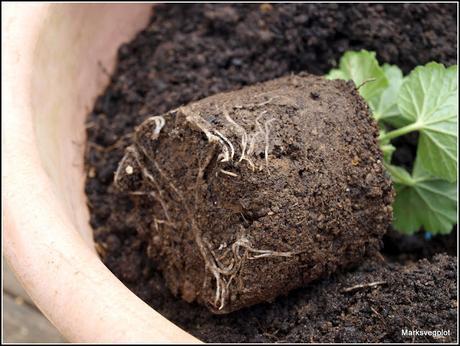
Just before doing the transplanting, I watered the small plants quite generously and then let them drain for about an hour. This makes the root-balls easier to keep intact, causing less transplant shock. You can see from my next photo that the plants already had well-developed root systems.

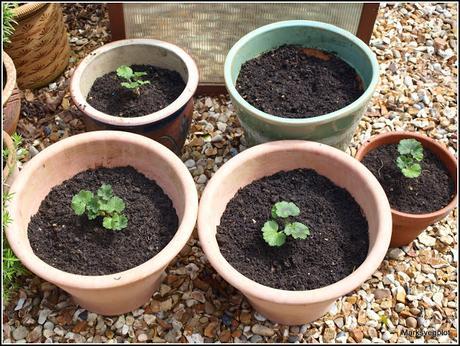
Here are the four plants on completion of the task. The one in the smallest pot (at right) is going to go outside my front door, where I have a sunken pot into which this will slip. The big green pot currently empty is reserved just in case I happen to buy anything next weekend at the Fleet Food Festival, at which there are usually a couple of stalls selling plants - for instance the Pepperpot Nursery !

