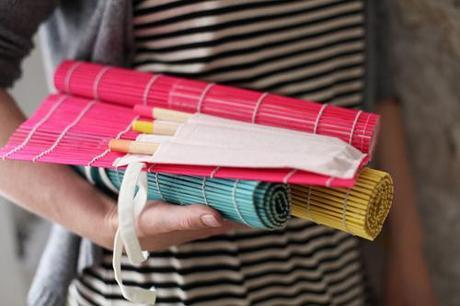
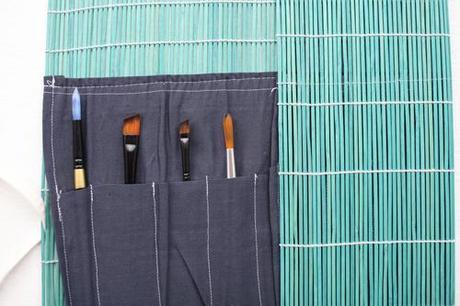
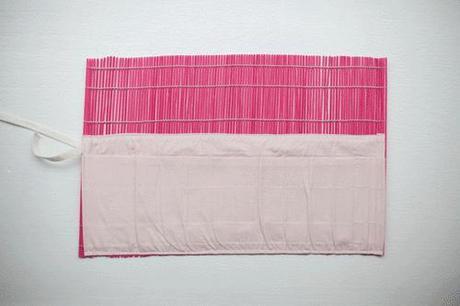
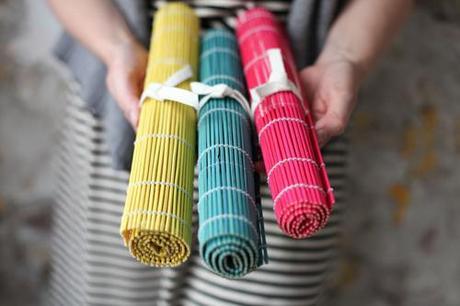
 I was super honored to be asked to contribute to Martha Stewart's crafts blog. What exactly do you choose for Martha? It was a toughie I'll tell you what. I've been in need of a paintbrush holder because transporting my delicate brushes around town has been getting me nervous without proper protection. I thought of using a sushi roller mat, but then found these placemats at Jysk and thought, "bingo". I added some monochromatic colored fabric and voila, paintbrush holder here you are. Now, I went a little crazy so I made three (anyone want one?) in these awesome colors AND I went crazy with the GIFs, but really, could you blame me? They're so photogenic!
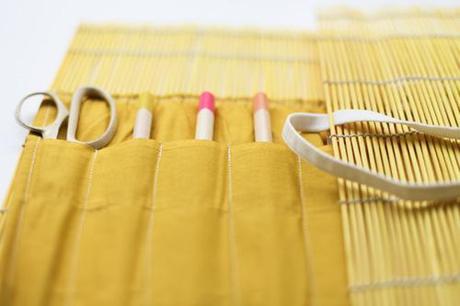
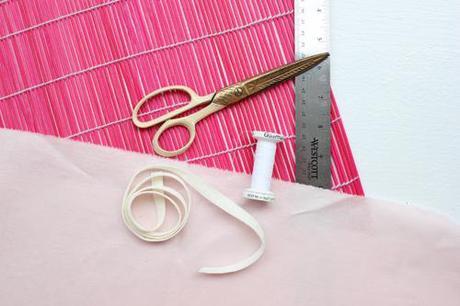
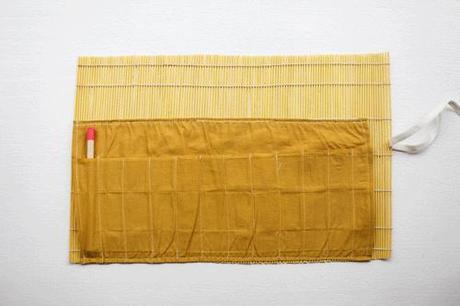 Materials: bamboo placemat (min is 18 x 12"), fabric in coordinating color, thread, scissors, sewing machine, ruler, 12' ribbon or elastic
 Click here to read the full instructions
Step 1: cut a piece of fabric about 2" wider than the width of the place-mat and at least 3" more than the height.
Click here to read the full instructions
Step 1: cut a piece of fabric about 2" wider than the width of the place-mat and at least 3" more than the height.Step 2: Fold the fabric overs so that the top piece is about 1 1/2" taller than the bottom piece. Step 3: Fold the taller piece about 1/4" over, press, and sew straight across. Step 4: Fold the shorter piece 1/4" over and press.
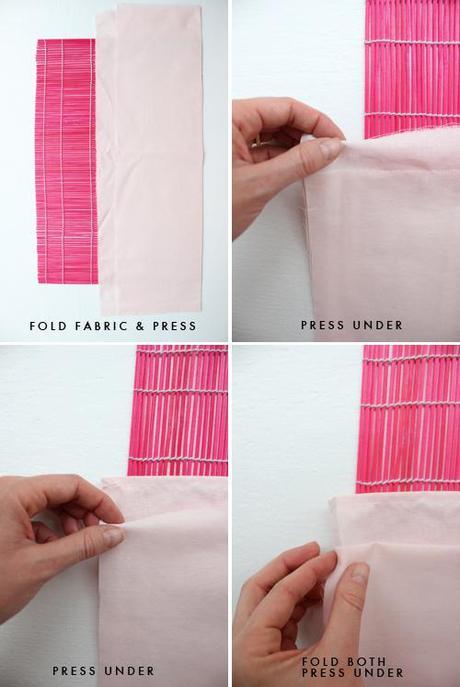 Step 5: Fold both sides over together 1/4" and press and sew together.
Step 6: Measure and mark at 1 1/2" across the whole length. This will be where your dividing lines will go. I also measured the top.
 Step 7: Sew down these lines and stop when you get to the shorter piece of fabric.
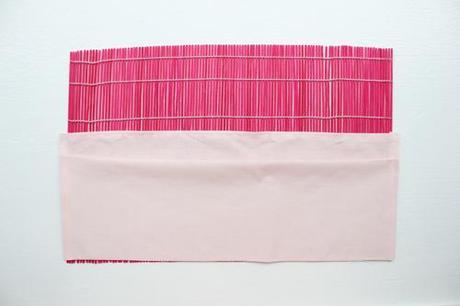
Step 8: Place the fabric piece on top of the place-mat and align it at the bottoms.
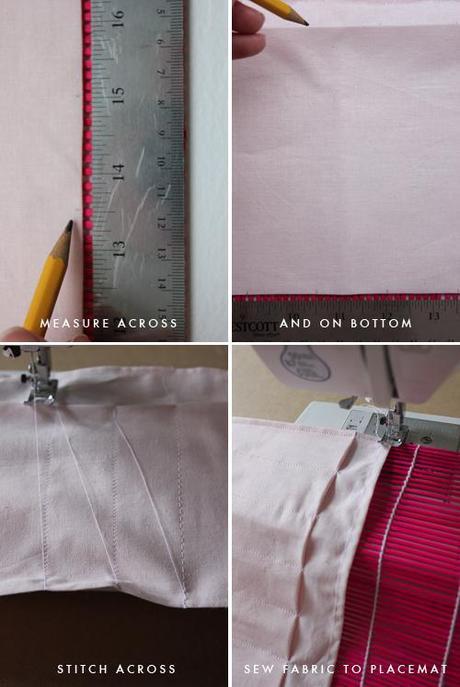 Step 9: Change the width of your stitch to a width where the needle can cross the bamboo safely. For mine this was 4.5.
Step 10: Sew a straight line across the top and the bottom.
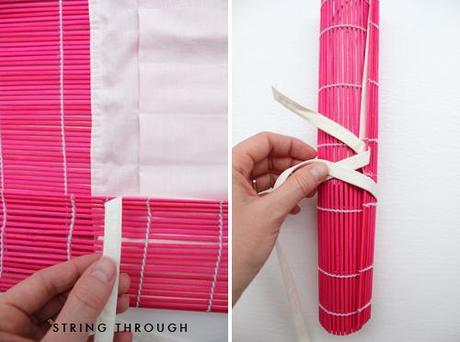
Step 11: Insert a thick ribbon into the edge of the bamboo to use as an enclosure.
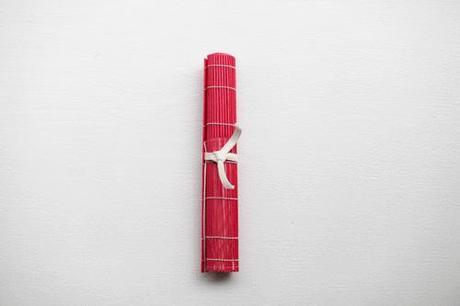
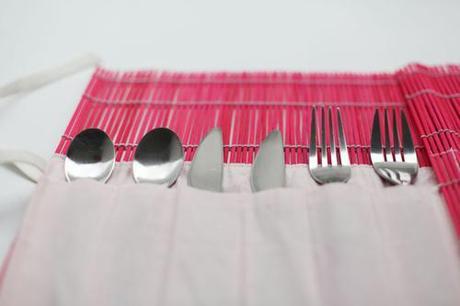
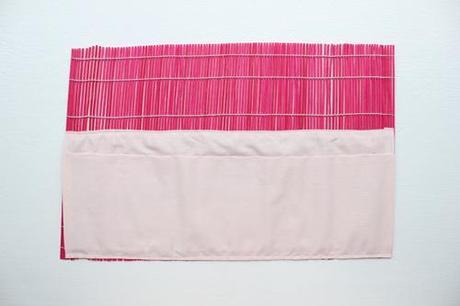 Voila! Super easy and helpful in protecting your goods as you go about town. I made one for my brushes, colored pencils, and silverware for picnics. Happy travels!
 Photography by Amanda Thomsen and me
