First off, thank you all for your support and voting for me in the Skillshare Valentine Challenge ! It turned out that my card and wrapping paper design was one of the two first place winners, which was decided in secret by the instructors, Faye Brown and Majo Bautista. The voting was for 2nd and 3rd…but I had no idea beforehand where I stood! So many friends voted for me–I’m pretty overwhelmed by the support and vote of confidence in me. Thank you so much again!!! To see the other winners and their designs, go here.
I’m immensely busy still, involved in many projects. I’m working on my book dummy for a picture book and in the middle of creating artwork for a mini one. I still have all my Skillshare classes (!) and I am participating in the Making Art That Sells Bootcamp. This class was designed by Lilla Rogers Studio and Beth Kempton of Do What You Love. It’s been an amazing experience. For one, it’s so inspiring to see everyone else’s work — there are so many talented artists in the class — over 400! Also, people are so generous and helpful with advice and support. I’ve made a lot of new friends there and reconnected with old ones! Our first assignment was to design a cell phone case that had to do with cuckoo clocks. I can honestly say I had never drawn so many cuckoo clocks in my life!
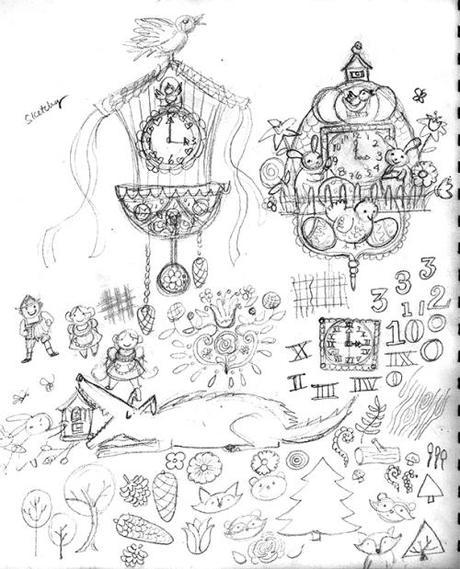
One of many sketches
The clocks weren’t really calling to me, so I decided to focus on the cuckoo birds. Also because I can never seem to get away from food, I ended up with two designs having to do with eating and drinking. ha ha. Which one do you like the best?
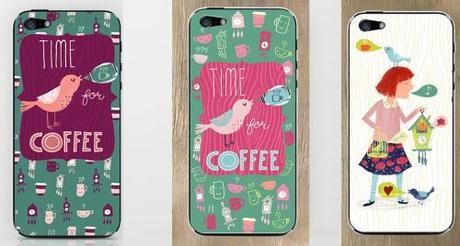
!st two are the same design with a different color treatment and placement of coffee and clock icons. Click to enlarge.
I decided to go with the girl one because it had more of a response on the class forum, and because I had way more fun creating it! I figured out a different way of working, and I’m really excited about that and plan to do my book illustrations this way. It even got me to get off my tush and start building a place to sell some artwork once and for all. I have been dragging my heels at the overwhelming thought of it. I only have two things available at the moment (lol) but it will grow! Check it out here: Society 6 I will also upload different sizes so the designs can be used on different things. Stay tuned!
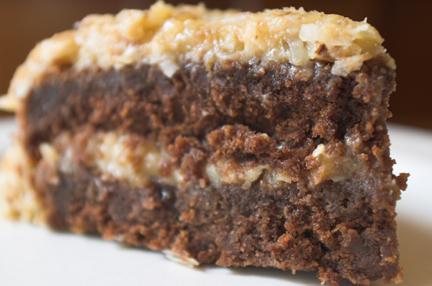
All of these extra activities are great in that I’m creating double the work I normally would and learning lots of new ways of working and thinking about art making! But it curtails my ability to cook or bake anything that takes more than 30-40 minutes…. (An exception will be next week when I will bake a German Chocolate Cake for Denis’ birthday!)
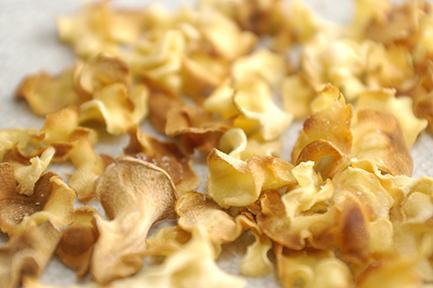
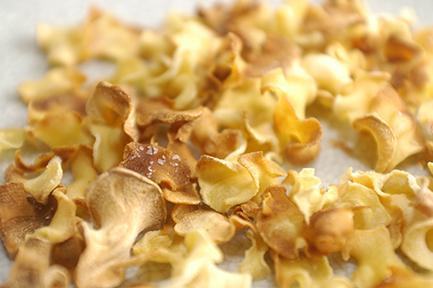
The other day I saw a bunch of parsnips for sale, so I grabbed them and made chips. I was craving something crunchy by healthy, and these fit the bill. You could probably make these out of other root vegetables, like carrots, yams, etc. but I haven’t tried it yet. I like the flavor of parsnips — they are a tad sweet, similar to sweet potatoes. While I was making them, Jamie and his friend thought I was baking cookies! Imagine their disappointment when I told them it was vegetables. They tasted the parsnip chips, though, and they liked them.

You need a mandoline or a box grater with a slicer on the side to cut thin slices of the parsnip. I have one something like this. Then you just lay the slices on a foil lined baking sheet and pop in the oven. My friend, Alexandra, mentioned that she makes chips by putting them in a cold oven and then turning the oven on. The method works well because you don’t burn any chips, which are delicate when thinly sliced! Cooking them this way makes it easier to do this. Turn the oven on to 250 degrees F, set your timer for 30 minutes and walk away. Check them after 30 minutes. I remove the tan, crispy ones, and return the pan to the oven and for another 10-15 minutes or so. Easy, no? I think the chips are best eaten right away, which isn’t hard to do! If you save them and they lose their crunch, you could probably pop them in the toaster oven for a couple of minutes and let cool a bit to crisp them up.
Parsnip Chips
Several parsnips, washed and trimmed and peeled
Non stick spray
kosher salt to taste
1. Line a baking sheet with foil and spray with nonstick spray.
2. Slice thin rounds of parsnips with a mandoline or other slicer and lay slices in one layer on prepared baking sheet.
3. Place in oven and turn onto 250 degrees F.
4. After 30 minutes or so, check parsnips. Sprinkle with kosher salt if you like. Remove tan, crisp chips to a plate. Return baking sheet to oven. Check chips after about 10-15 minutes. They should all be crisp now. If not, let cook a bit longer. Remove to a plate and eat!

