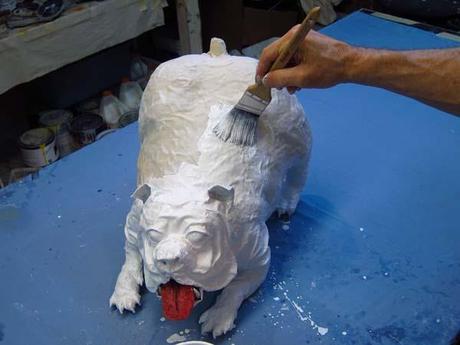
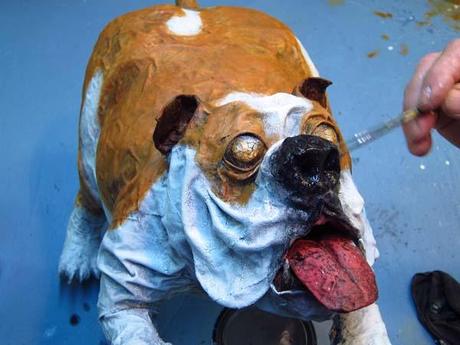
Thanks for coming back. Okay, time for some fun. I really looked forward to this. I want to say something first. I've said it many times. If you like your sculpture before it's painted, painting can make it better, or painting can ruin it. So there is always a risk. If you don't like your sculpture before painting, paint won't save it. I like the way this sculpture turned out so I look forward to painting. The risk isn't too great with this doggy. First I painted it white. Not much to look at. I wanted to add brown markings similar to the bulldog in my original photo but a bit brighter and a little more orange.
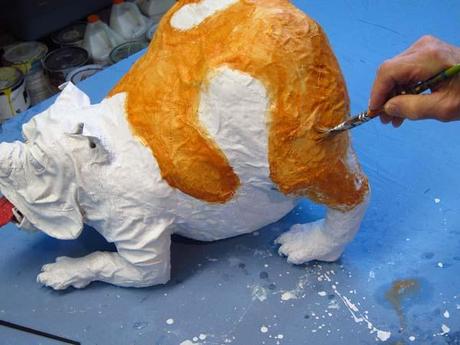
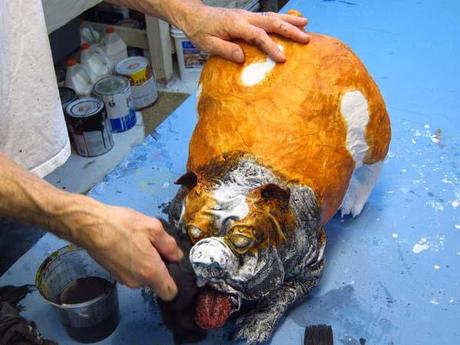
The trick here was not to get too carried away. A bit of brown here, a bit there. Some around the eyes. That will look really good with the blue eyes. Because there is so much white on this dog I needed to be very careful with the blackwashing. I watered the black significantly more than usual.
I read the blog posts recently of someone who decided to make a dragon trophy following the instructions in one of my books. It was a bothersome read. First, she never mentioned me by name. She referred to me as "the artist" whose techniques she was trying. She made it clear she didn't like the process after a while, and she never did finish her trophy. She gave up. When she was ready to blackwash the jaws she made fun of my term, "blackwashing." She said, "as opposed to "whitewashing". I thought that was really strange. Let's see...I'm painting the very watered down black onto the project, then wiping it off before it dries. I think "blackwashing" is a perfect descriptor of that process. Okay, got that off my chest.
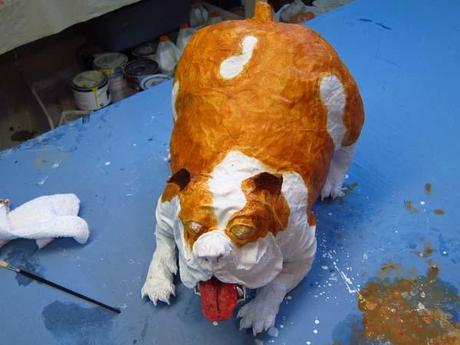
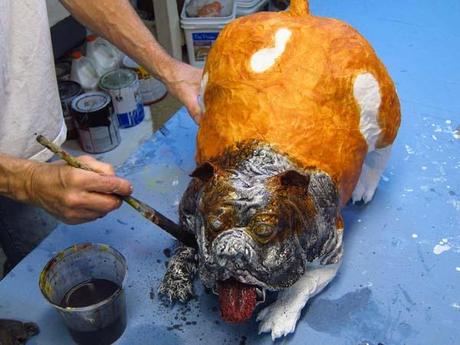
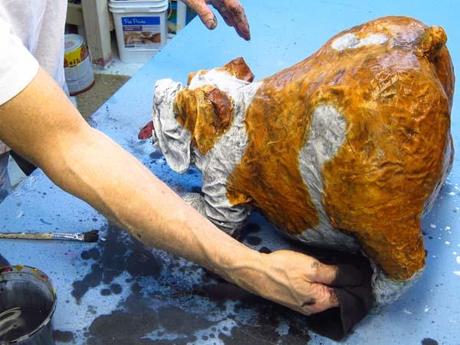
Again, because I didn't want to over do (overdo?) the blackwashing with so much white, I was careful to do it in sections. I didn't want the black paint drying before I could wipe it off. So I blackwashed the face first. Then the rest of the body. I know there is resistance to blackwashing out there. I hear it all the time. The initial paint job is soooo pretty! You don't want to ruin it. If it really bothers you, don't do it. It's just my preference. I always think it looks better after blackwashing. It accentuates all of those details I worked so hard to get. This is particularly true with this dog. These photos don't do the process justice. You will see this more clearly when I post my final, high resolution photos.
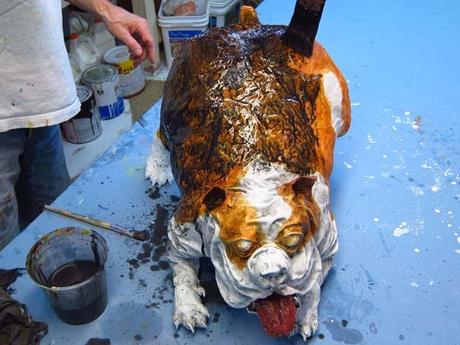
No matter what, I always add back color, some highlights. Just a bit of paint on my brush. I hit the high spots and places I just want to brighten up.
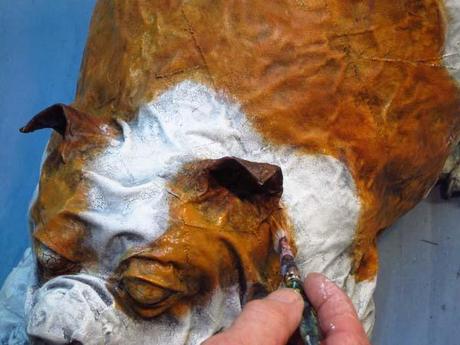
I painted the nose and added some black to the lips, just like the dog in front of Starbucks. What a difference that made! Then I touched up the tongue. By the way, a good tongue can really enhance a project. I think a long tongue really helped this sculpture.
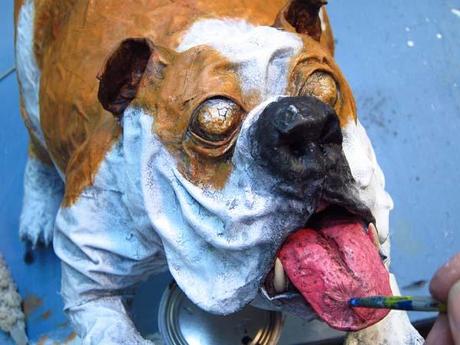
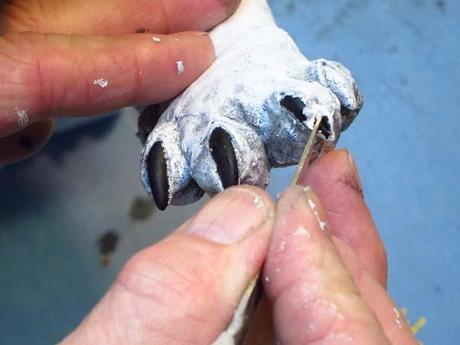
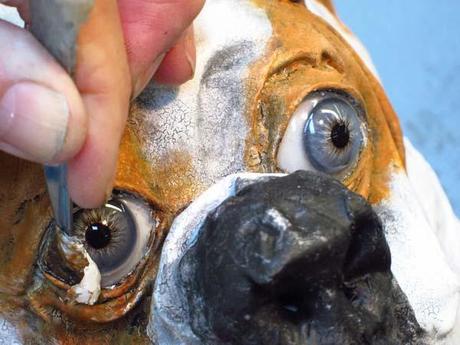
I scraped the white paint off of the toenails. Then, hold your breath (I did), I scraped the paint off of the eyes. I swear, he came alive. It was thrilling. I'm so glad I kept the blue eyes. I also made the eyes a teeny bit off center (relative to each other). I think it made him look cute. You will see that more clearly in my next post.
I'm leaving you here. I'm not trying to keep you hanging. I just need to get some good photos to present this finished dog. I'll get back soon with some decent photos. Thank you as always for reading. I hope you like this non-dragon project. See you soon.

