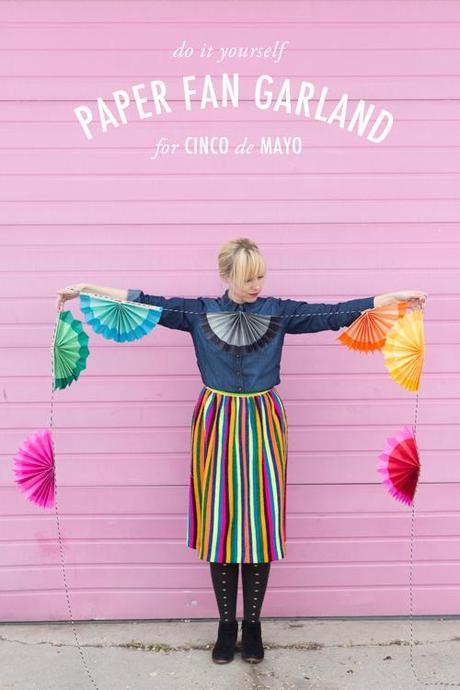

 photography by Trisha Zemp
 I saw this garland on the Swedish blog, Family Living, (wish I could read it because it's a great blog!) and I thought it would be cool to make it two toned and add some shape to it to use for Cinco de Mayo and I LOVE how it turned out!
 Materials: tissue paper in various colors, glue stick, twine, scissors, washi tape, stapler, chipboardStep 1: Layer your tissue paper and cut them in half. They will be more manageable cut in half.Step 2: Layer your two colors (or three or four!).Step 3: Cut the top layer so it's smaller in width than the outside layer. Step 4: Start folding the tissue paper in an accordion fold about 1" thick.
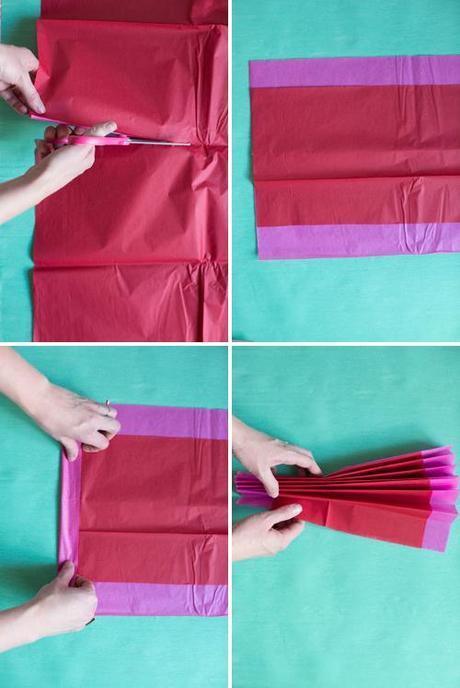 Step 5: Once it's done folded, fold the fan in half.
Step 6: Staple the center.Step 7: Glue the two sides together. It should fold one fan at this point.Step 8: Cut a 1" strip of chipboard the length of the full fan.Step 9: Glue the chipboard onto the edge of the fan.
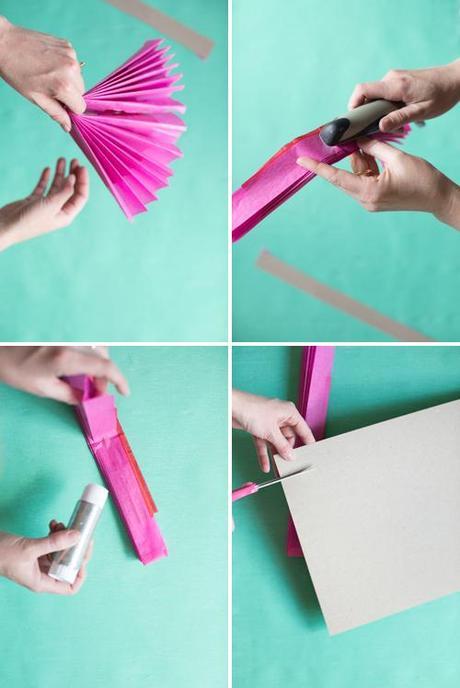 Step 10: Fold the fan in half for easy storage.
Step 11: Cut the edge of the fan in a fun pattern.
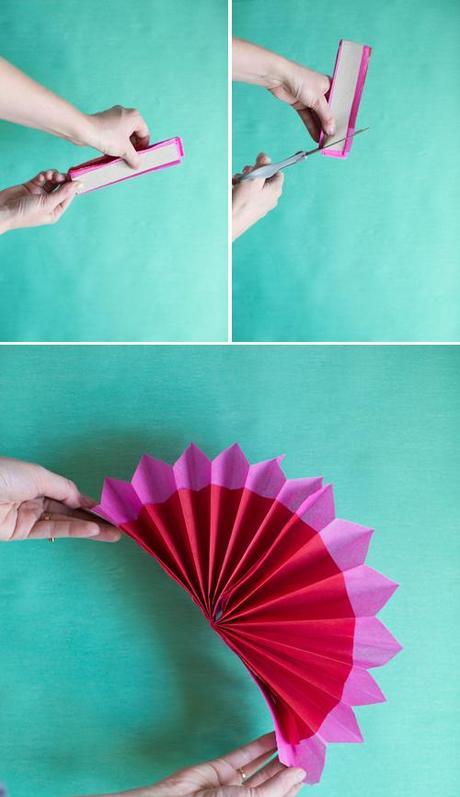
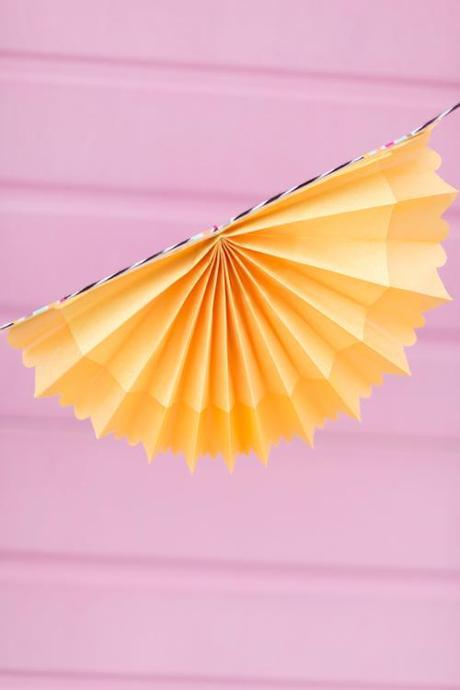
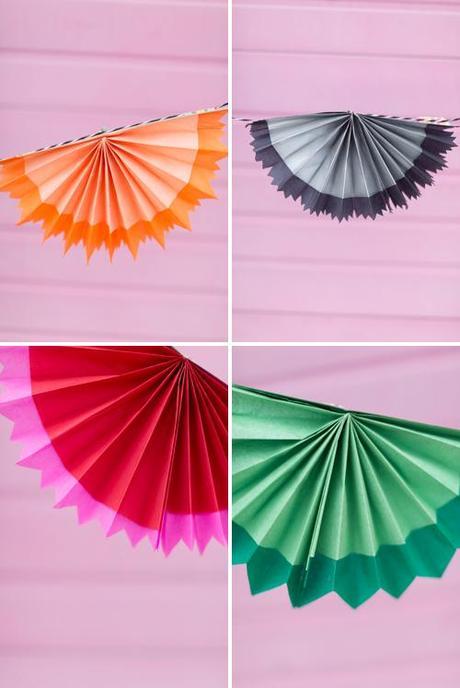

 Happy Cinco de Mayo!
 Thank you to Teya for helping me out with this project!

