With a long weekend and clear skies forecast, I decided I would use this time to try and replace the fence panels that blew down sometime in, erm… February! That’s without mentioning the two fence posts that had each rotted away at ground level. It had seemed like a monstrous job; the kind that I detest, with my general hatred towards pathetic fence panel construction. Each morning I’ve driven to work, each evening I’ve come home; that gaping view on to the neighbour’s weathered decking had been haunting me for far too long. I was tired of tripping over the old panel remains just outside the workshop door. Something had to be done!
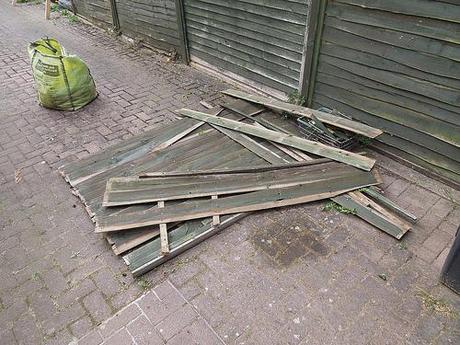
A reminder of how things had been for the past three-months…
I’d known for a long time that I wanted to try and repair this panel. It’s a lot of work but then, the way I saw it; I would have far less painting to do! Earlier in the week, I took a trip a newly-opened timber merchant known as Avril’s. I knew that they sold treated timber and that they specialised in fencing supplies.
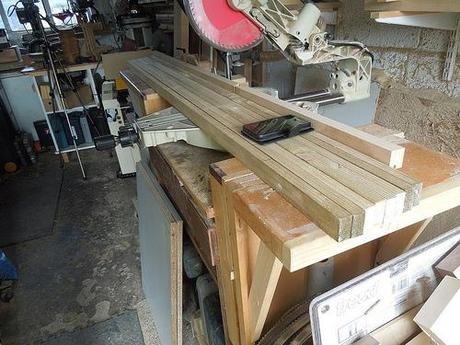
My phone; uploading a Keek at the time!
I came away with two 8ft long 3x3in posts and enough 1½x¾in battening (cut from 4.8m lengths) to be able batten both sides of this bettered panel. This timber was pleasantly dry and stored in a large shed with weather protection (unlike some other yards). Prices seem pleasing as well. Certainly no higher than some of the figures I’ve seen elsewhere.
I only recently put a brand new Freud blade in to my mitre saw and it’s quite a shame that it’s only mostly cut softwoods (fencing-grade stuff at that) in that time…
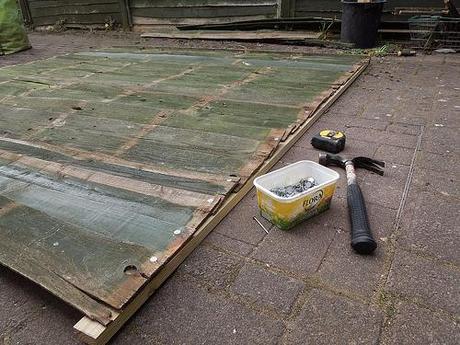
If in doubt…
After cutting the outer battens to length, I began nailing the thin boards in to place with some 13mm long clout nails that I happened to have. They’re far from idea from this but I was only looking to hold each board until I could sandwich them with the second batten on top. Several were too badly split and broken but fortunately, I’d been holding on to a small stash of spares from previous gale-force demolitions.
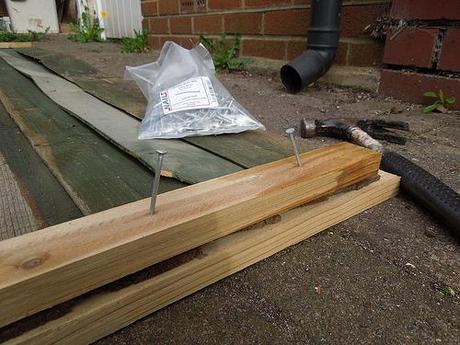
‘Spiking’ the nails.
These side battens overlap the batten running along the top of the panel (beneath the capping) and when I nailed them in place with 2in galvanised nails, I angled one slightly from the other. Partly because 50mm is slightly too long for this job but also, it provides a stronger fixing (‘spiking‘ is a popular trade term for this technique in the UK). Really though, I should’ve used annular ring shanks (but for their expense).
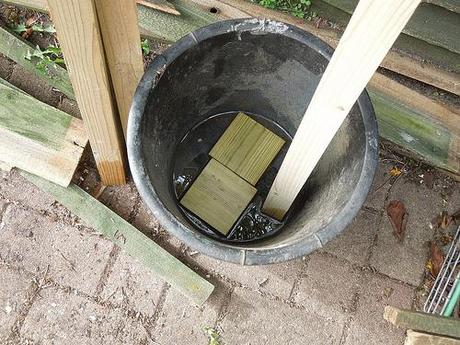
Post caps in the bath.
Every cut end was retreated before assembly.
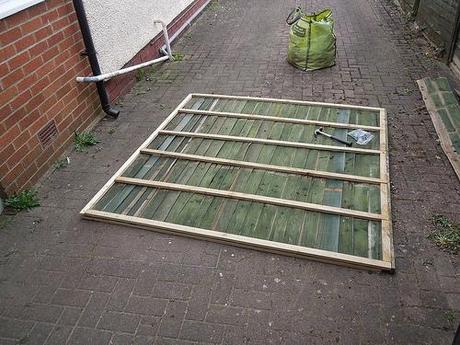
One side complete.
Before long, I had one side re-battened and complete. It was less than 5mm out of square as well! I was left with offcuts of the battening less than 1.2m in length but I was able to chop them in to 320mm lengths to fit in between others along the top edge on this rear side.
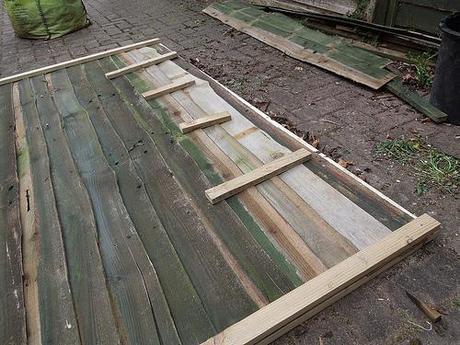
Tacked on.
At this time and before turning the panel over, the intermediate battens were only fixed at the top end. I didn’t want to risk splitting the bottom batten but driving nails up through it so, I placed some short scraps directly underneath and tacked them through. These could then be removed after flipping over.
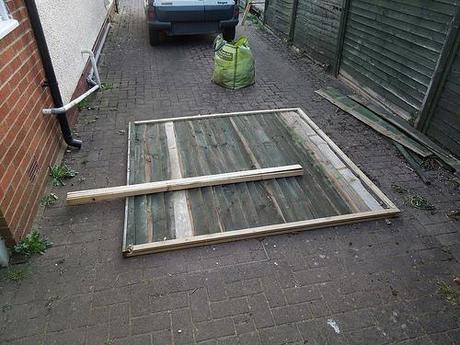
Then, it was a case of fitting the final four battens directly over the top of the others…
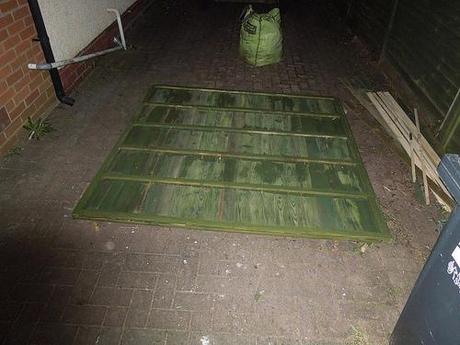
It was around 21.30 on Saturday night by the time I’d given a brash coat of paint to the rear side of the panel, both posts and the two post caps.
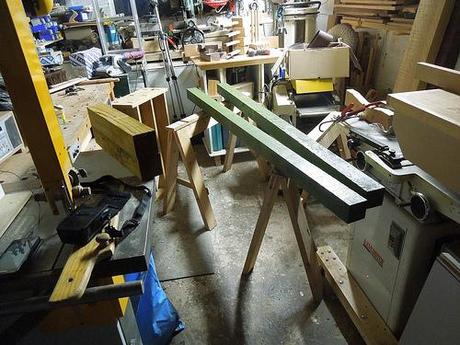
Painting in the workshop is NEVER a good idea!…
On Sunday afternoon, I began the dreaded task of fitting the new posts. There’s a reason I didn’t start this in the morning and, in case you don’t follow me on Keek, I’ll share that with you in my next post. But the post repair spikes (purchased back in February) went in easily with the aid of a new tool… Well, I had to jigsaw their decking slightly and then to power plane the posts until they slipped in to the MetPosts but each was sitting plumb and, if I’m honest; more solidly than I was expecting.
I didn’t buy one of those drive-in tools and instead used an offcut of 3x3in timber to take the blows. I won’t be trying to advise or demonstrate the use of a sledge hammer as I’m not sure I have it down to a tee myself. You can’t do this kind of work without one though, seriously.
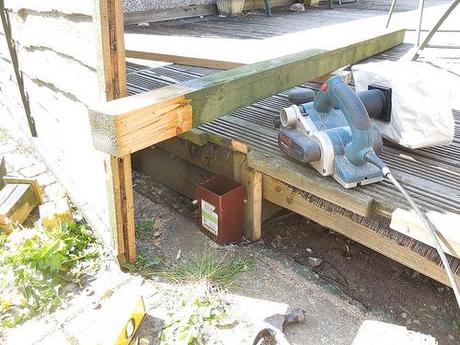
Planing to fit (and the jigsaw cut-out for the bolts).
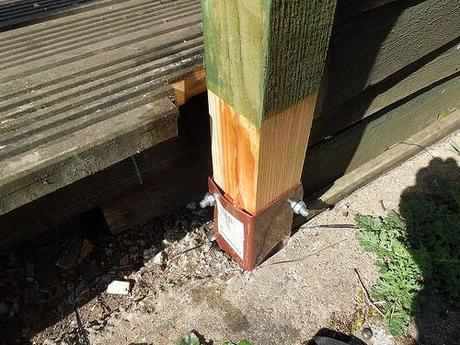
Note the small oak wedge used to lock it in vertically.
To take a step back slightly; removing the old posts was made easy with my jigsaw and a set of long or deep-cutting blades. I marked out the nail locations with a white pencil and cut around them, leaving a few puny blocks of wood to be removed with a hammer.
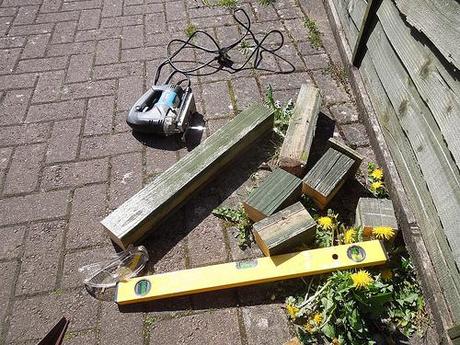
Jigsaw to the rescue!
Much of the mess remains and there’s still some painting to do on our side. There’s also the risk that at least one other panel could discombobulate at any minute but, the line of fencing is solid again and I’ll deal with any more when or if it comes. Battening on both sides is definitely the way forward!
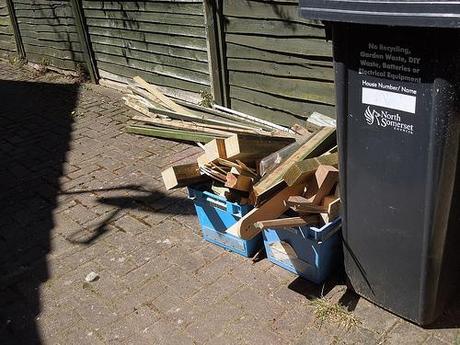
…On what day do the council collect wood?
My ‘restored’ was a perfect fit within its opening, with both of the posts plumbed up on either side. As for the other two panels though, there were gaps of up to 15mm between each post, which I could only be bothered to fill and ‘pack out’ with thin scraps of wood.
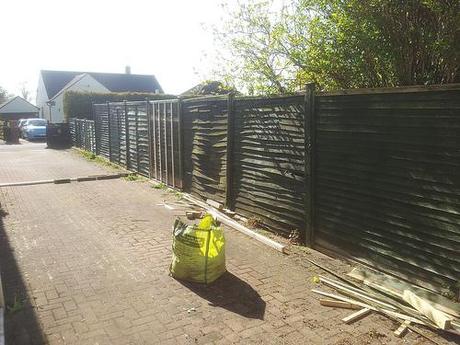
Courtesy of my smartphone’s camera (you might also have seen this image on Instagram).
I look forward to telling you about my new tool(s) very soon and I thank you for reading. It is great to finally have that burden removed from the driveway. I may’ve lost a single day to the kind of job I hate but, I had Monday free and I won’t have to do any of this again next weekend!

(I hope the neighbours don’t ever ask me to take a look at their decking; I couldn’t see whether there was much of anything holding it all together (underneath) and that one board closest to the fence was lose before I even set foot on it.)
