Some of you Lord of the Rings fans might remember the news a number of years ago that the "shooting" of the three movies was finished. It was just a matter of editing. I remember getting all excited, and then waiting two years for the first movie to finally arrive. Well, I can now say the same thing about my goofy little video. It is "in the can." I've finally finished the shooting. I've dismantled my contraptions and staging. I did that to keep my obsessive personality from re-shooting every scene, again. This has been a very difficult project for someone like me. There isn't a single thing that is exactly as I wanted it. I spent a solid week on one scene that I'm not even going to use. My biggest worry now is that the video won't be worth the months of effort I put into it. Regardless, I will have it done by New Years. I promise. I just need to edit the last parts. And then re-edit the edits, and re-re-edit those edits, etc.. Wish me luck.
Meanwhile, every other aspect of my art has been on hold, including this blog. Sorry about that. So here is the next installment of the build of the little dragon marionette, the main character of the video.
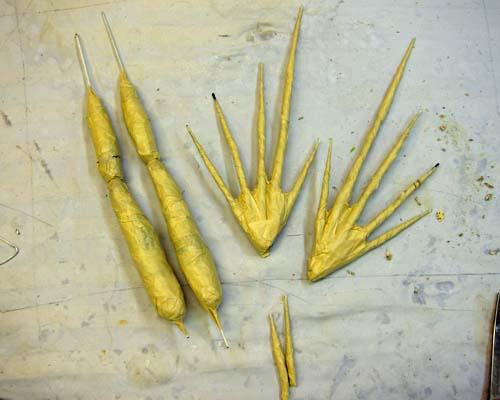
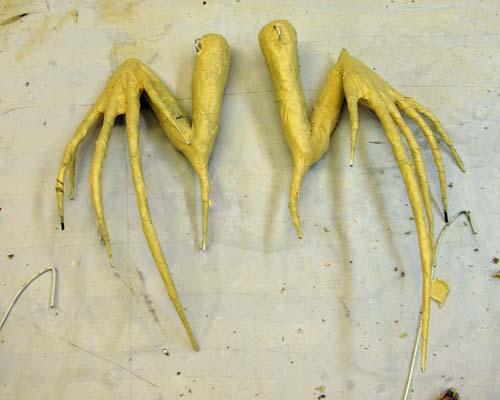
I will continue showing some of the assembly of this little dragon. I wanted to add some wings. Actually I made two pair. The small ones below, and some that will be outstretched for later in the video. I just made my tapered fingers the usual way. There is no paper mache in this process. Just pieces of wire clothes hangers, crumpled phone book paper, and masking tape.
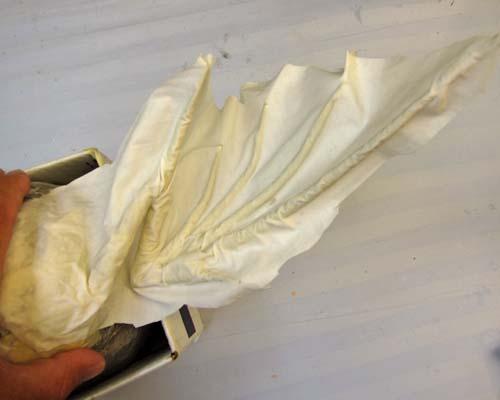
I draped some cloth between the fingers and then added my "cloth mache" to the rest of the wing. I finally had most of the pieces to put the little guy together.
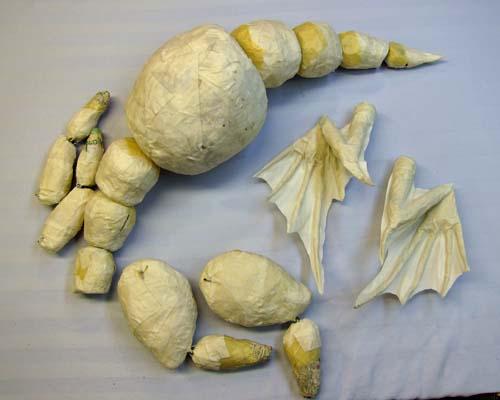
Once again, I used pieces of clothes hanger to make the articulated joints. I bent the wire as shown, looped it through the wire protruding from the thighs (and upper arms), and then punched the wire into the body. I added tape and then cloth over the wire.
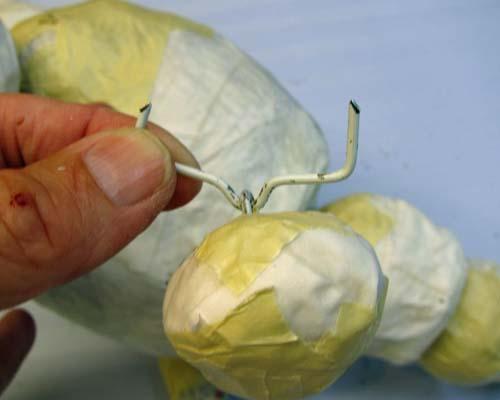
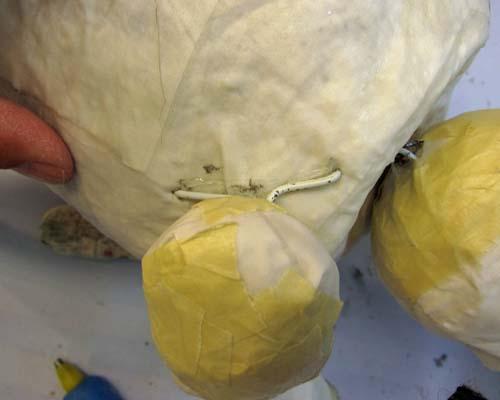
Here he is with his hind legs attached. And then with his front legs attached. I decided to leave the head for last. Delayed gratification you know.
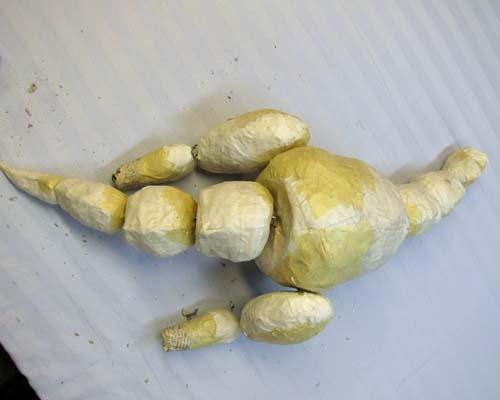
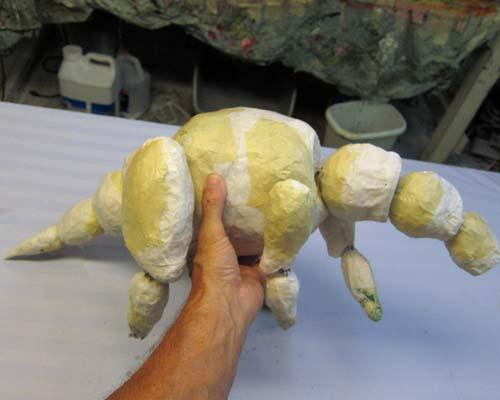
Time for some feet. Once again, I just used wire, crumpled paper and masking tape to make some fingers and toes, feet and hands. Then I added Fimo claws.
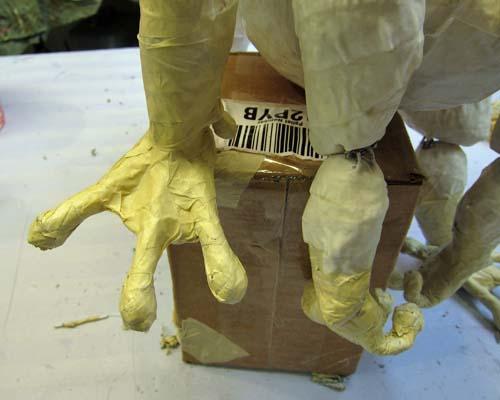
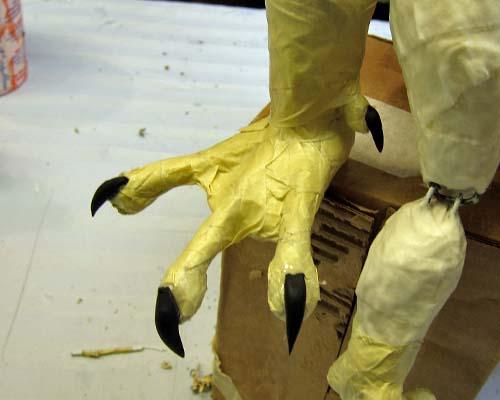
Here he is with his hands and feet, on the left before adding cloth, on the right, after adding cloth.
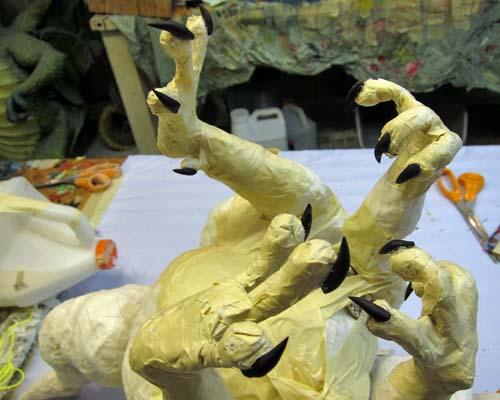
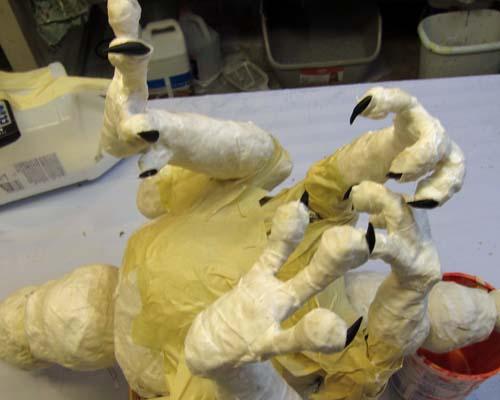
I turned him upside down and added the wings.
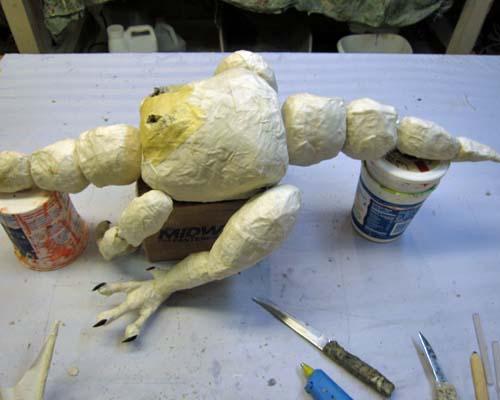
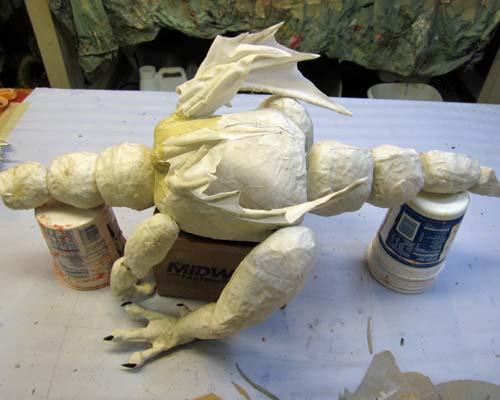
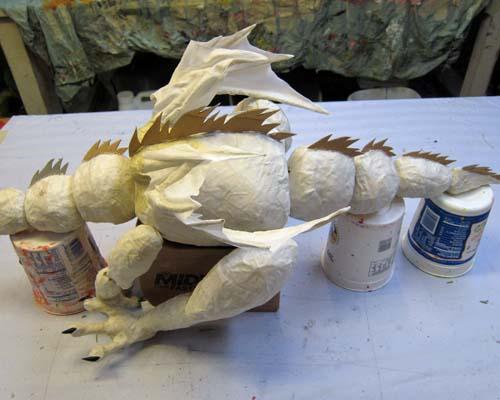
And then cut some cardboard to make a spine. I covered the spines with small pieces of cloth.
That's it for now. Thank you for your patience. I'll add a post when the video is done. Or just subscribe to me on Youtube and you'll see it first! My channel is called "DanMonsterMan".
Take care
Dan

