Some of you may recall that I had to replace a rotten fence post last spring, repairing the breeze-battered panel in the process. That’s been bringing a lot of traffic to my site recently, which my come as know surprise to you, if you live in the UK and you’ve had to experience some of the recent natural forces. I had to do the same again last weekend but on the opposite fence and so, I thought I’d write about that as well, because there are some differences.
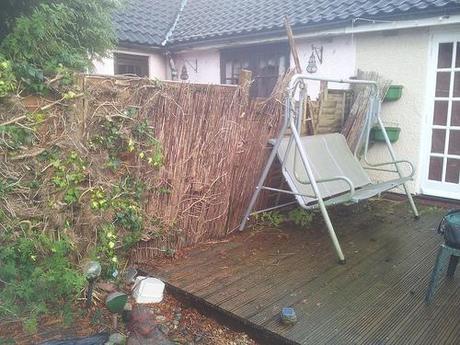
When the wind blows…
In all this time, my stance remains the same… I hate fence panels and I’d been avoiding this one for a few weeks. But, not only was there the risk of the dog escaping (thank goodness for that neglected swinging chair) but my mum’s been trying to sell her house since December and, even though there are a number of maintenance jobs for the future occupant(s), this one has been a definite eyesore. But at the same time, one I could improve without too much effort.
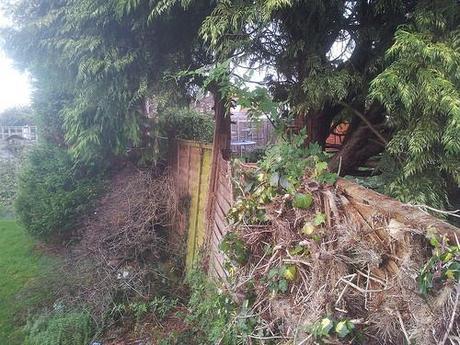
Looking down the line…
This side is probably the responsibility of the neighbours on that side but they seemed unlikely to fetch any tools or timber of their own. The rest of this fence is about ready to fall. My objective was never to rectify that but to simply salvage what I could at the more visible end.
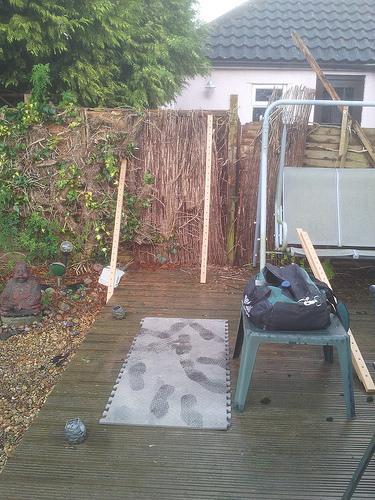
Propping a panel, ready for rotten post removal without further fence collapse.
It was evident that, as with the other panel last year, one of the posts had rotted away at ground level.
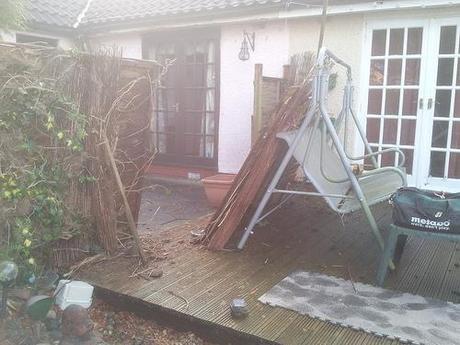
Creating room to work within.
Getting the old panel out was far easier that I’d ever expected. It didn’t require much leverage with a bar or claw hammer and this was down to the ‘saturated’ nature of the battens used for framing.
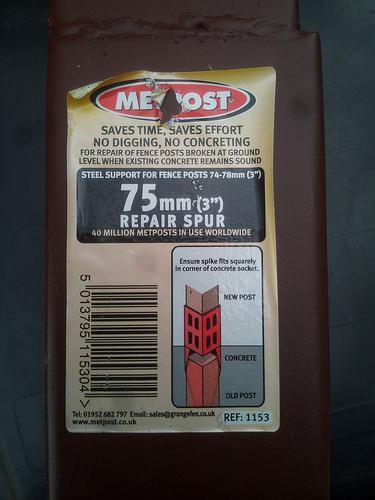
Not one of these posts appeared to have been concreted in, which may explain why the entire fence is lacking in stability (not that I would recommend concreting as the best solution). But the rotten post was firm in its place and the softer ground made it far easier for me to drive the MetPost in to position.
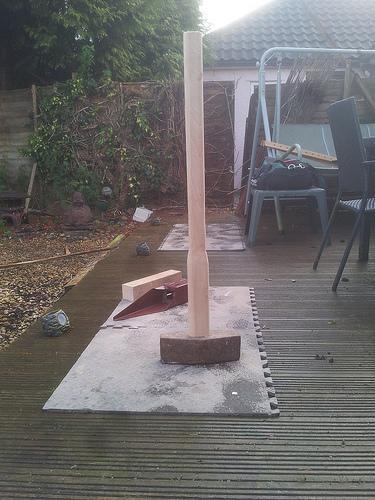
It was time for my home-made sledgehammer!!
Driving the repair spur in (with an offcut of 3x3in) was easy but this particular product didn’t have the clamping bolts as seen on the one I bought last year. There are ‘spurs’ inside that bite in to the wooden post as you drive it in. That required the (single-handed) use of my giant’s hammer… I’m glad this fence wasn’t any taller!
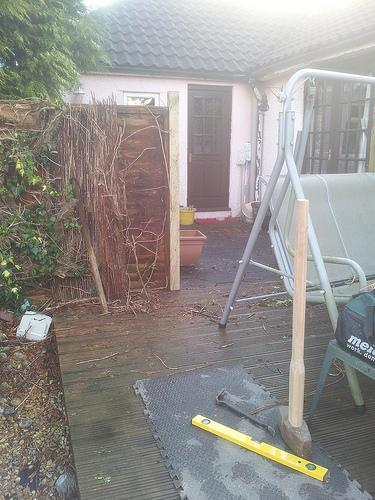
Post in!
You’ll also notice that I use soft matting from my workshop floor to provide a safe passage of crossing the slippery wet decking.
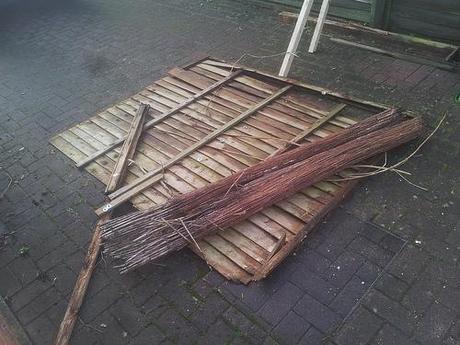
The tricky part.
With the post in, I had to look at somehow putting as much of the old panel back together as possible.
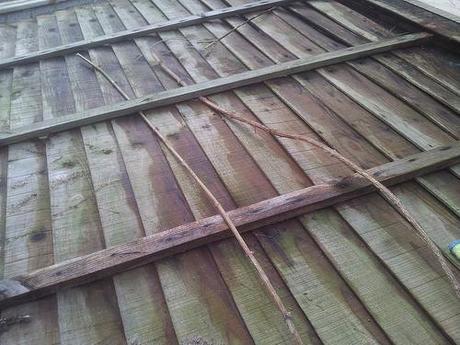
Willow… It wants to take over!
This fence was covered with a willow screening for several years and the photo above shows you why I would not recommend someone to add this or any similar product to fence panels like this. I guess it’s true what I was told over a decade ago now – it really does keep on growing!
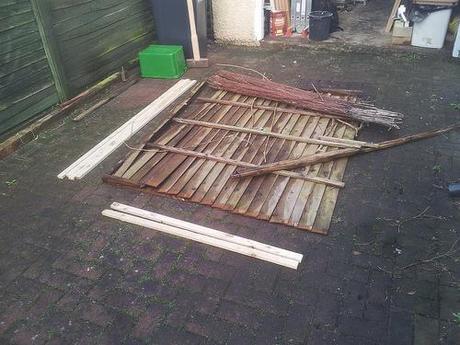
New wood, almost at the ready.
When I picked up the new post and the repair spur, I also collected two lengths of 4.8m long roofing batten (1½in x ¾in) that was cut down in to 6ft (1.83m) lengths. But the <1.2m offcut was suddenly too short for me to use… I’d told myself that this fence was 1ft shorter but even the height of the decking doesn’t equate to half of that.
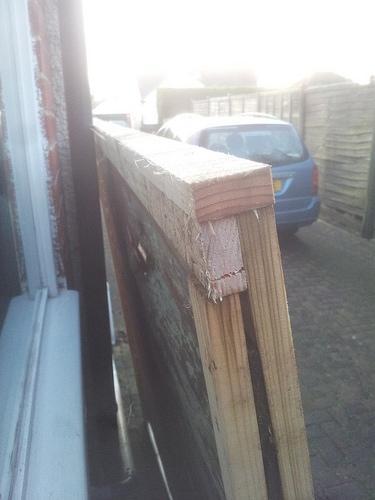
‘Good enough’ woodworking. :-)
I ended up ripping down some more of the old 2x2ins that I’ve been holding on to since 2011. To be honest, I hadn’t closely inspected the old timber before hand either so I was uncertain of how much I’d really need, beyond the obvious along the top edge. But I lashed it all back together in the same overlapping style (I wouldn’t quite call then lap joints…) and I banged another piece on top to act as temporary capping. Everything was fixed with 2in nails and as they were a bit long, I flipped the panel over and cleated or folded the points over with my hammer to give a stronger fixing.
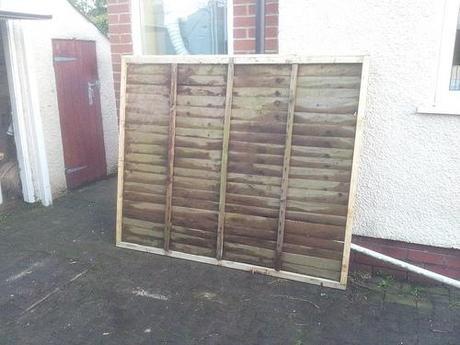
It looks good. The other side had been painted red, of all colours.
It’s a little bit shorter than it was and, if you look too closely, you’ll see that the bottom edge isn’t level with the decking and it’s possibly not flush to the ground on the neighbour’s side but the canine is secured once again.
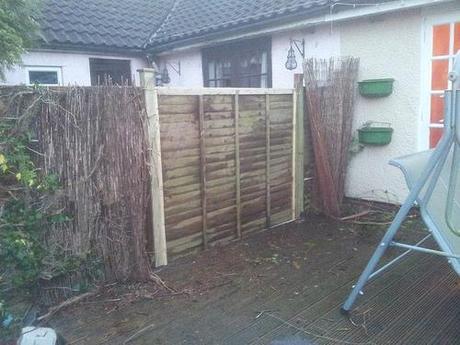
I spent just over £16 in all and it took about 2½ hours (most of which was consumed by panel repair). I feel quite pleased to say that this is almost certainly the last maintenance job I will have to do on this, even though I’ll be filling in some screw holes in various walls later today. I’ve now got to pull myself together and to start sorting through my workshop – and, if you can read between the lines within this final paragraph, I think you’ll get the hidden message I’m trying to send…
Thanks for reading and I hope this helps you if you’re having to repair your own panels. By all means, you are welcome to work to a higher standard than I have here.

Over the Fence – Olly Writes (May 2013)
Fence Panel Repair – Olly Writes (February 2013)
