Arts & Crafts Magazine

New Paper Mache Dragon- The Nest

By Danmonsterman @danmonsterman
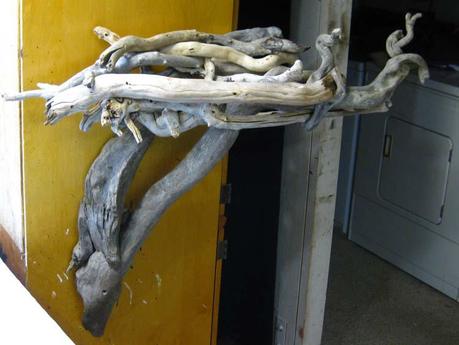
I'm back.   And I'm very happy with the nest I've made for this new dragon.   The photo doesn't really do it justice since you can't see inside.   I have this secured to a cabinet for now.   It will eventually go on a wall.   It's supposed to look like it's near the top of a tree.   Now I can make the paper mache parts using the nest as a reference.   I also know how big to make the eggs.   I know that this isn't paper mache.  Just thought some of you might be interested in this step.   If you are curious about how I made the nest, look at the photos below.  Otherwise, see you next time!
Paper Mache Dragon Nest
New Paper Mache Dragon-   The nest
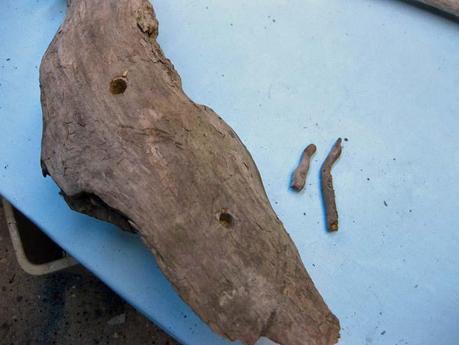
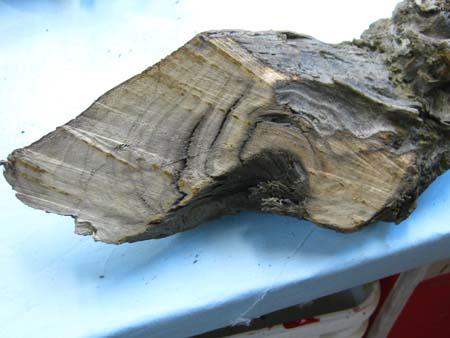
I took my largest piece of driftwood and cut it at an angle at the base.   I drilled two holes in the base where I can insert screws into the wall.
New Paper Mache Dragon-   The nestNew Paper Mache Dragon-   The nest
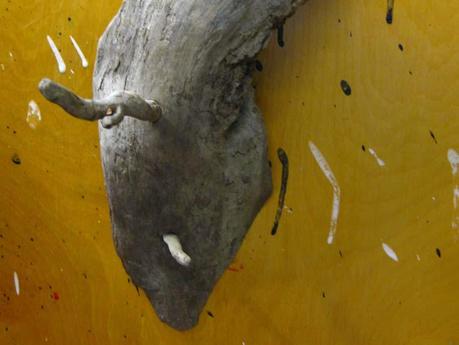
I'll eventually plug the holes using small twigs broken off the main piece of driftwood.  They will look like twigs on the tree when inserted.
New Paper Mache Dragon-   The nest
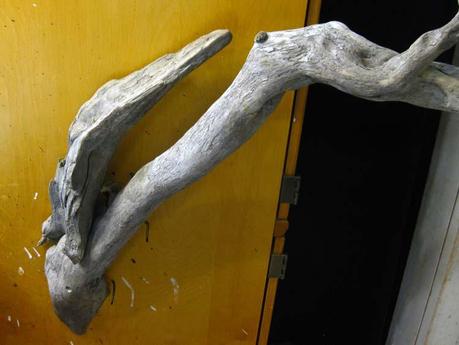
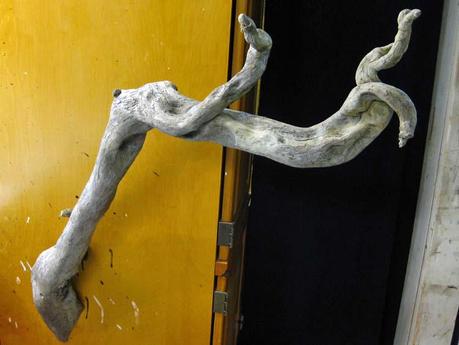
I screwed the main "branch" to the cabinet.  Then I started adding additional pieces of driftwood.
New Paper Mache Dragon-   The nestNew Paper Mache Dragon-   The nest
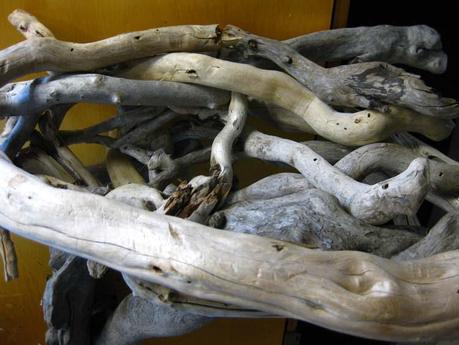
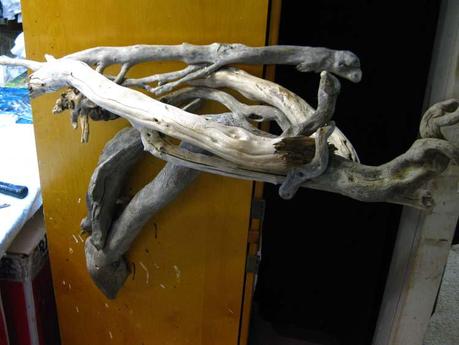
I used larger pieces to construct the rim of the nest, then smaller ones to line the bottom.   It's hard to see in the photo, but the smaller pieces of driftwood make a nice cupped effect.  Perfect for some paper mache dragon eggs!
New Paper Mache Dragon-   The nestNew Paper Mache Dragon-   The nest
See you next time when I begin building the dragon!

Back to Featured Articles on Logo Paperblog

Magazines